Developer How-To Setup And Use Eclipse
Initial Setup
Download and install Eclipse from http://www.eclipse.org/downloads/ we recommend the Eclipse IDE for Java EE Developers.
You will also need to clone the OpenMRS core, as this is where some important files are located such as the files required for the OpenMRS formatter.
For testing and development purposes, it is highly recommended that you setup the OpenMRS SDK. Instructions for setting up the OpenMRS SDK can be found here and here.
How To Configure Your IDE
Setup Code Style And Format For OpenMRS
All images and settings shown in the following sections were taken on Eclipse version: 2018-12 (4.10.0)
If you update the documentation please update the Eclipse version as well!
Java Code Format
In order for Eclipse to format the code, you will need to import the OpenMRSFormatter.xml. This file is located in the OpenMRS core, which you should clone if you haven't already.
Open the Eclipse preferences under Window → Preferences and enter the search term "formatter", which should show Java → Code Style → Formatter under the results in the left pane like shown here:
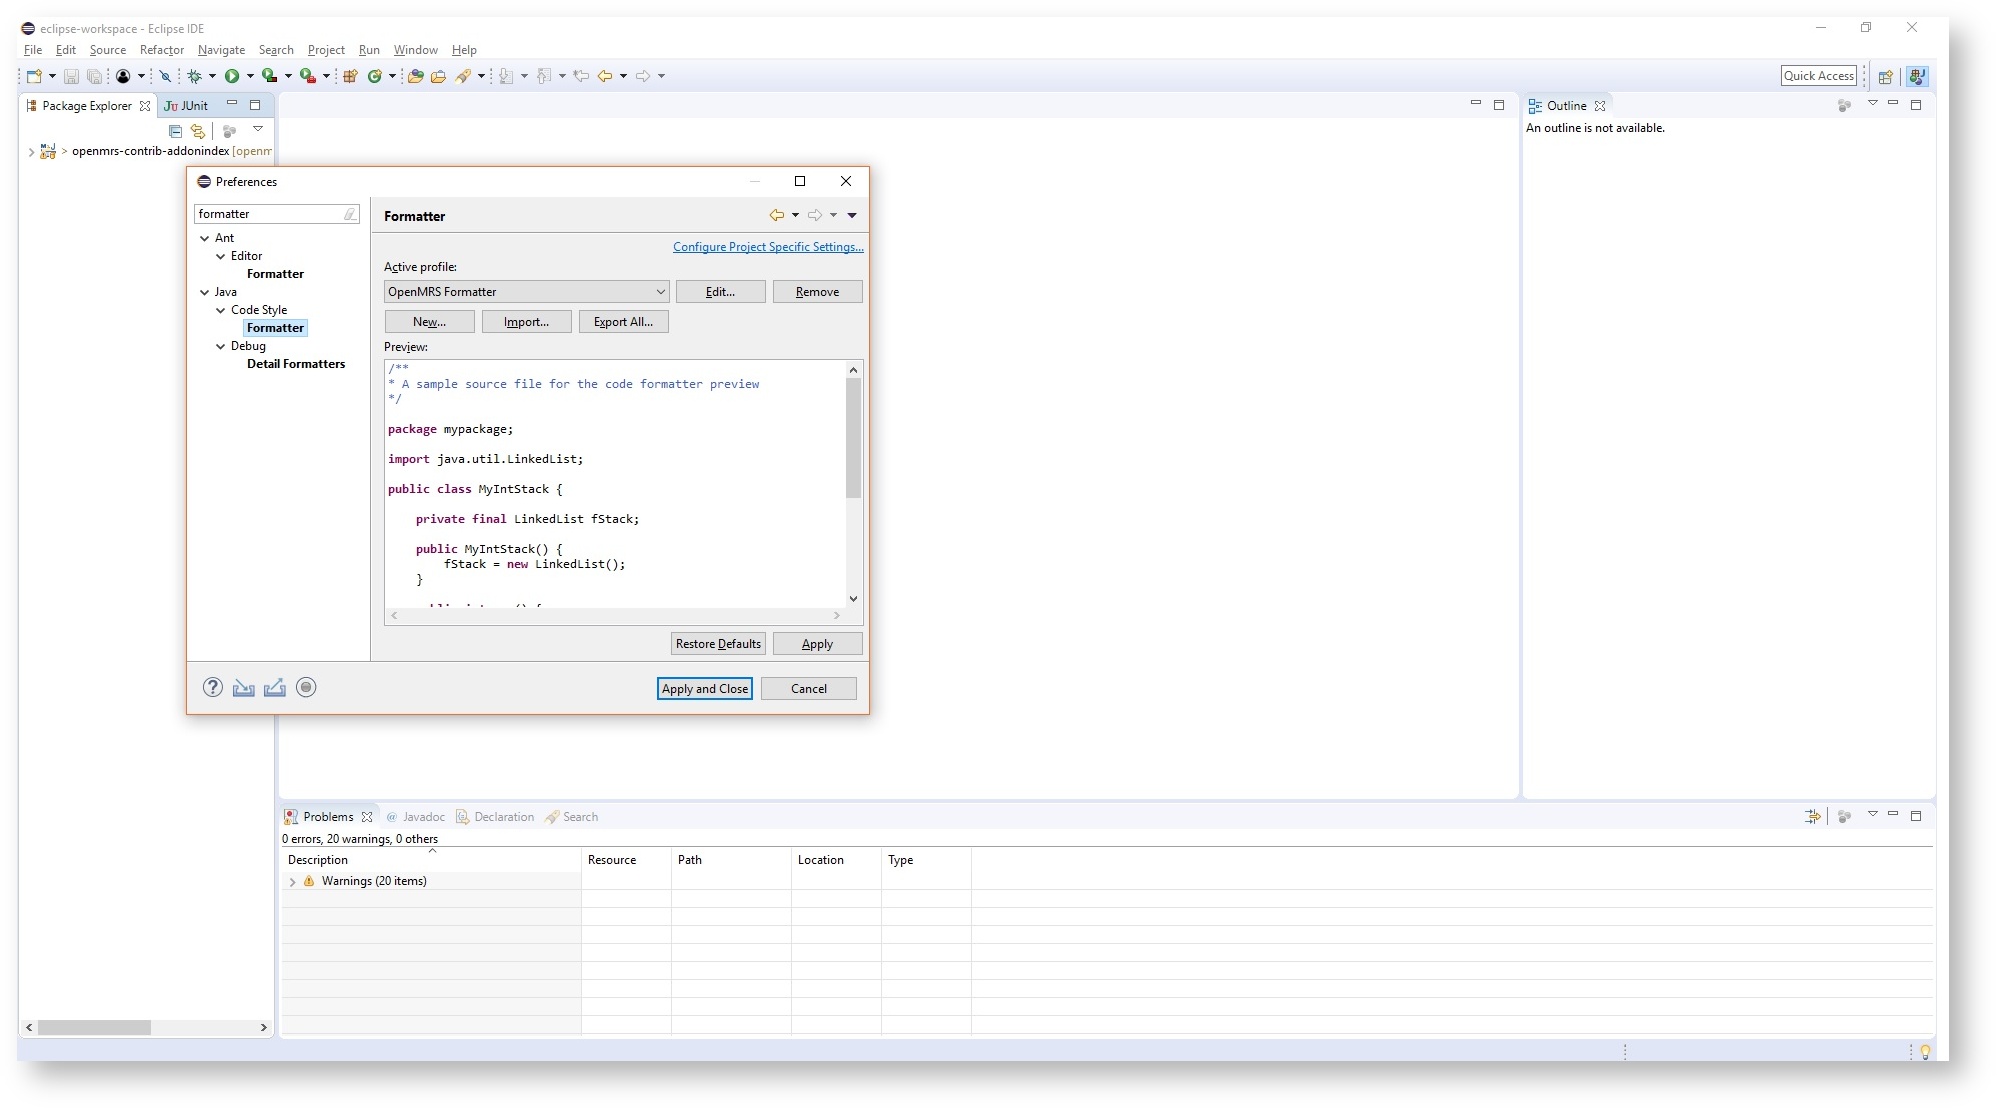
Select "Formatter" click the "Import..." button and navigate and select the tools/src/main/resources/eclipse/OpenMRSFormatter.xml.
Import the OpenMRSFormatter.xml into an own profile and call it for example "OpenMRS Formatter".
Ensure it is selected in the dropdown as shown above so it is the "Active profile".
Once the formatter is selected as the "Active profile" you may select "Apply and Close".
From now on you can let Eclipse format any java class for you with the shortcut
462pxControl+Shift+F (Command+Shift+F on Mac)
Java Imports
In order for Eclipse to order the java imports according to the OpenMRS style and remove unused imports do the following:
Open the Eclipse preferences under Window → Preferences and enter the search term "organize imports" which should show Java → Code Style → Organize Imports under the results in the left pane like shown here:
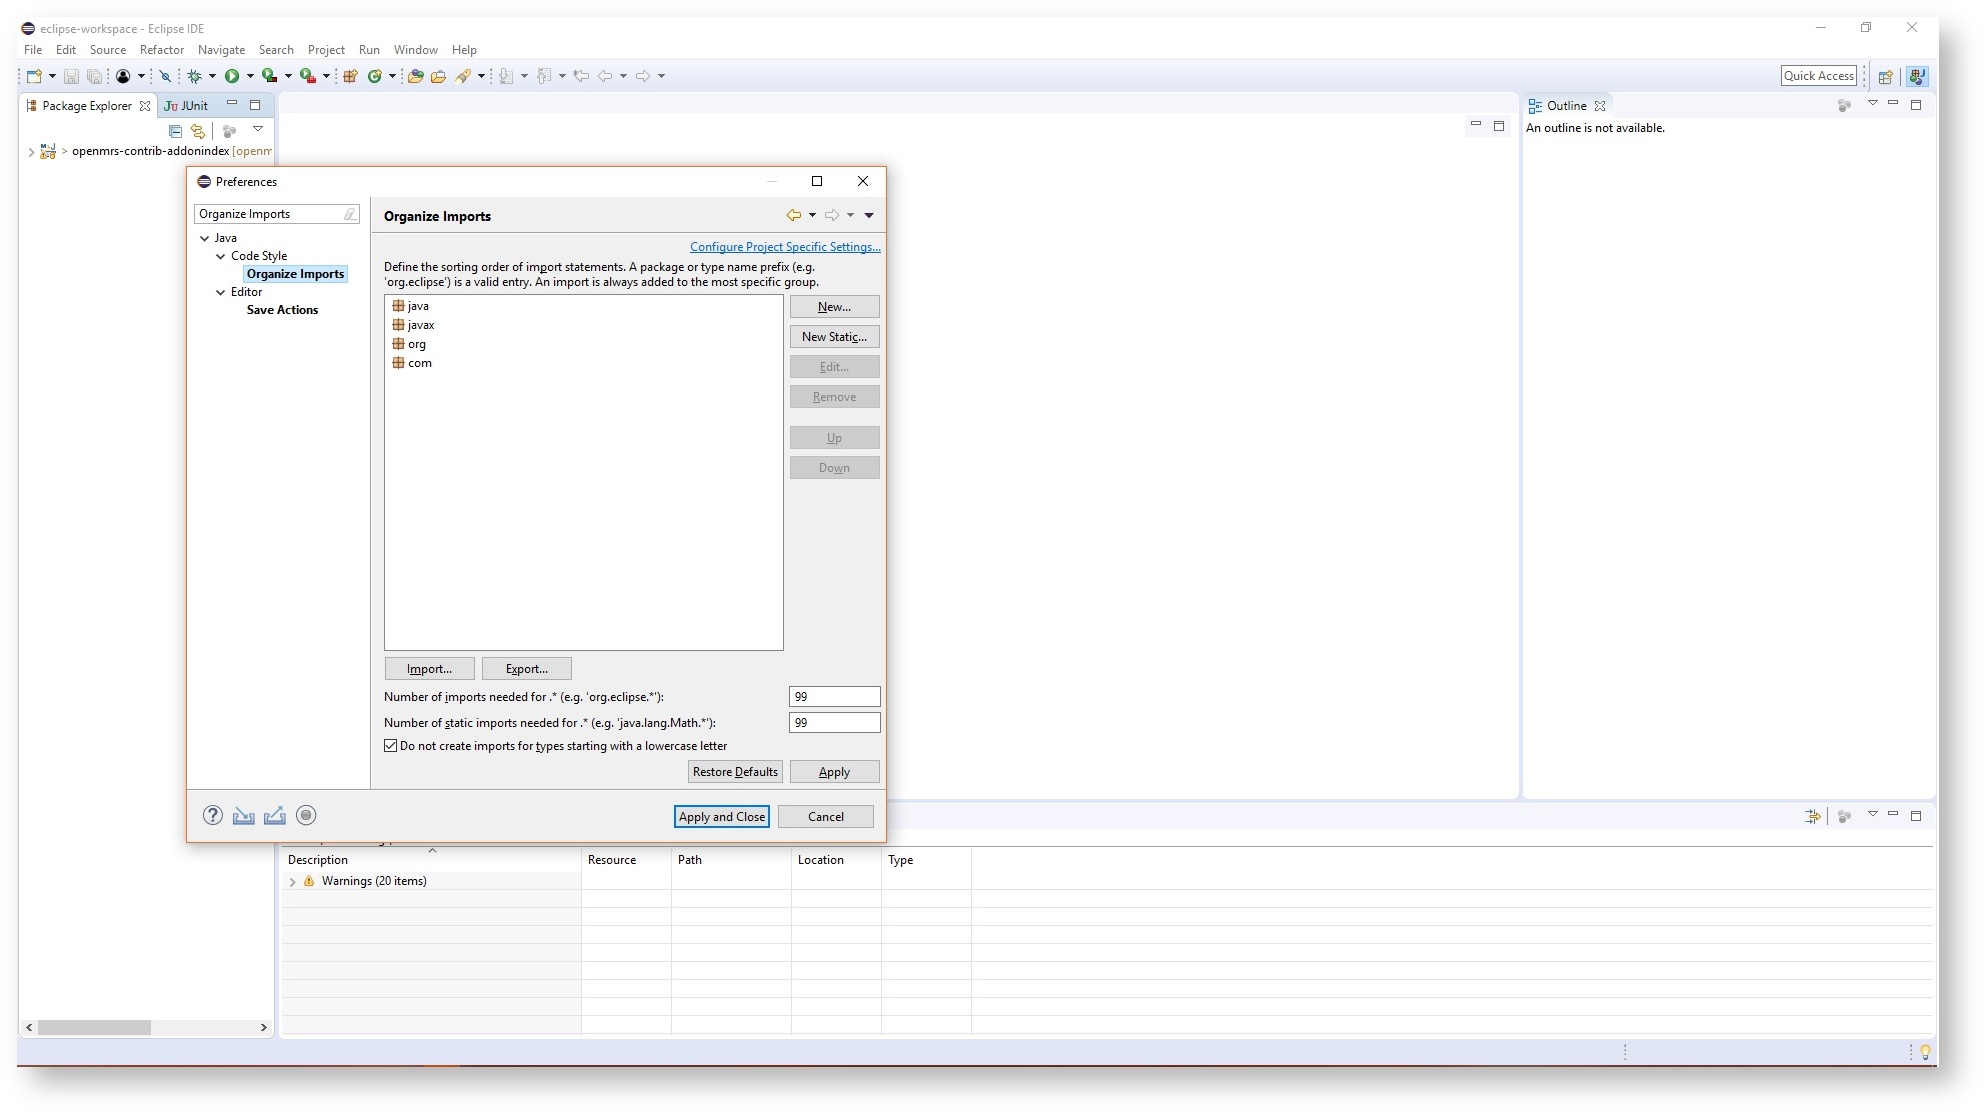
Make sure that the sorting order of the import groups you see above (java, javax, org, com) matches. It is the Eclipse default so you might not have to change anything.
Also check the two settings of "Number of (static) imports needed for *" and make sure the number is high enough for Eclipse not to replace your imports with the so called "star imports" using * because we do not want these. 99 is the default value for Eclipse and is usually high enough.
Make sure that "Do not create imports for types starting with a lowercase letter" is checked.
Hit "Apply" and then "Ok".
From now on you can let Eclipse format and remove unused imports in any java class for you with the shortcut
Control+Shift+O (Command+Shift+O on Mac)
! Please apply this command to clean up your imports before you create a pull request on Github since the imports are not cleaned up by the maven formatter plugin we use when you run the build command !
XML Code Format
The OpenMRSFormatter.xml only handles the Java formatting (limitation of Eclipse), you therefore need to configure the XML Editor.
Open the Eclipse preferences under Window → Preferences and enter the search term "XML editor" which should show XML → XML Files → Editor under the results in the left pane like shown here:
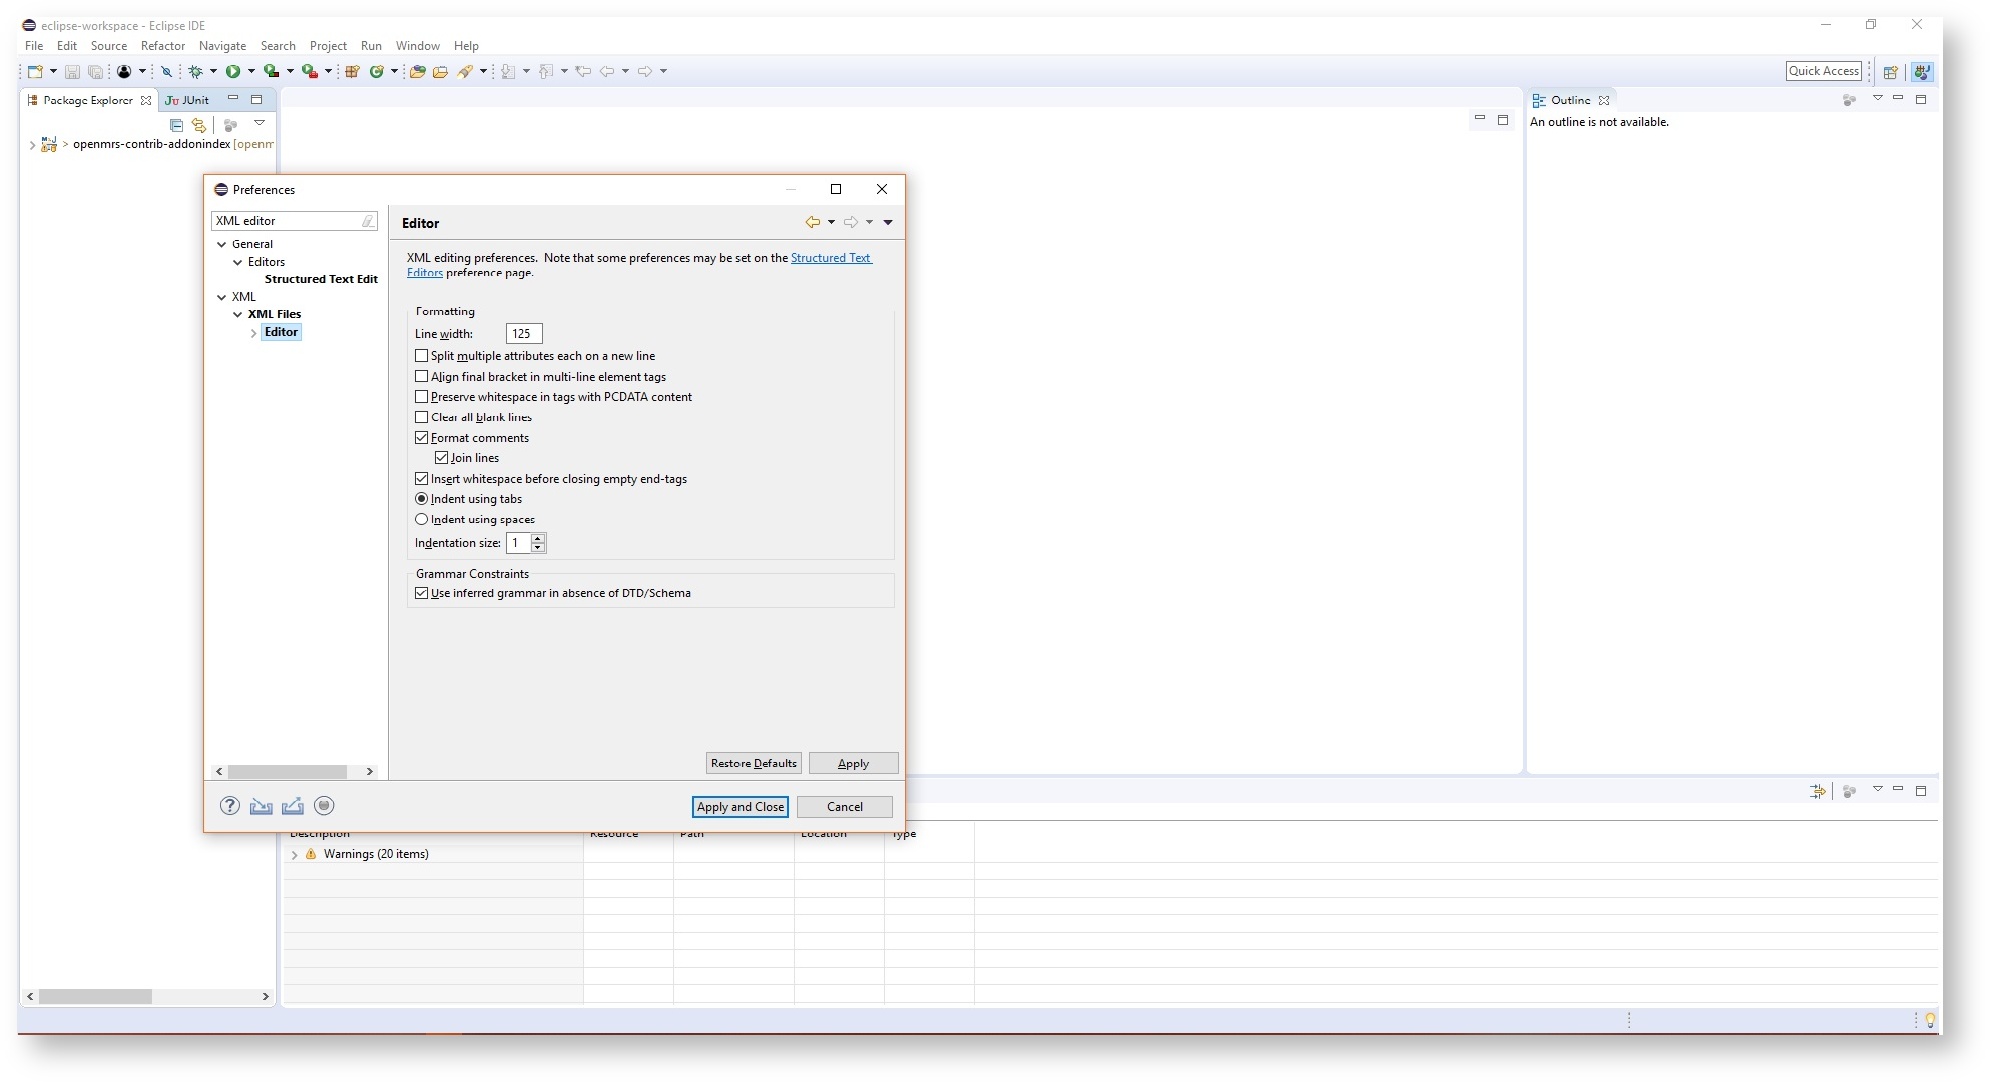
Make sure to set the "Line width" to 125.
Maximum Line Length
The maximum line length we choose for XML is equal to the one we set for Java files. For Java this is ensured by the Checkstyle - LineLength so please update this number here if the openmrs-core/checkstyle.xml setting changes.
Automatically Format on Save
Eclipse provides you with so called "Save Actions" where you can configure it to format the code automatically when you save your file according to your formatter settings!
Open the Eclipse preferences under Window → Preferences and enter the search term "save actions" which should show Java → Editor → Save Actions under the results in the left pane like shown here:
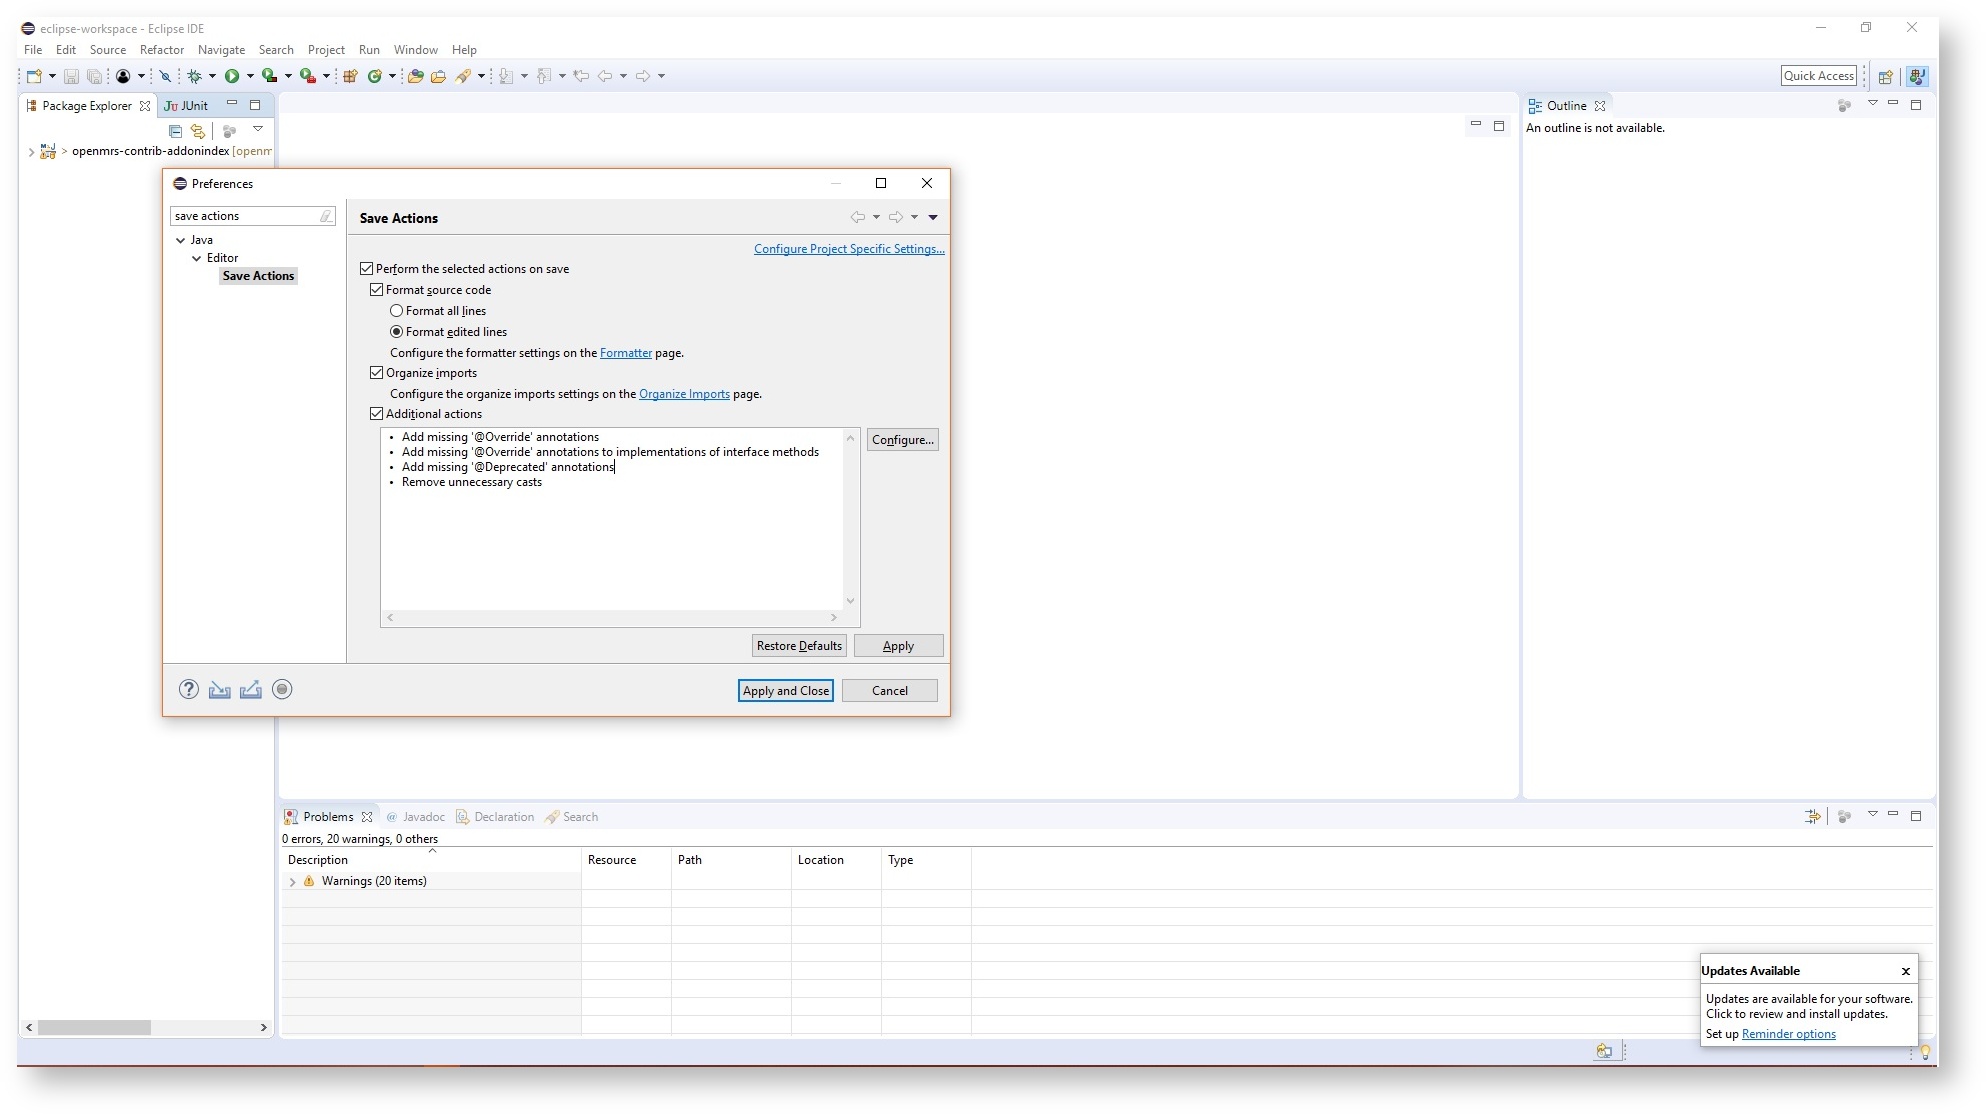
Enable it and adapt the radio buttons and checkboxes to match the image above.
Ensure that you select
- Perform selection actions on save
- Format source code
- Format edited lines
- Organize imports
- Additional actions
Then click the "Configure..." button and match the following sections:

Nothing should be selected under "Code Organizing".
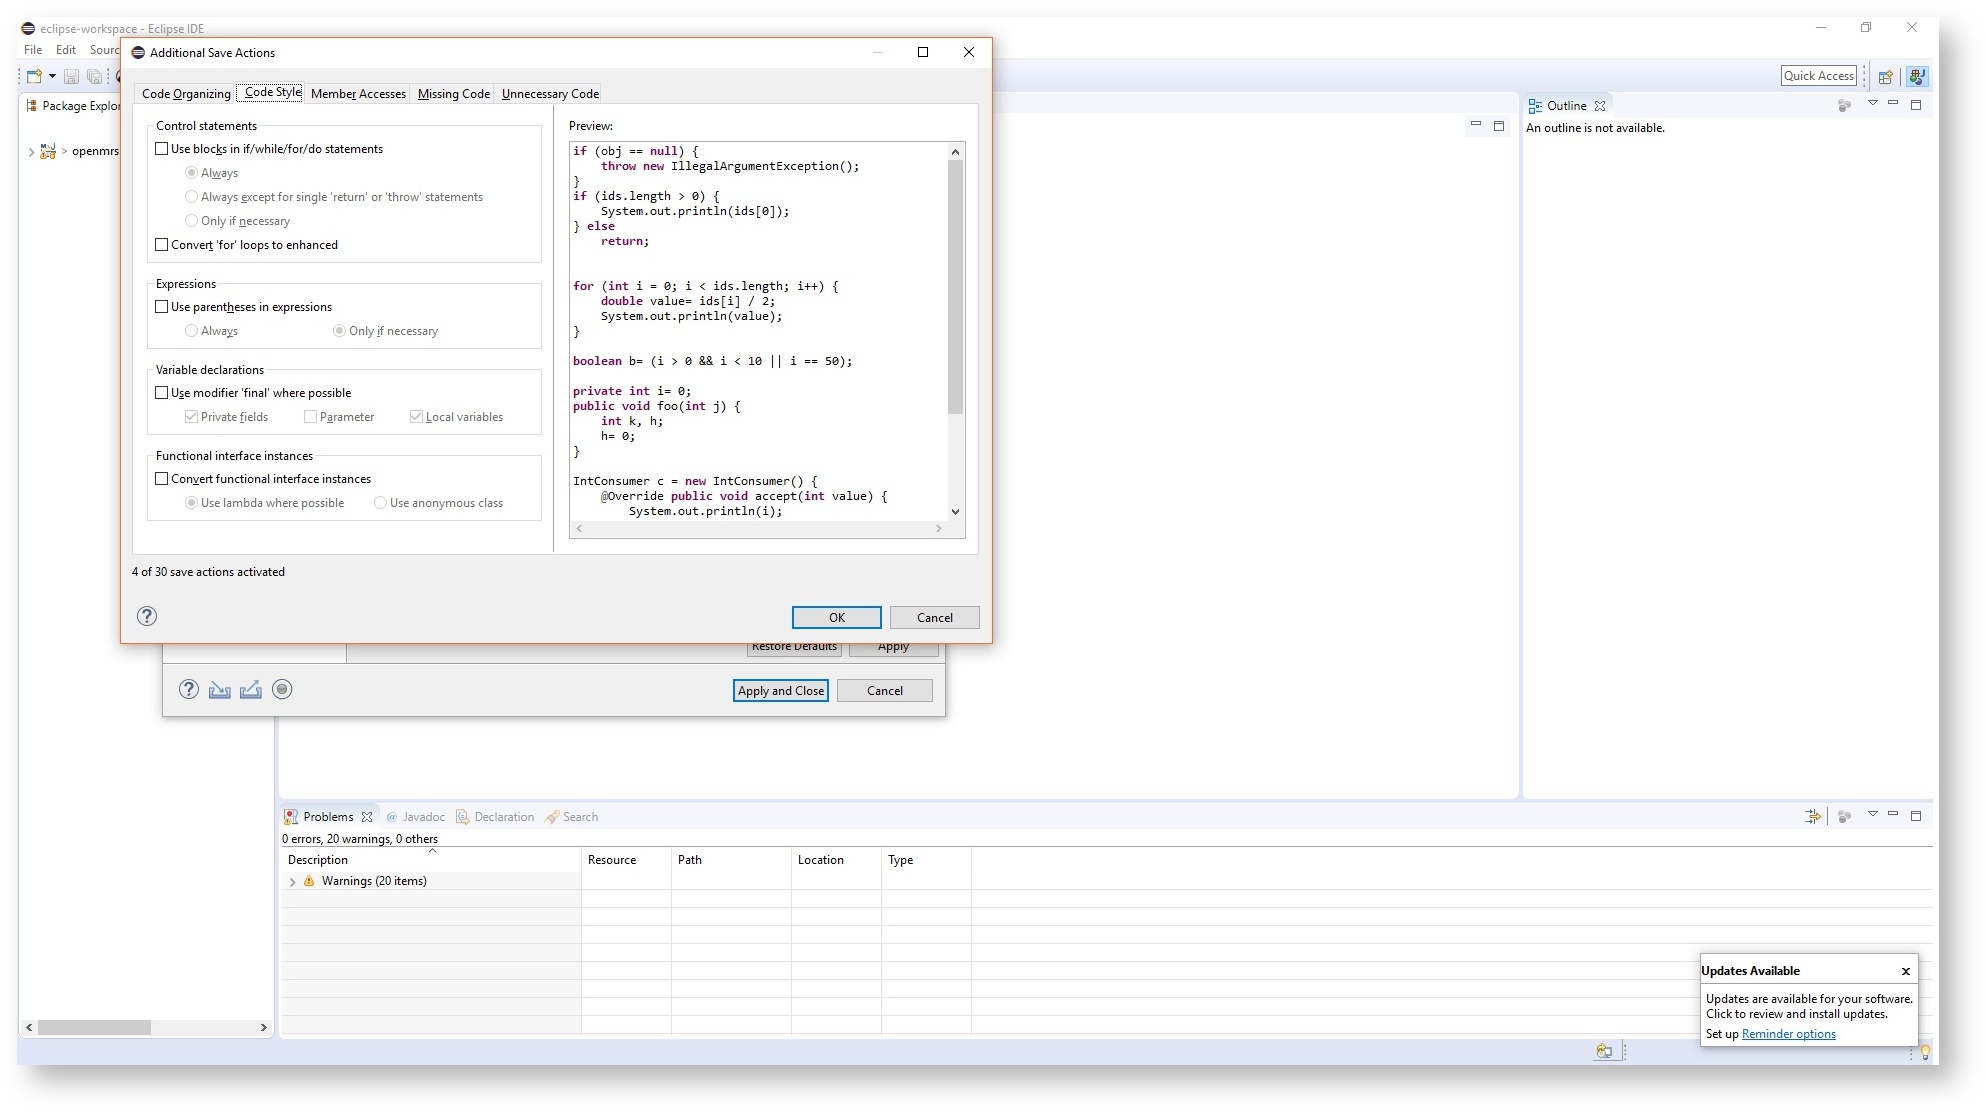
Nothing should be selected under "Code Style".
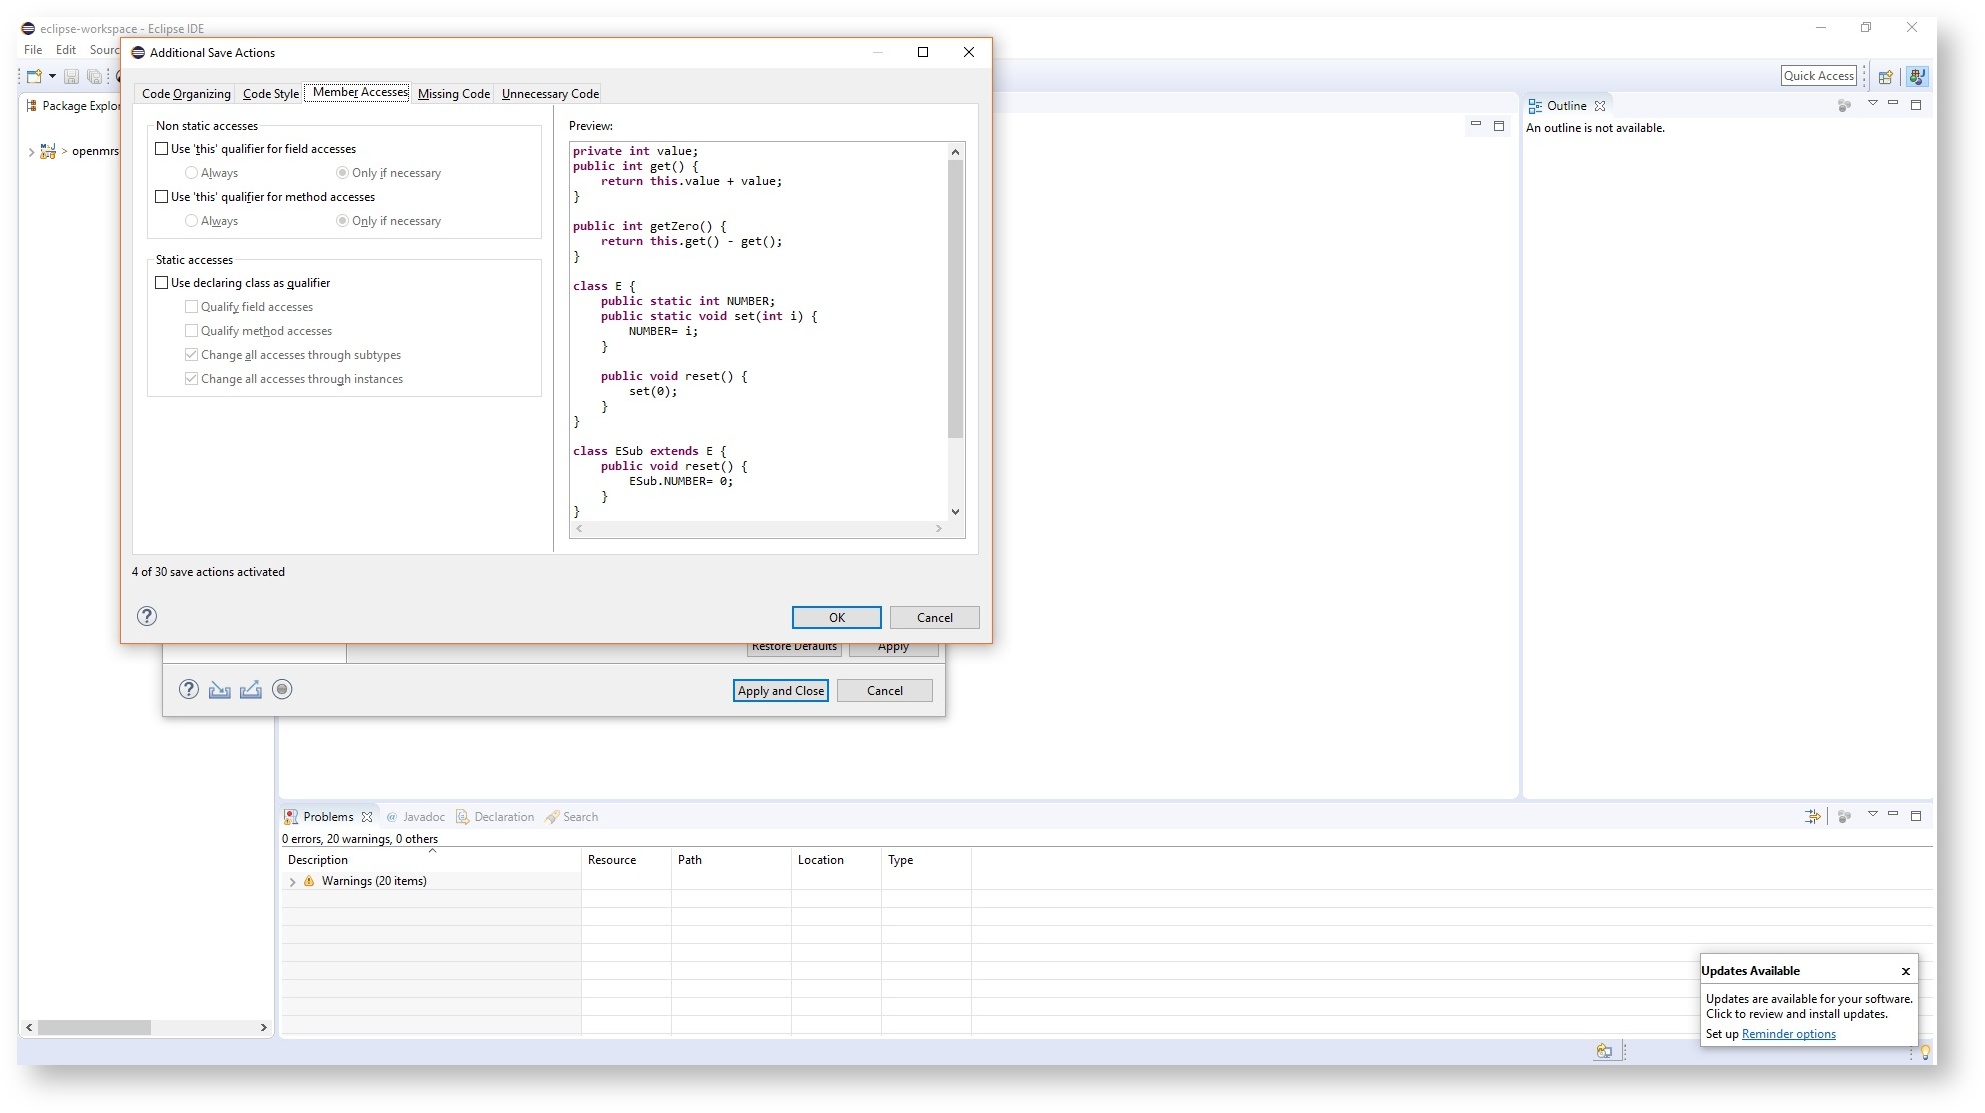
Nothing should be selected under "Member Accesses".
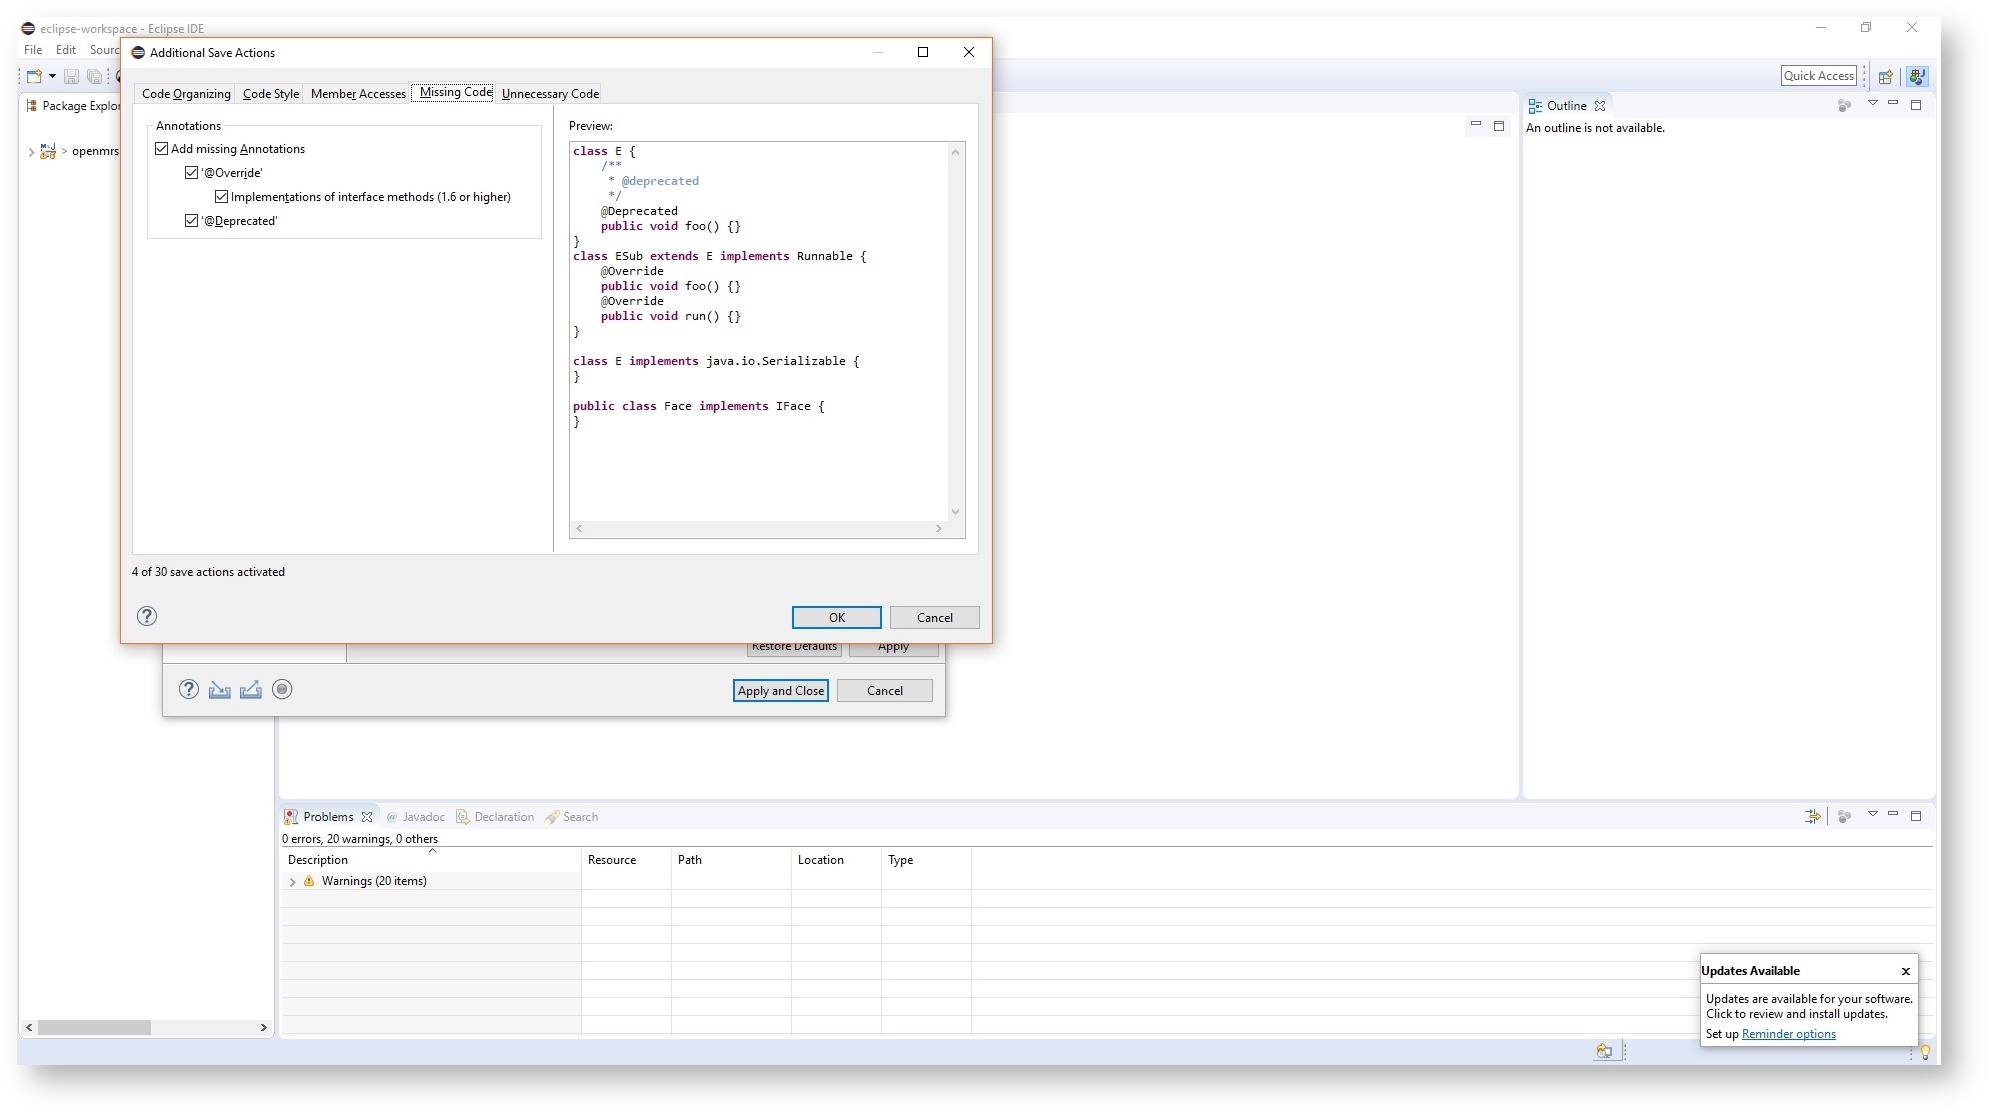
Everything should be selected under "Missing Code".
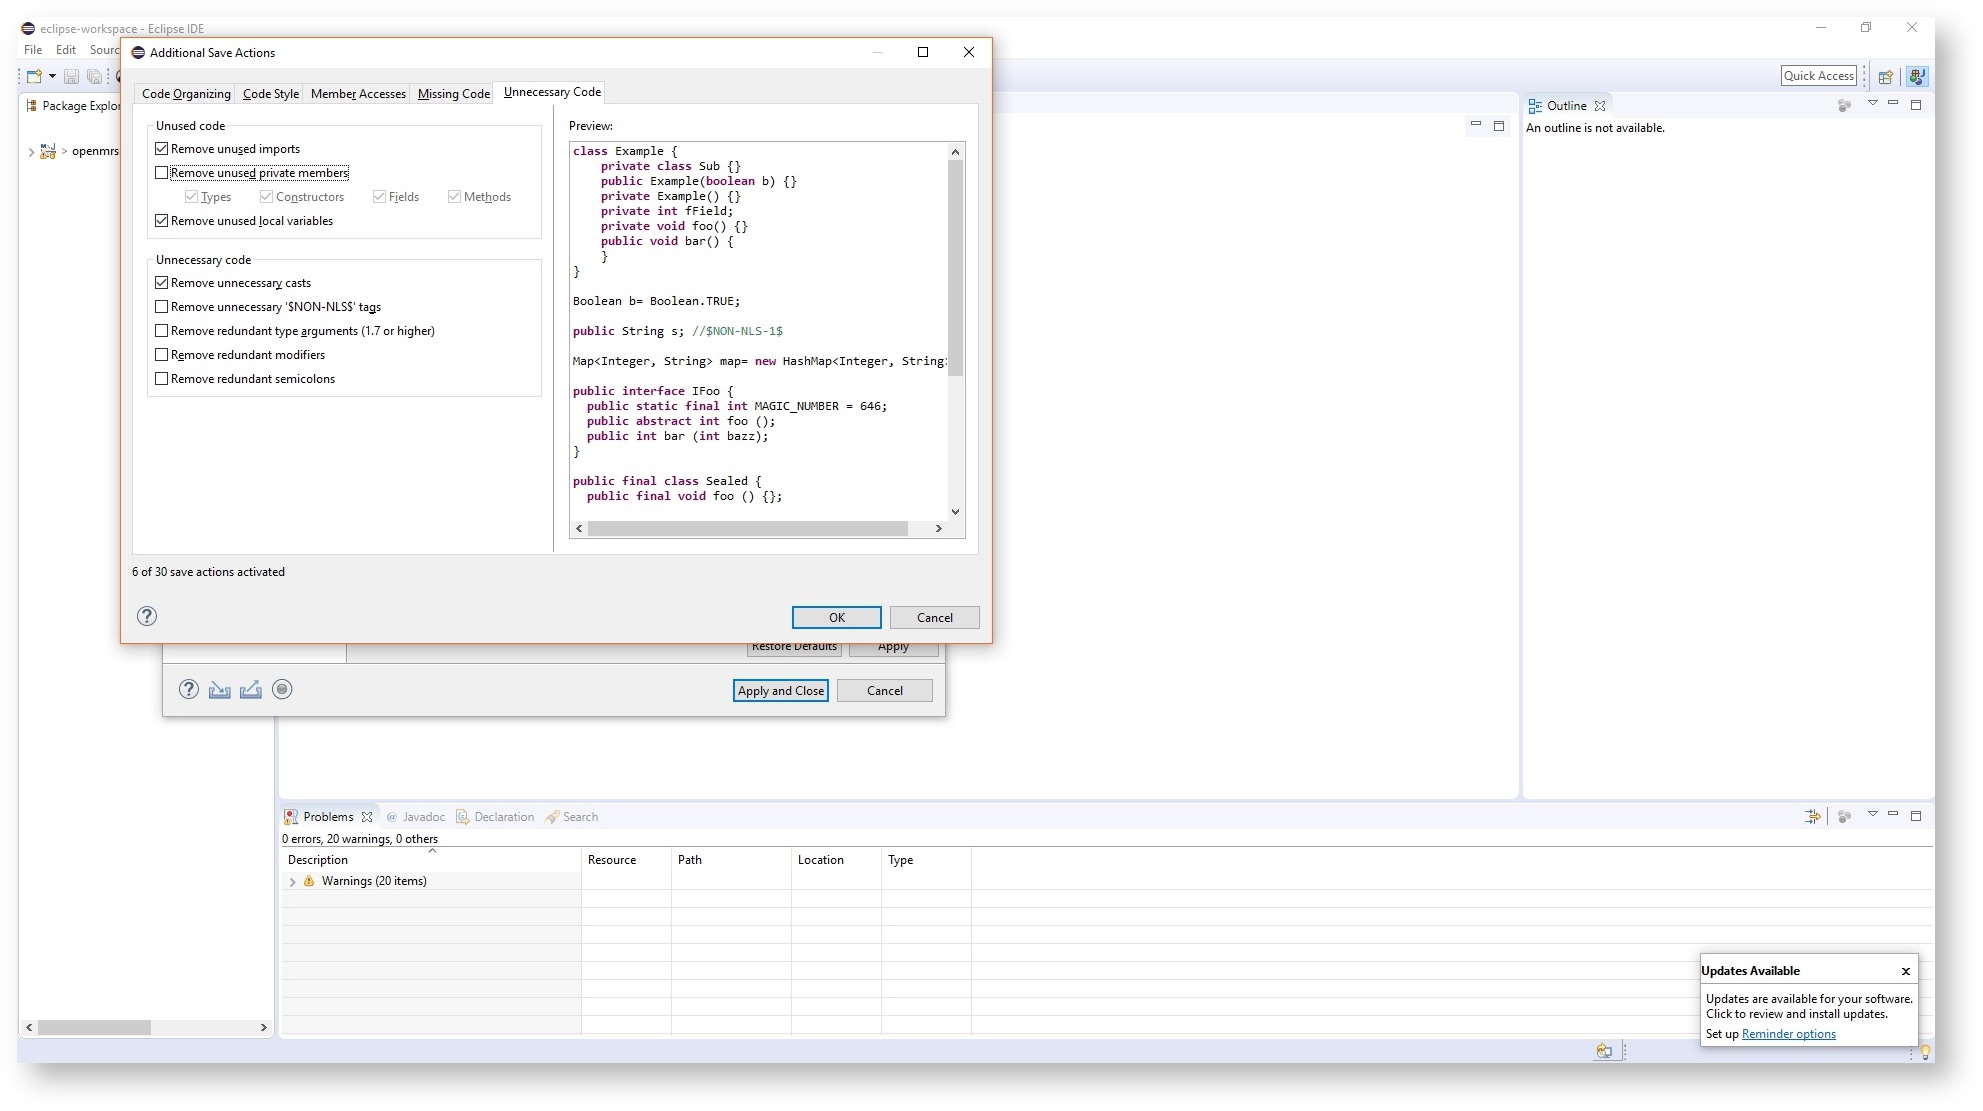
Ensure you select
- Remove unused imports
- Remove unused local variables
- Remove unnecessary casts
Hit the "Ok" button, and then "Apply and Close".
From now on when you change a class and save it, Eclipse will format the code for you according to your formatter settings and organize the imports according to the import settings.
Show Print Margin
If you want to see whether your lines are longer than what you configured in the formatter you can let Eclipse show you a "Print Margin".
Open the Eclipse preferences under Window → Preferences and enter the search term "print margin" which should show General → Editors → Text Editors under the results in the left pane like shown here

Select "Show Print Margin" and set the margin to the maximum line length that is defined in the checkstyle config under LineLength.
Add OpenMRS Code Templates
To save you some typing so that you can focus on solving problems we put together a few code snippets/templates. Once you import them you can type short keywords and Eclipse context menu will suggest the appropriate template and once you select it, fill in the code with some variables for you to adjust the snippet to your use case.
Open the Eclipse preferences using Window → Preferences and enter the search term "templates" which should show Java → Editor → Templates under the results in the left pane like shown here:
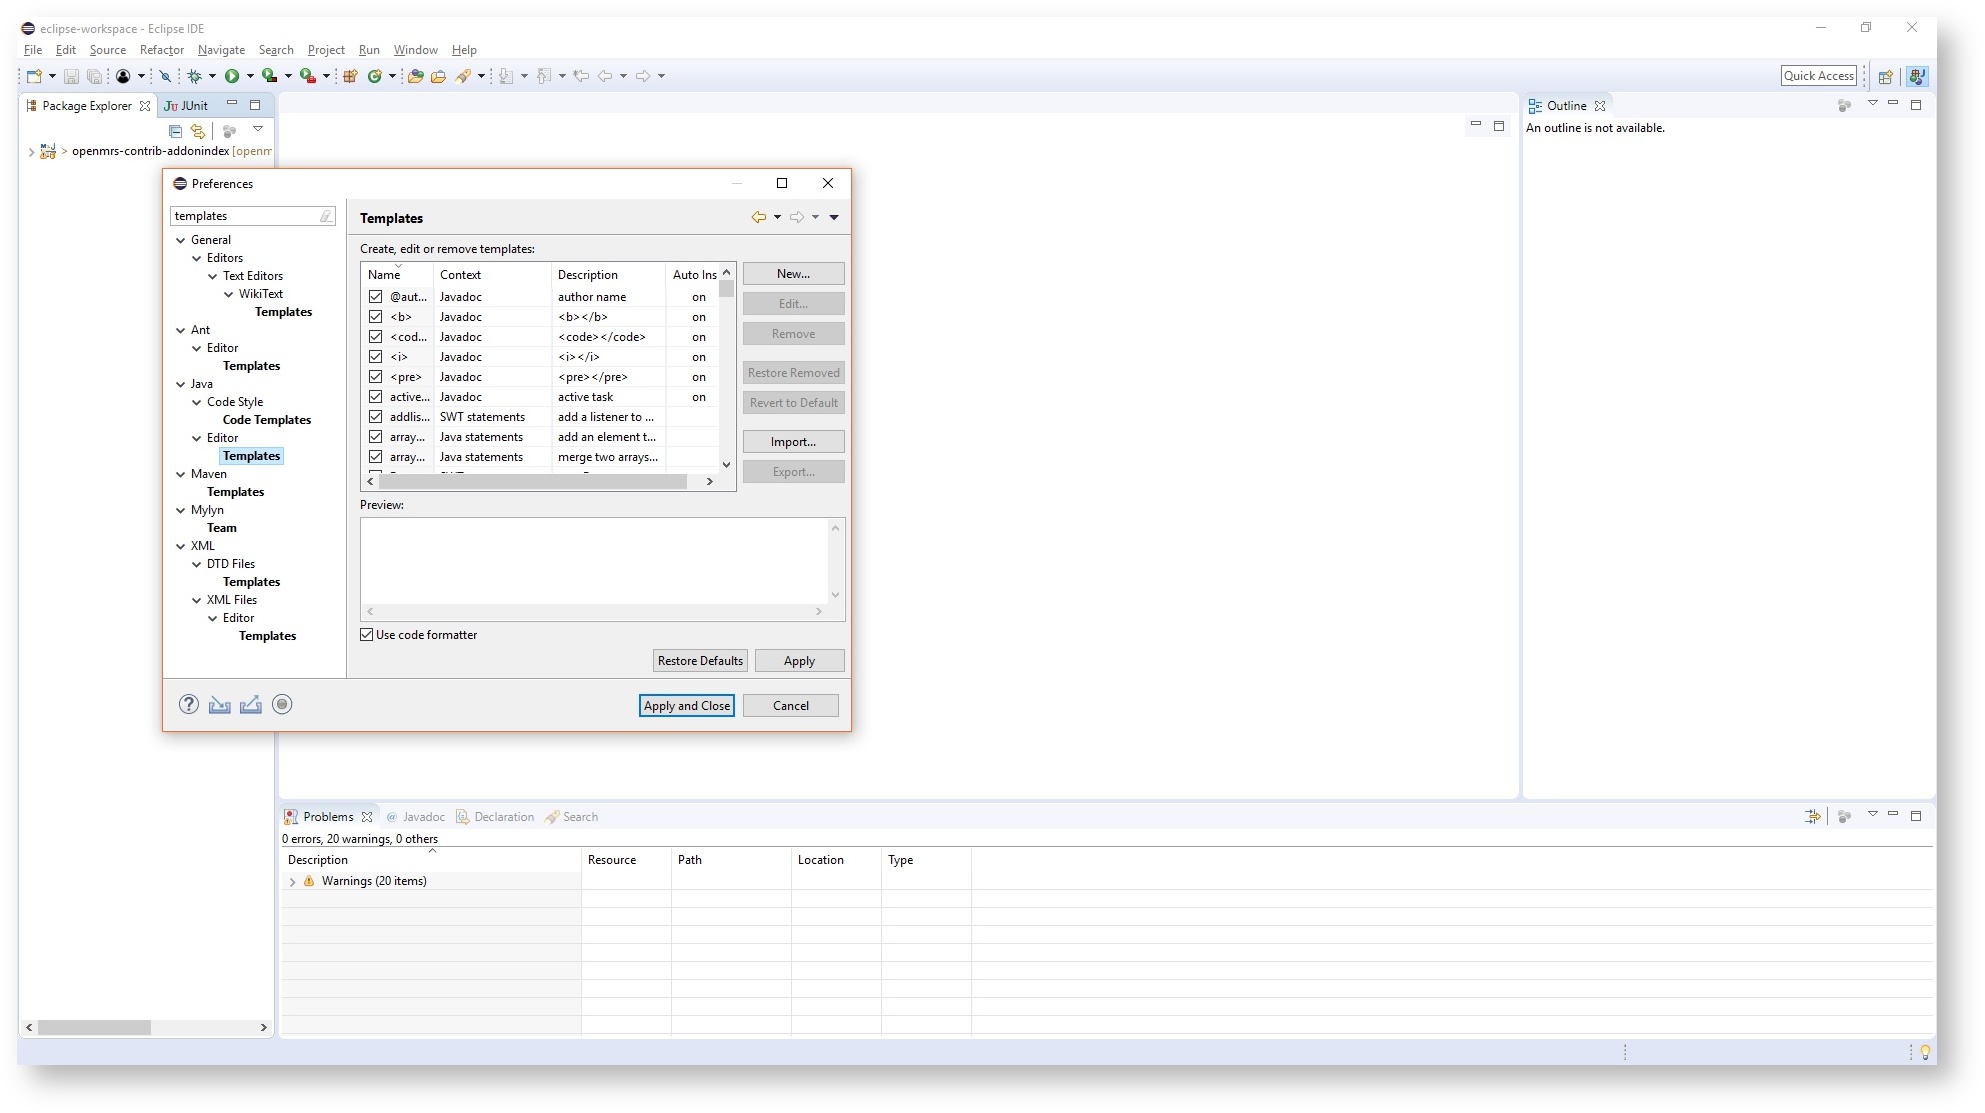
Click on "Import..." and select the tools/src/main/resources/eclipse/templates.xml and click on "Apply and Close".
From now on you can use the templates:
- type in the name of the template (which you can find in the Templates settings as shown above)
- hit
Control+Space(for the Eclipse context menu) - select the template and hit Enter
- if there are variables in the template you can now override them and advance to the next variable or the end with TAB
Read the next sections for some examples.
See all templates available
We are not posting their names here since the templates.xml should remain the single source of truth.
You can either use the Eclipse settings to see the templates you have or if you want to know the exact names of all snippets that you got from adding the OpenMRS templates execute
cat tools/src/main/resources/eclipse/templates.xml | grep name
Add a unit test to a test class
To add a new unit test to a test class, open the test class in the editor. Place the cursor to where you want to add the test and write test and hit Control+Space (for the context menu) which will show you a list of options like shown here:

select the "OpenMRS Style JUnit 4 Test" and hit enter to get this:
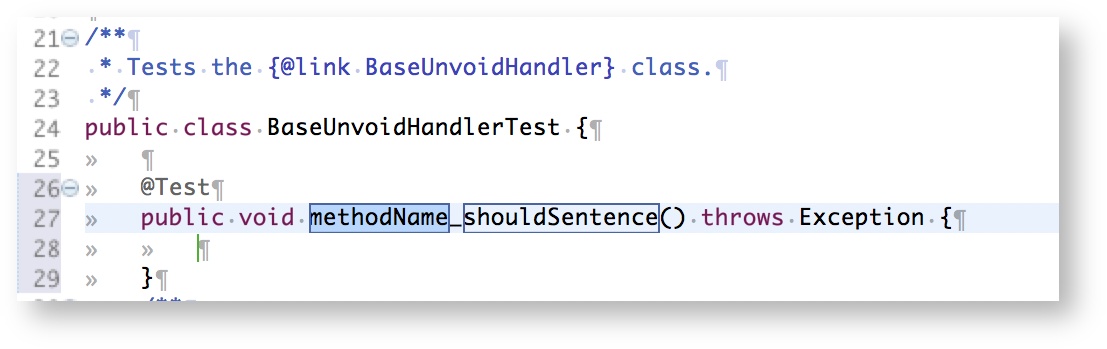
the words you see selected are variables/placeholders, with the darker one being on focus. Enter the method name you want to test and hit TAB to advance to the next variable and type in the should style sentence of what you are testing. Hit TAB again to advance to the method body.
Add logging to class
If you want to log an event in a class that does not yet have an instance of a Logger open the class and place the cursor to the top and type logger and hit Control+Space (for the context menu) which will show you a list of options like shown below
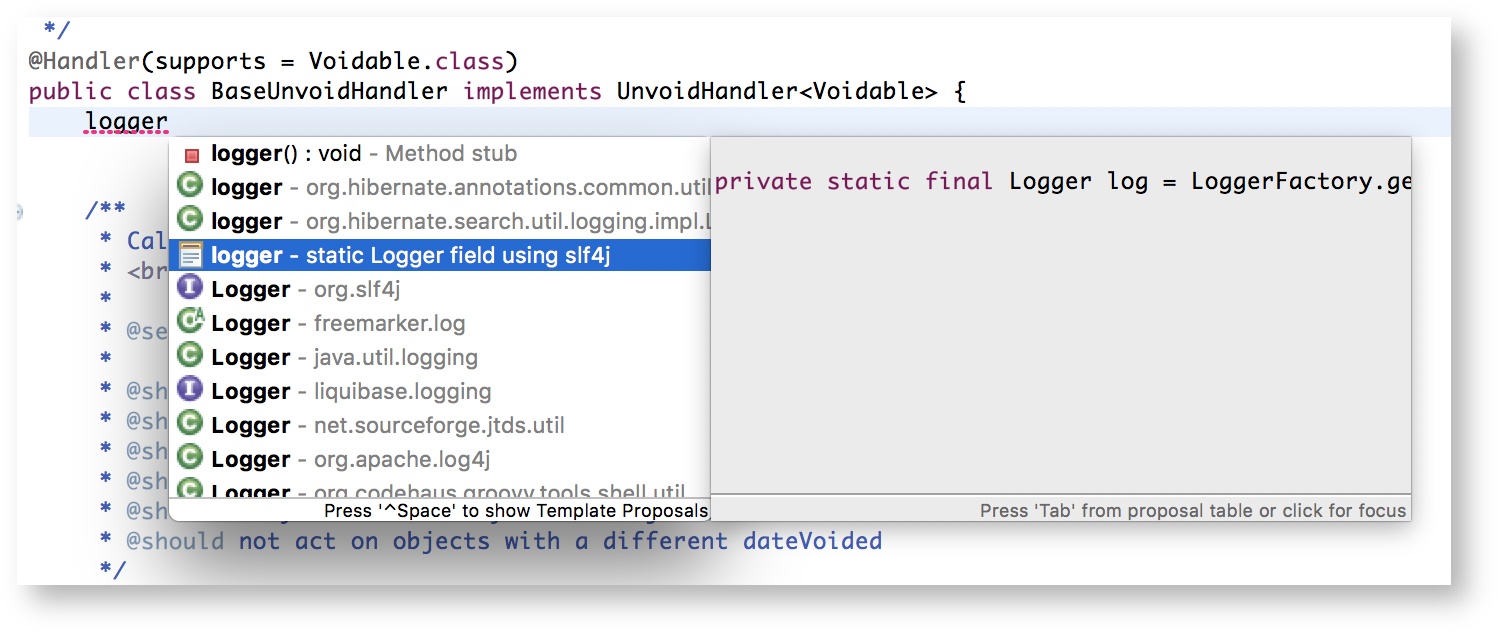
select the logger template and hit enter. This will add the logger with the necessary imports like so

you are ready to log!
Log an event
If your class already has a Logger instance just place the cursor to where you want to log and type logd (for debug), logi (for info), ... hit Control+Space (for the context menu) select the template and hit enter. Depending on what template you are using you might need to only enter your log message or also add a parameter after the message like for example for logpe (for logging an error and passing it an exception) or logpi (to log an info message using the slf4j parametrized message style like log.info("the temperatur was {}", temperatureObject) ).
Maven Settings
Open pom.xml as xml instead of in GUI
If you do not like Eclipse to open the pom.xml files in the GUI style window you can disable that by opening the Eclipse preferences using Window → Preferences and enter the search term "maven" which should show Maven → User Interface under the results in the left pane like shown here:
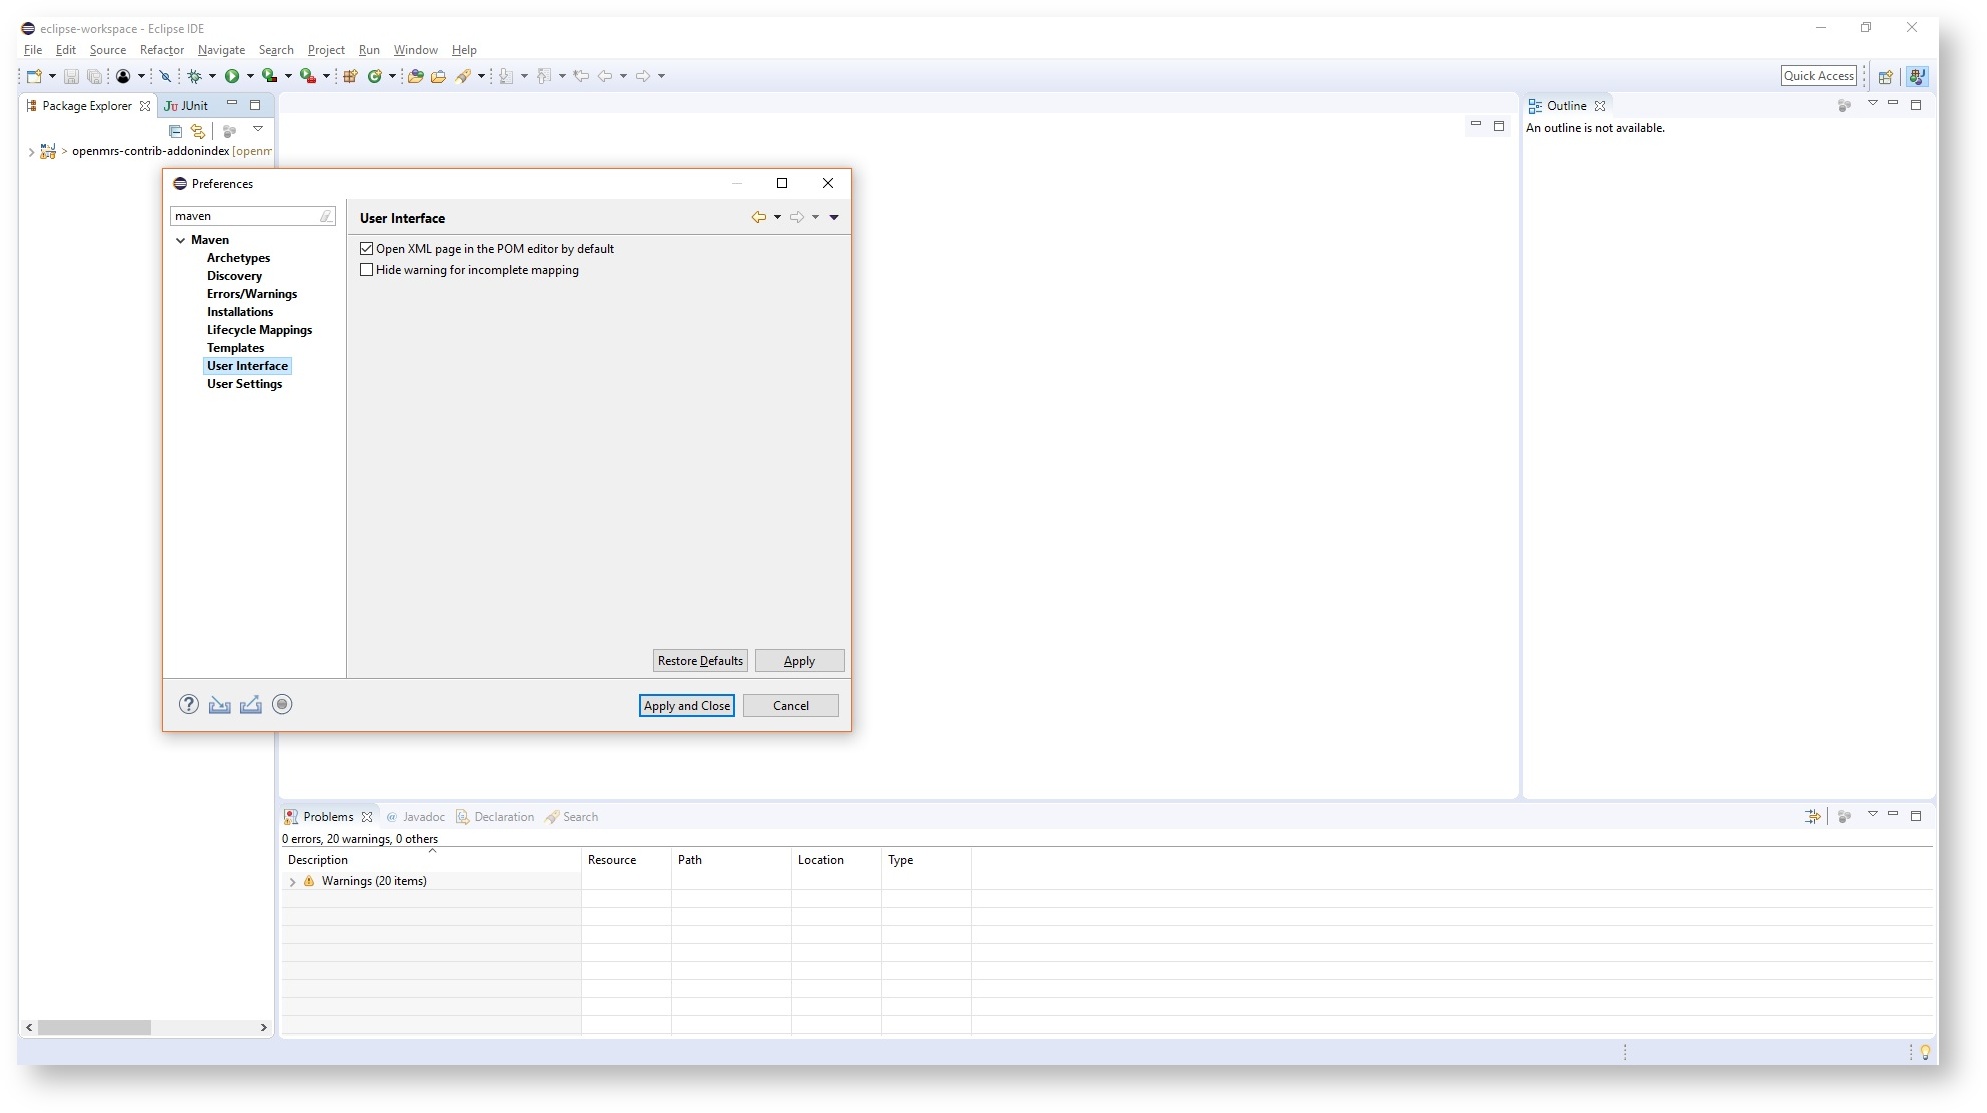
Make sure the checkbox is checked as shown.
Download Source Code and JavaDocs
It is very useful to see the JavaDocs and navigate to the source code of libraries you are using in your code to get a better understanding of these libraries.
For this to work from within Eclipse you need to enable Maven to download the source code and JavaDocs which you can do by opening the Eclipse preferences using Window → Preferences and entering the search term "maven" as shown here:
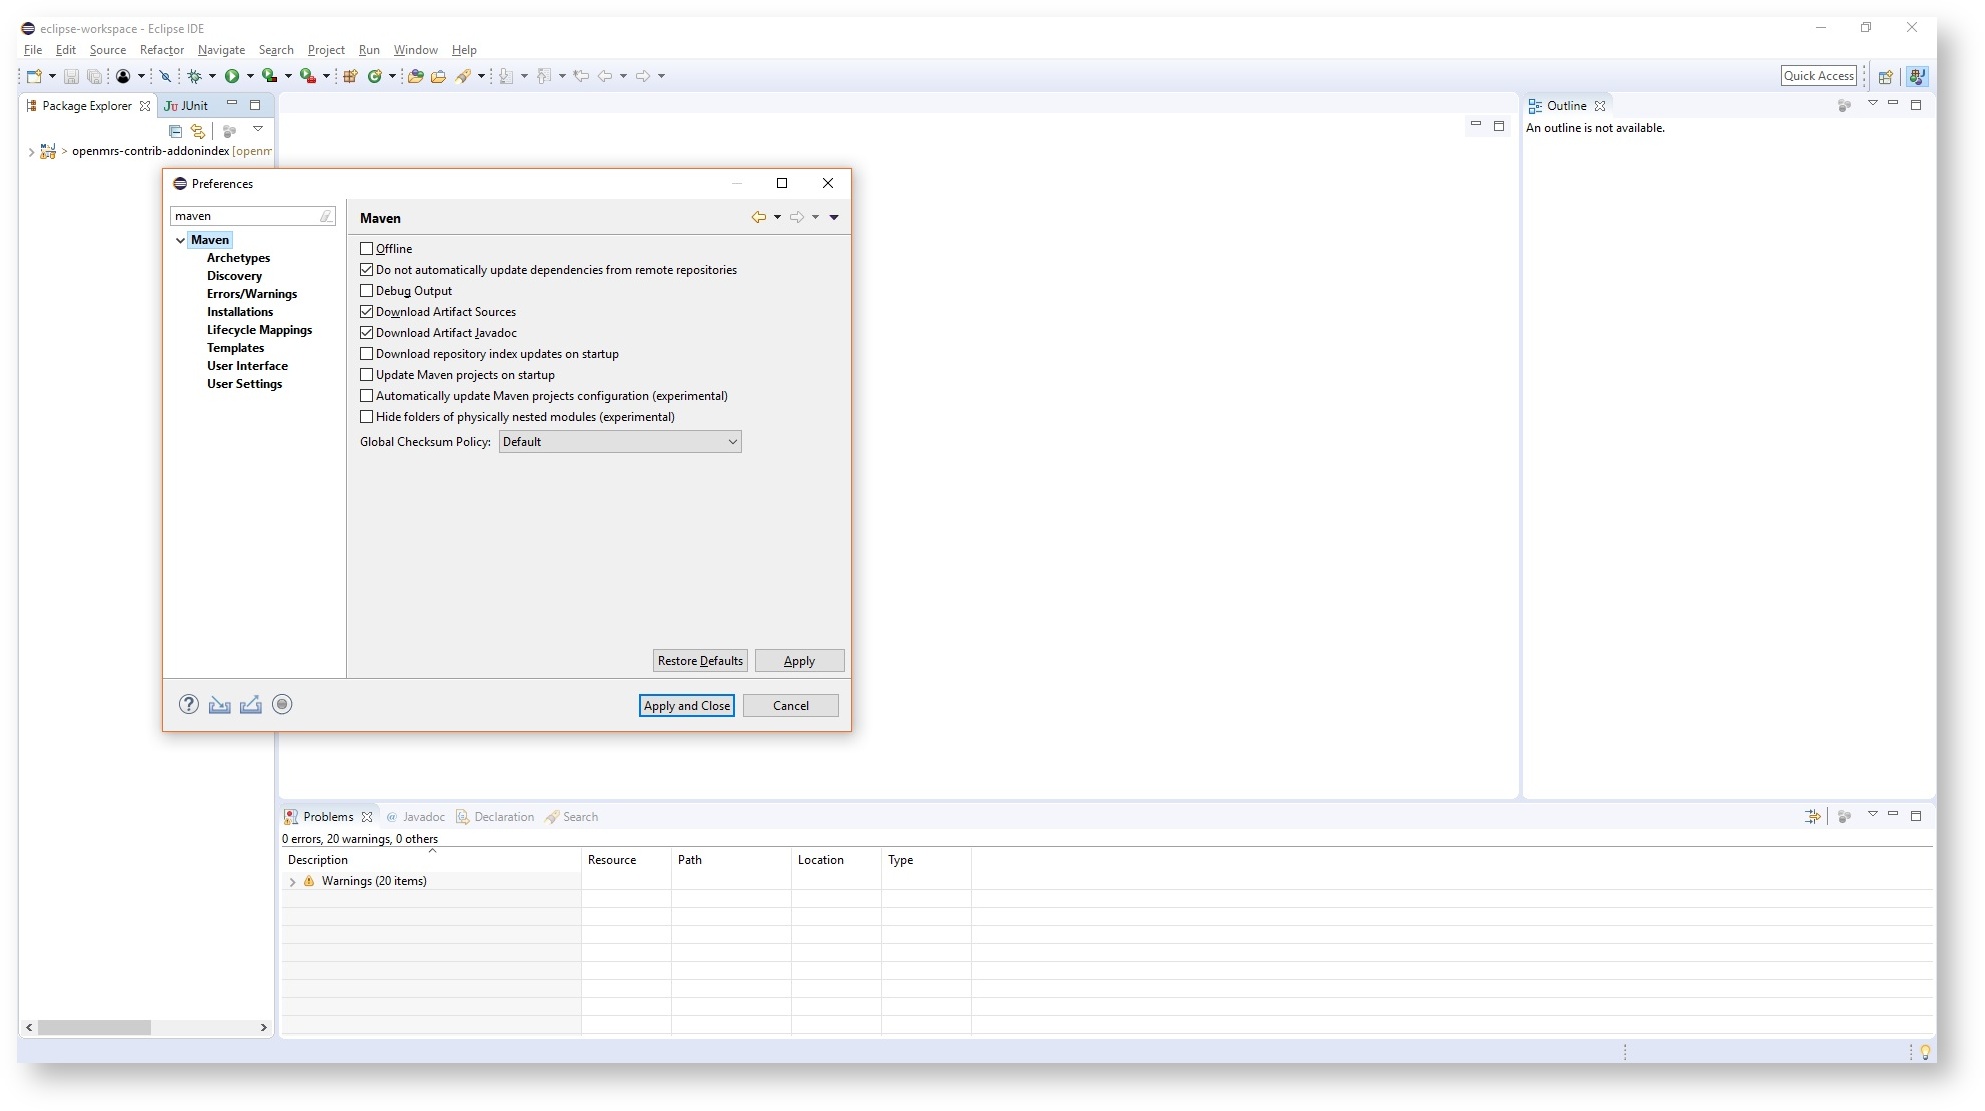
Ensure you check
- Download Artifact Sources
- Download Artifact JavaDoc
You might need to wait or right click on your Maven project and click on Maven → Update Project for it to trigger.
Tips on How To Use Your IDE
Import a Project with an Existing Source
Use Case
- You have an existing Eclipse workspace folder.
- You no longer have projects in Eclipse for the source code in the workspace folder
Solution
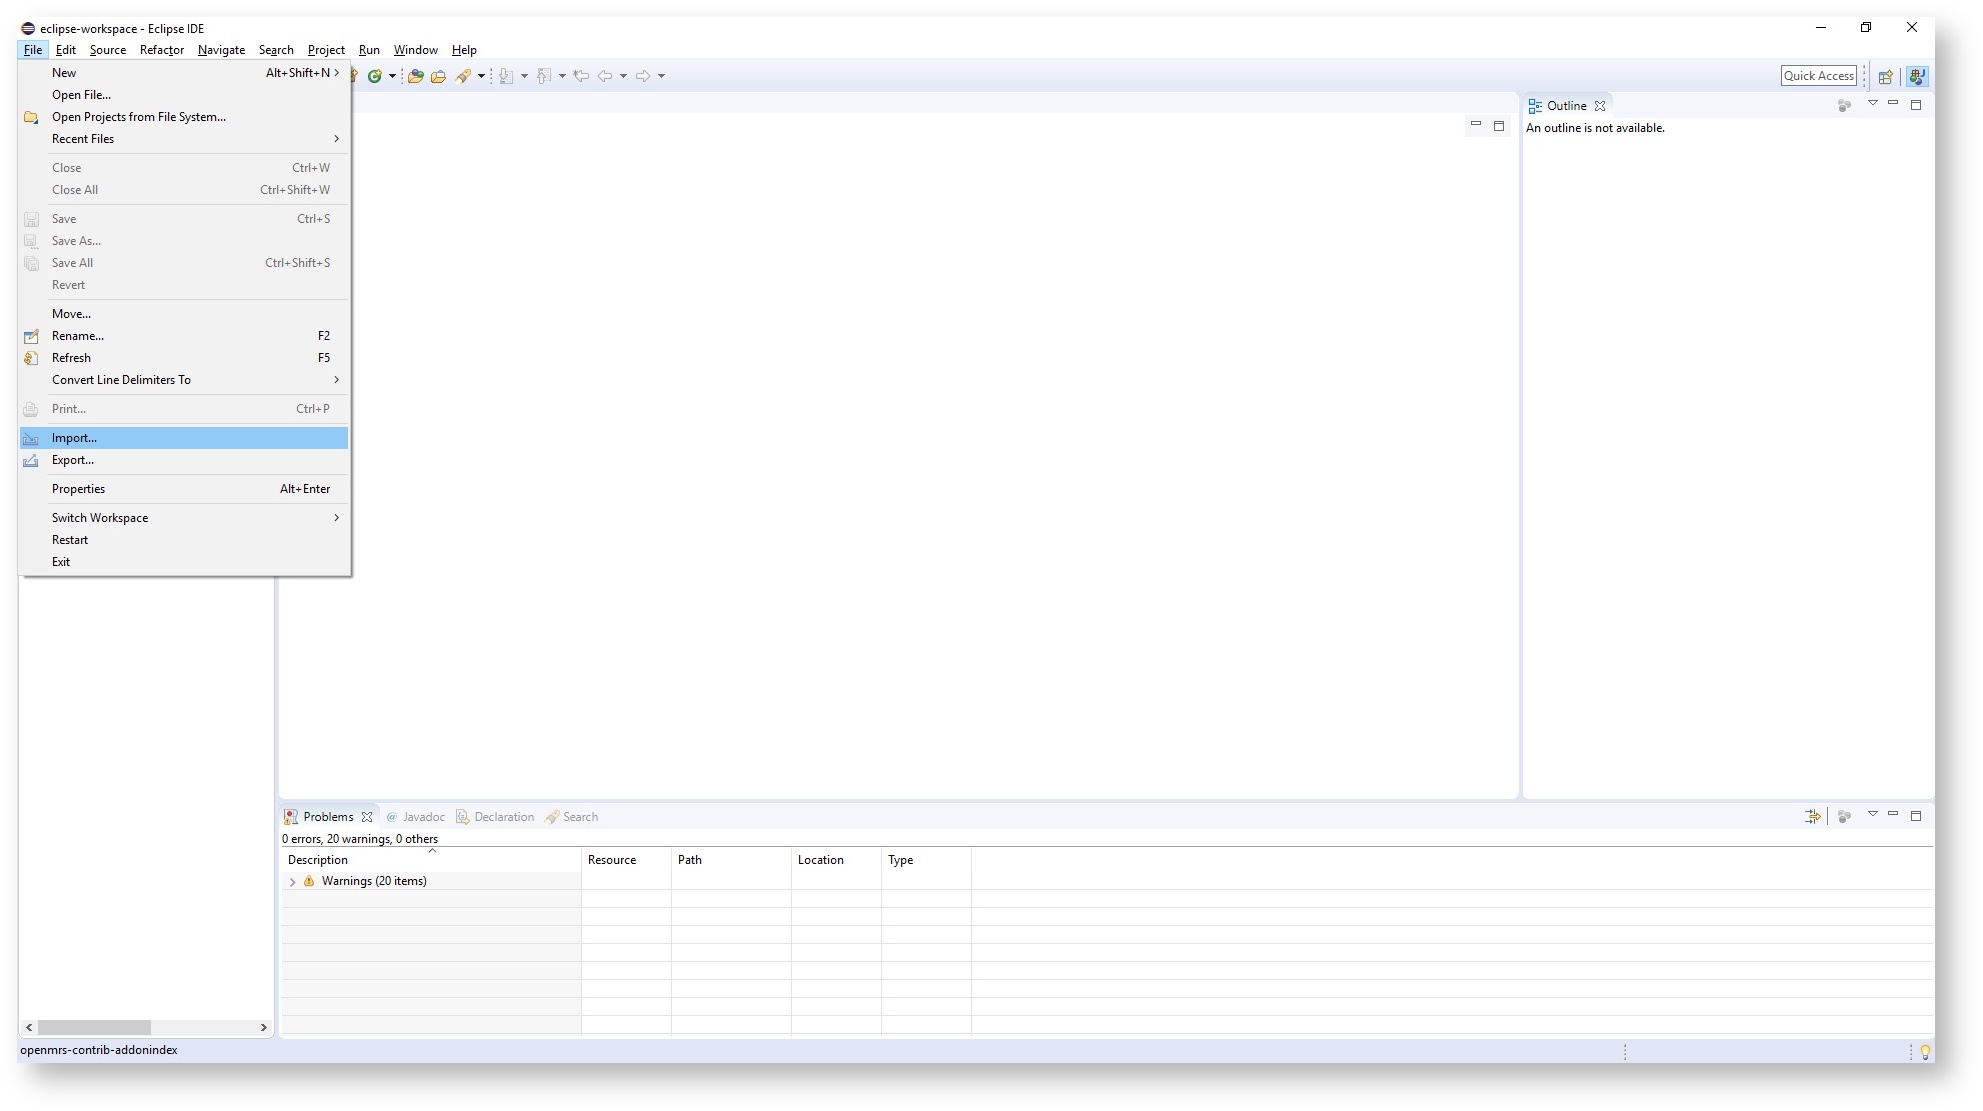
In order to import an existing project into your current workspace begin by navigating to File → Import...
You will be greeted with an import window with a list of import wizards. Next you will want to navigate to General → Existing Projects into Workspace, select it and continue with Next as shown here:
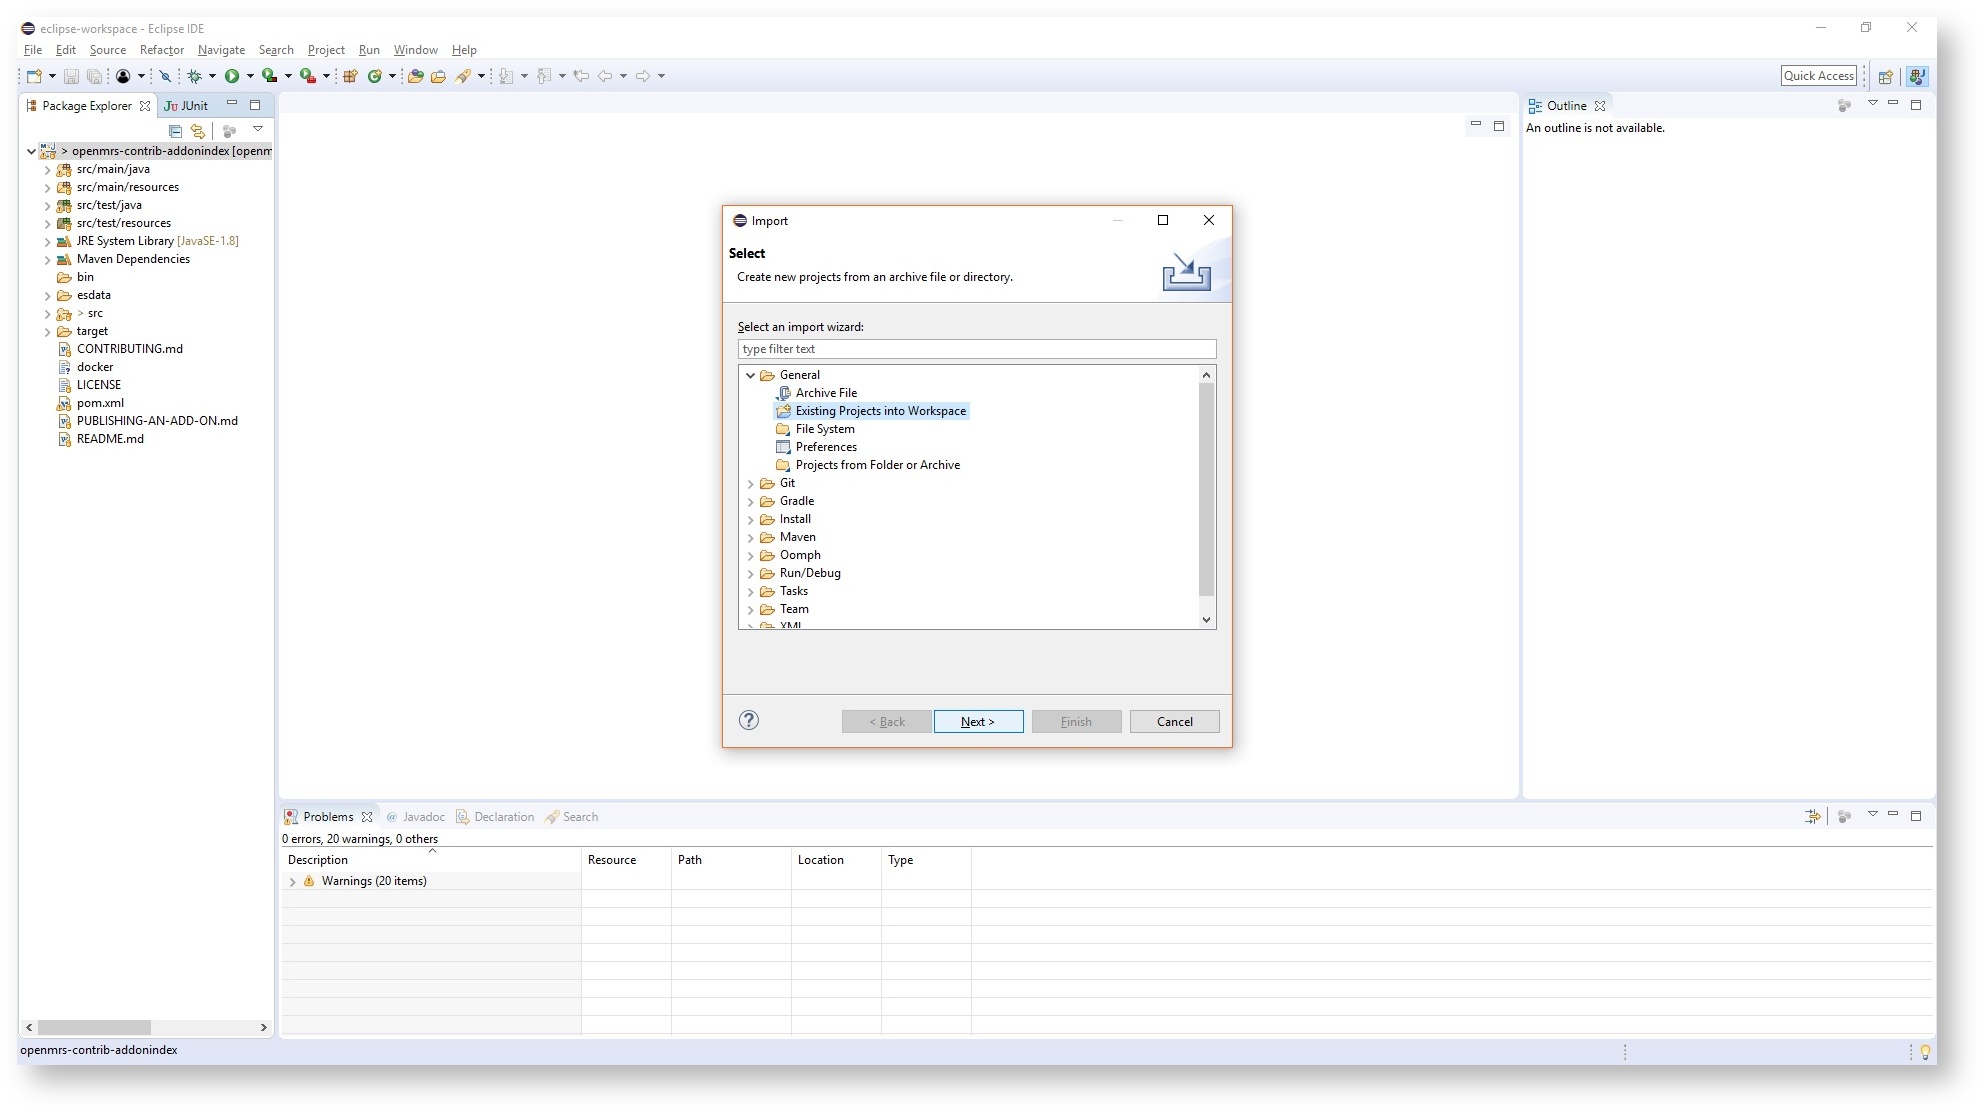
Upon selecting Next you will be greeted with a screen similar to the one portrayed here:
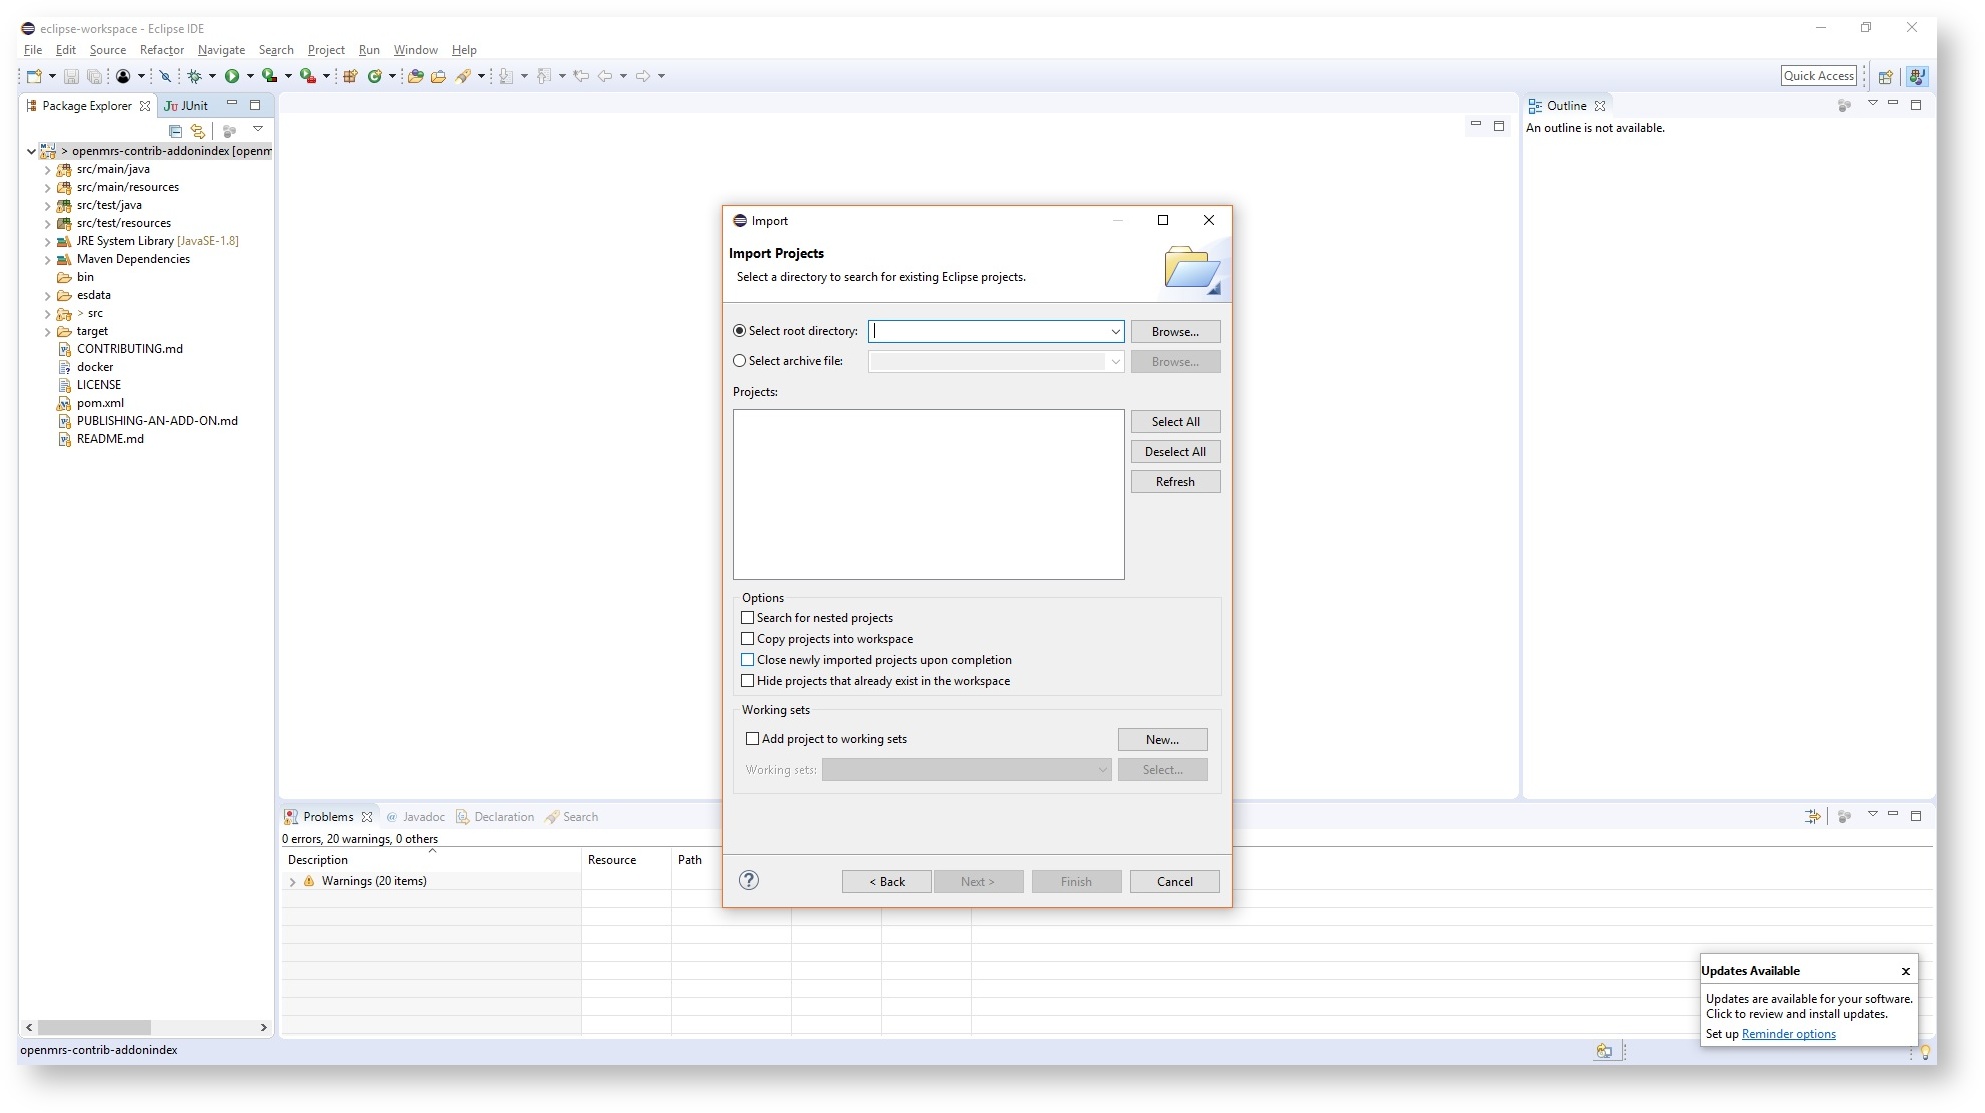
From here simply browse for your directory, select all of the wanted projects and select Finish
Debug a Web Application with Eclipse
Add the following to the java command used to launch Tomcat (e.g., in the service settings if running as a Windows service or in the /etc/init.d/tomcat6 file in Linux under JAVA_OPTS):
-Xdebug
-Xnoagent
-Xrunjdwp:transport=dt_socket,server=y,suspend=n,address=5000
After you should launch Debug Configurations... using IRun → Debug Configurations...
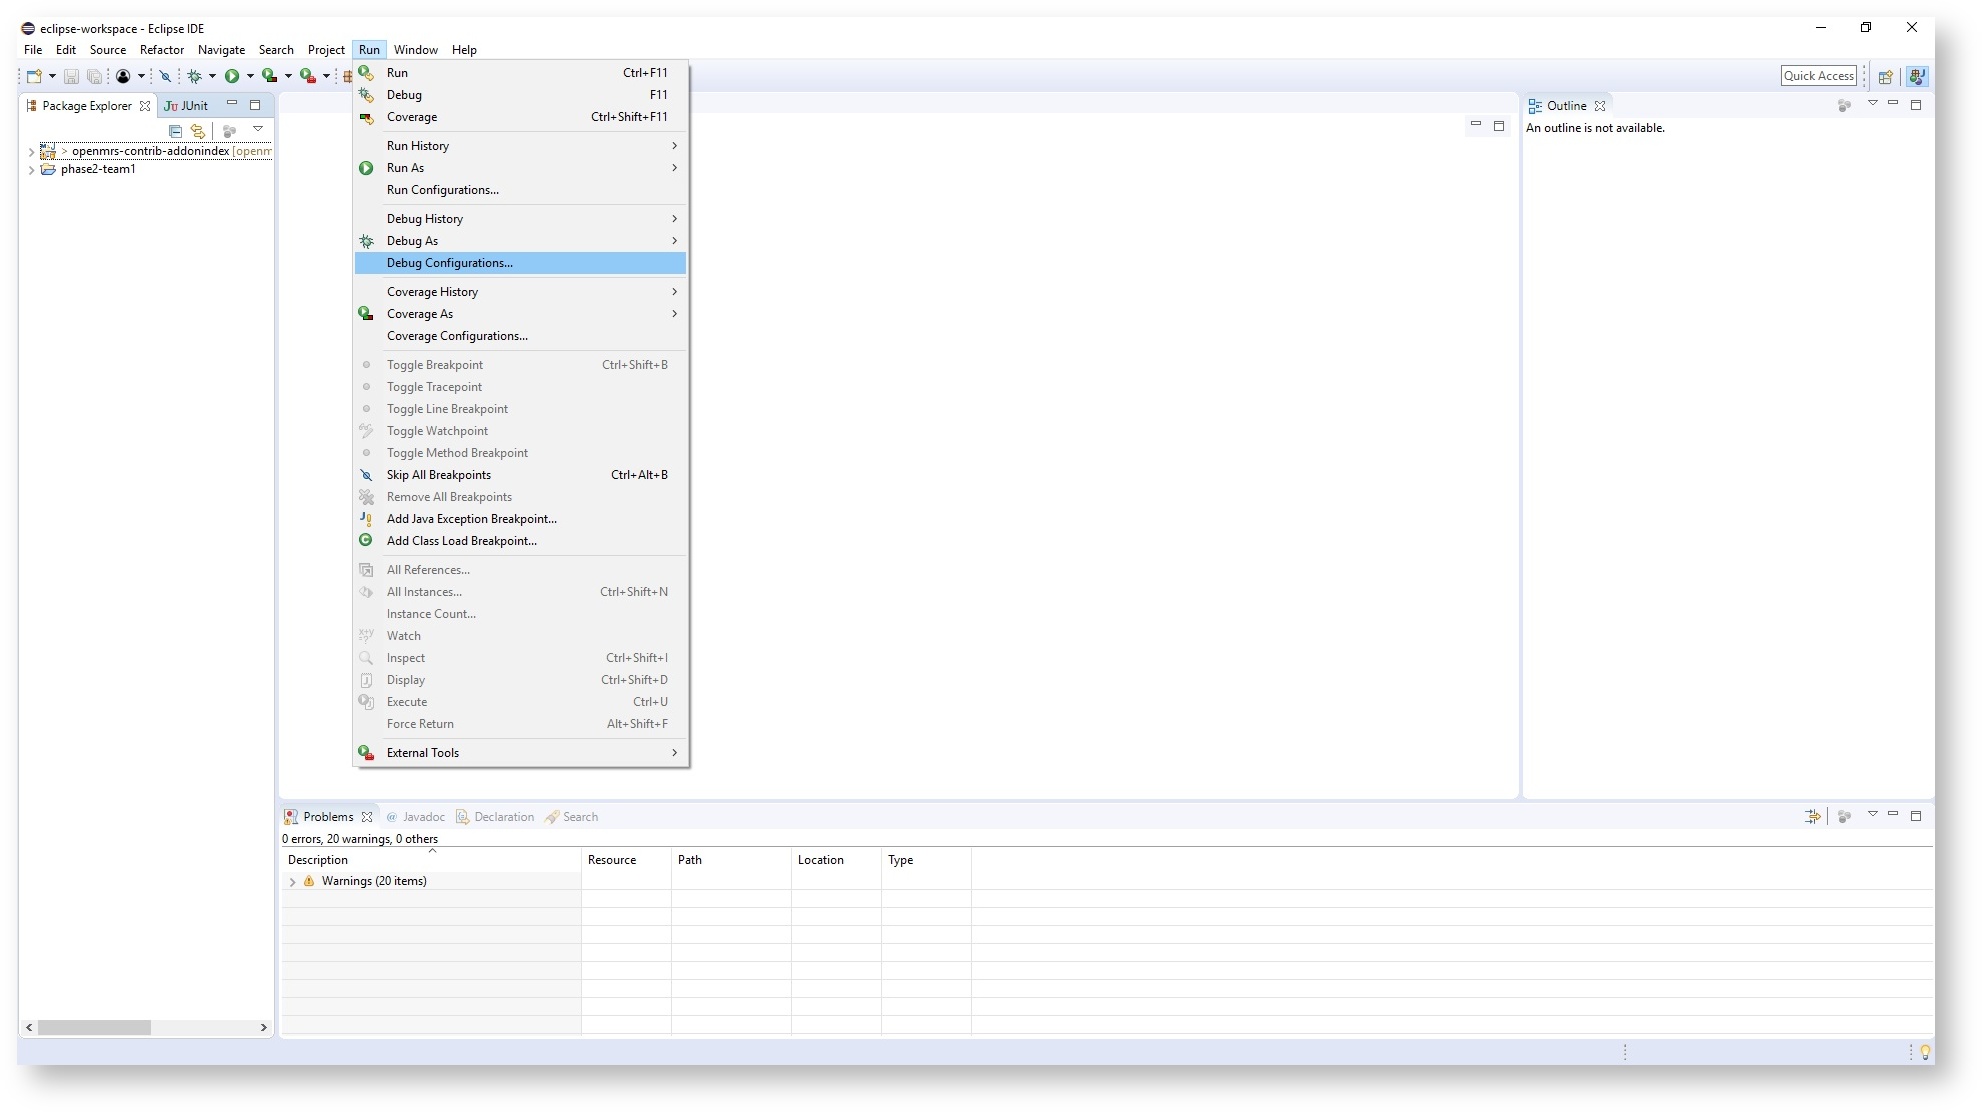
Once launched you will be greeted with a window. In the left sidebar find the option Remote Java Application and double click to open it as shown here:
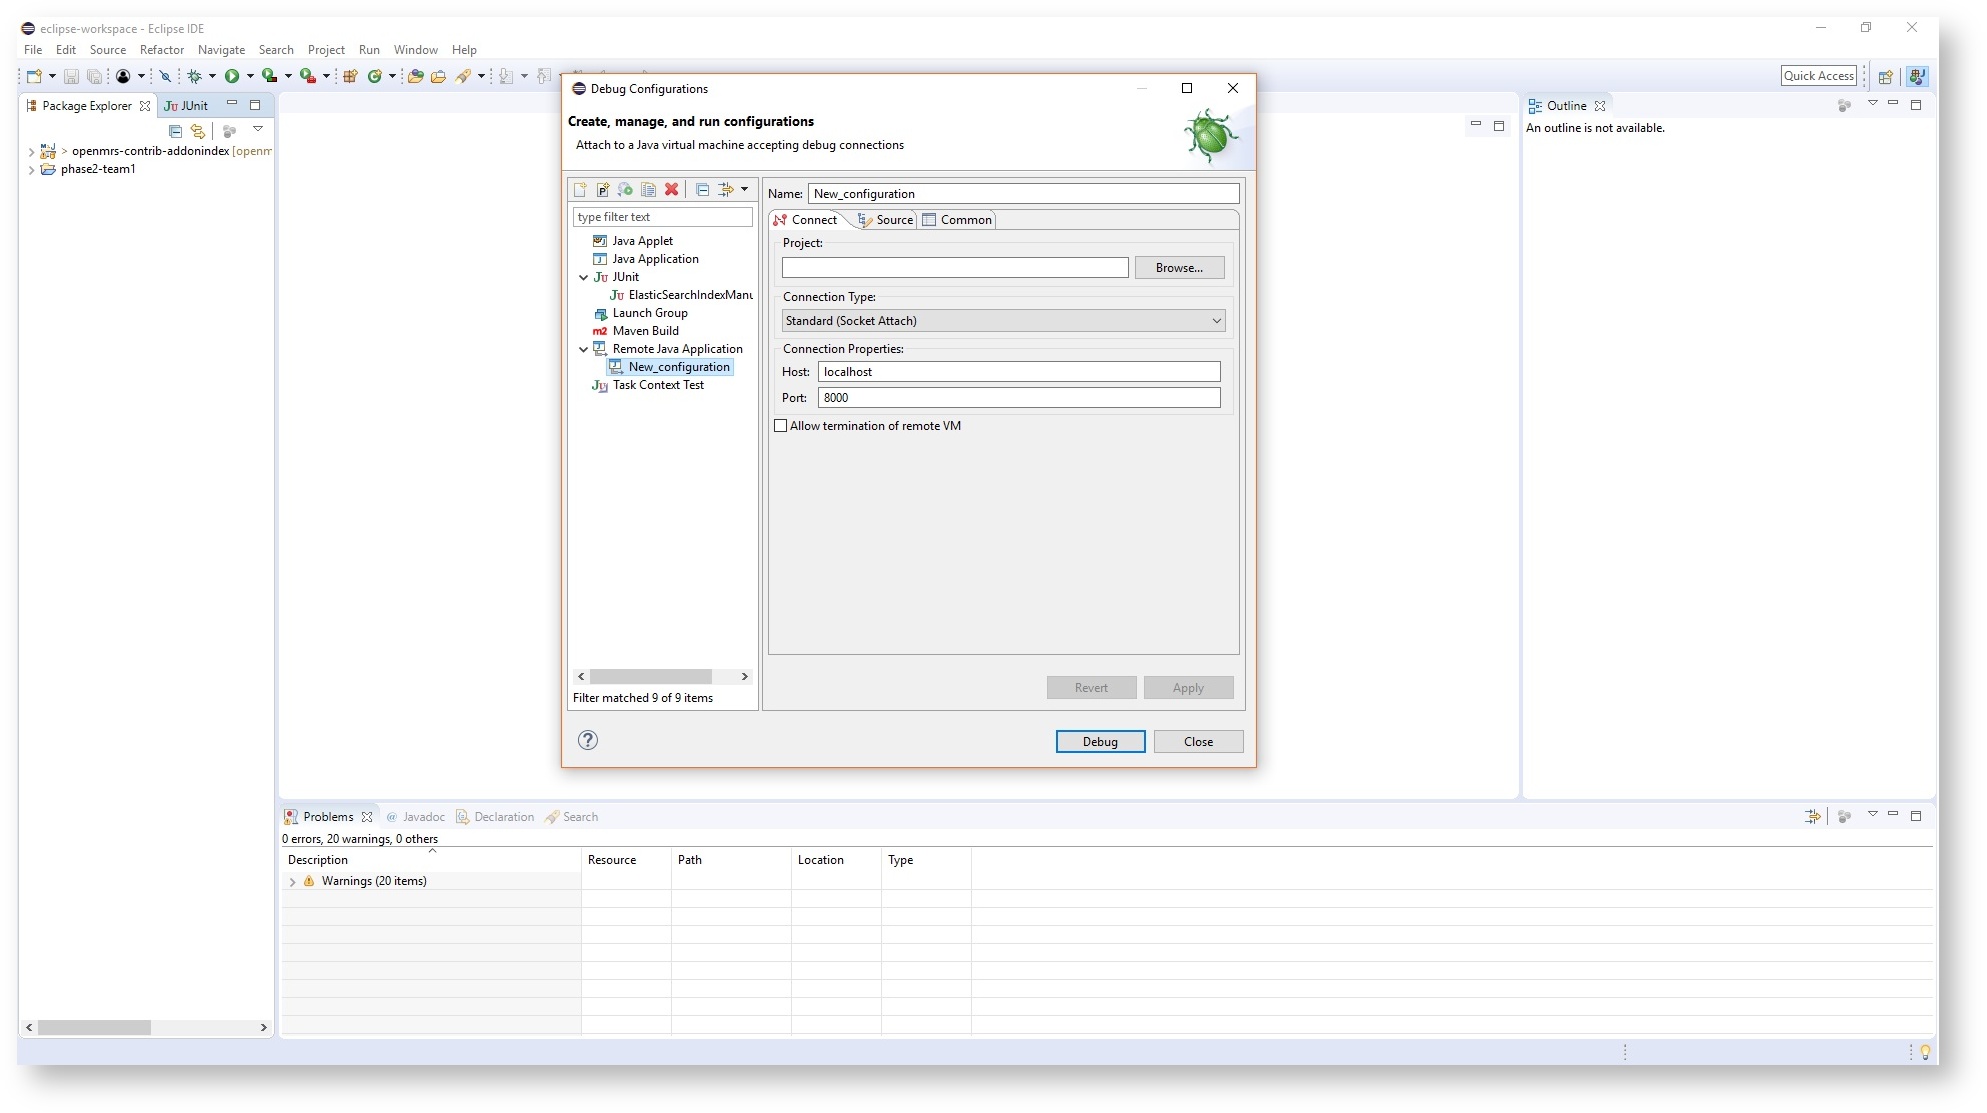
Start up tomcat and then debug with this new Remote Java Application and breakpoints within the code will open within Eclipse.
- Notes:
- Tomcat 6 users start debugging by running catalina.sh jpda start to debug on port 8000
Debug a Module with Eclipse
Follow the steps above to set up eclipse for debugging.
In the second screenshot (the Debug dialog box), you'll see a "source" tab. Add your module's project to that list and your breakpoints will be picked up.
'Watch' Variables (while debugging)
While debugging a program, select (highlight) a variable or expression and then select Watch from the Run menu or context menu.
Toggling breakpoints in your code
Use the Window → Show View → Other... menu item to open a dialog of possible views. Find Debug → Breakpoints and select it. The breakpoints view will list all defined breakpoints and let you optionally enable/disable/remove them.
Automatically clean up format or style
You might find yourself taking over the development of an existing module that others wrote and could use a little clean up. Let us say it misses for example the @Override annotation in a lot of places. In such cases Eclipse can help automate this repetitive tasks.
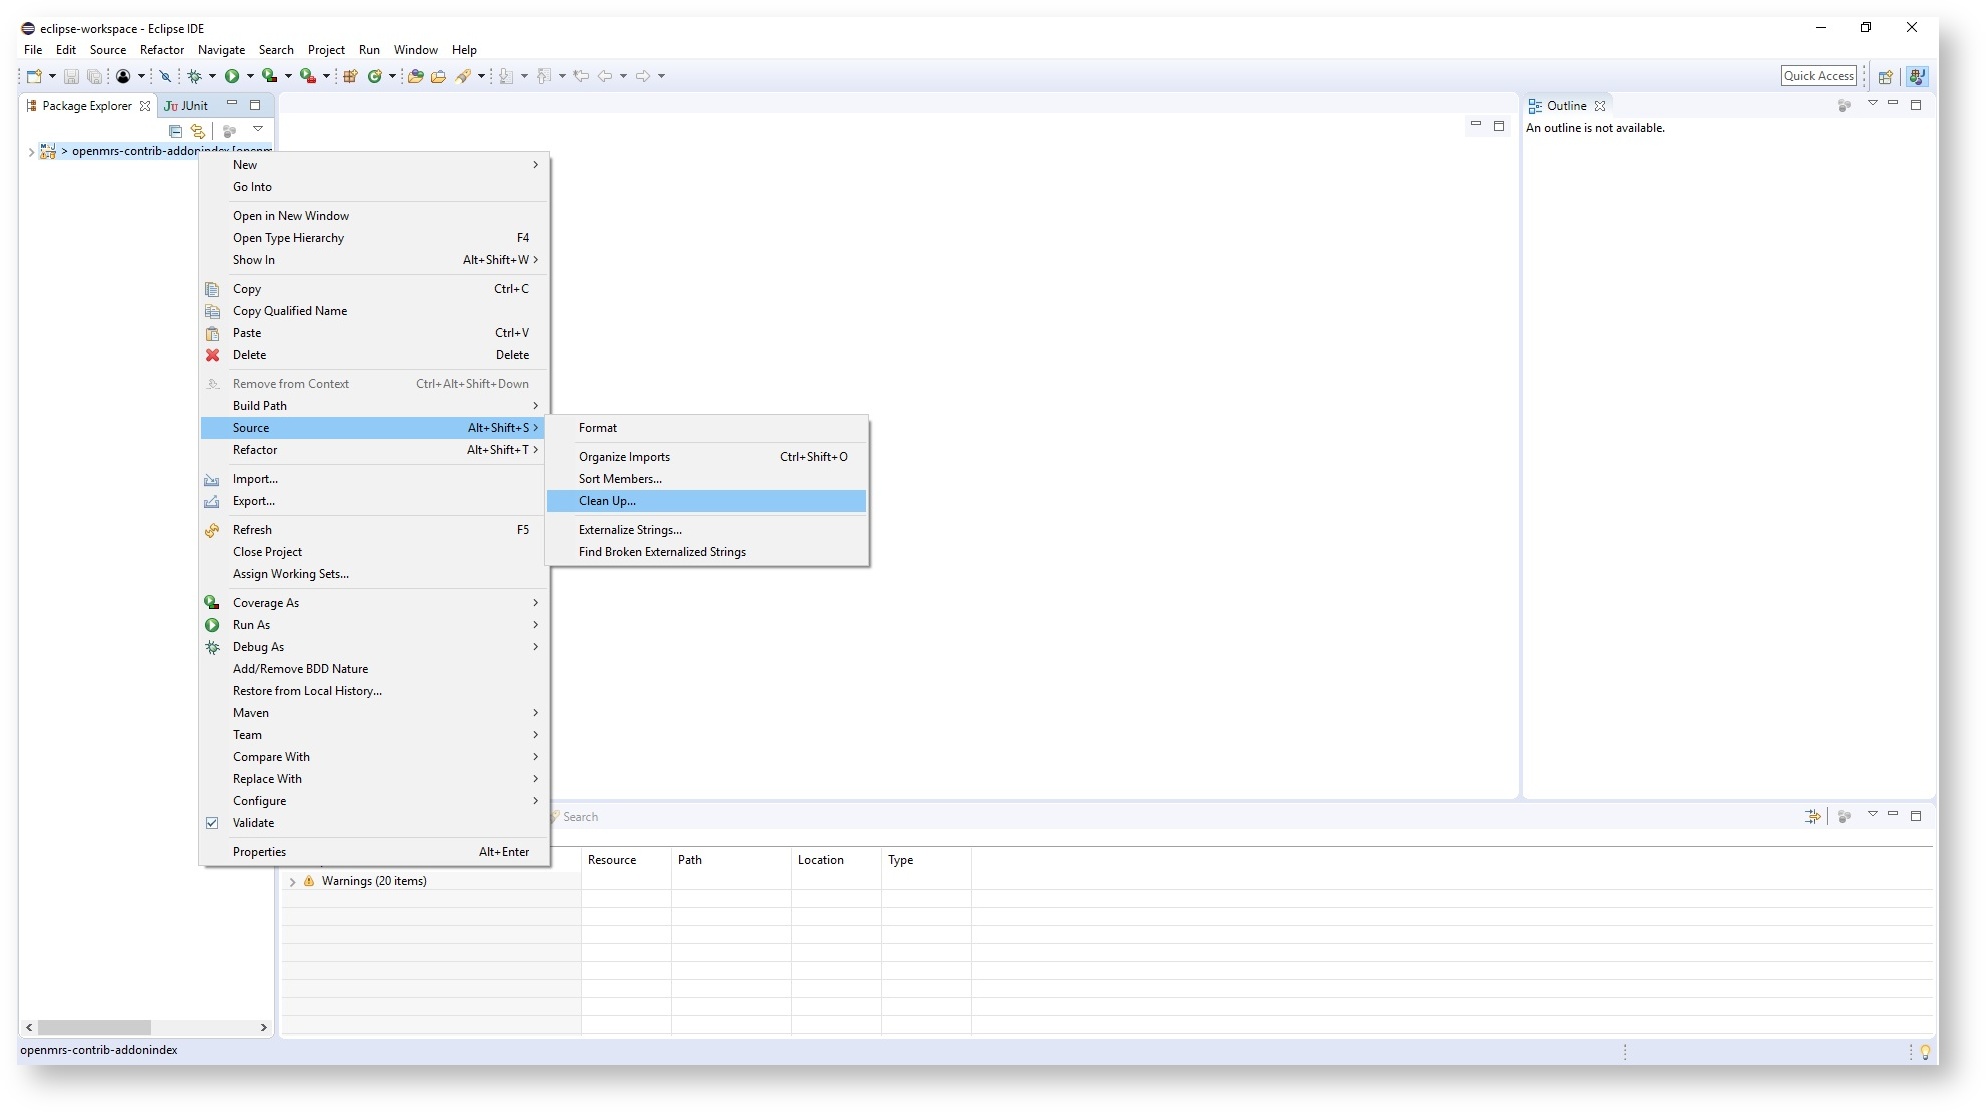
Eclipse provides you with a "Clean Up" feature where you can configure it to format the code according to your formatter settings or take another action like remove white spaces, fix indentation, add a missing override annotation, ...
Open the Eclipse preferences using Window → Preferences and enter the search term "clean up" which should show Java → Code Style → Clean up under the results in the left pane like shown here
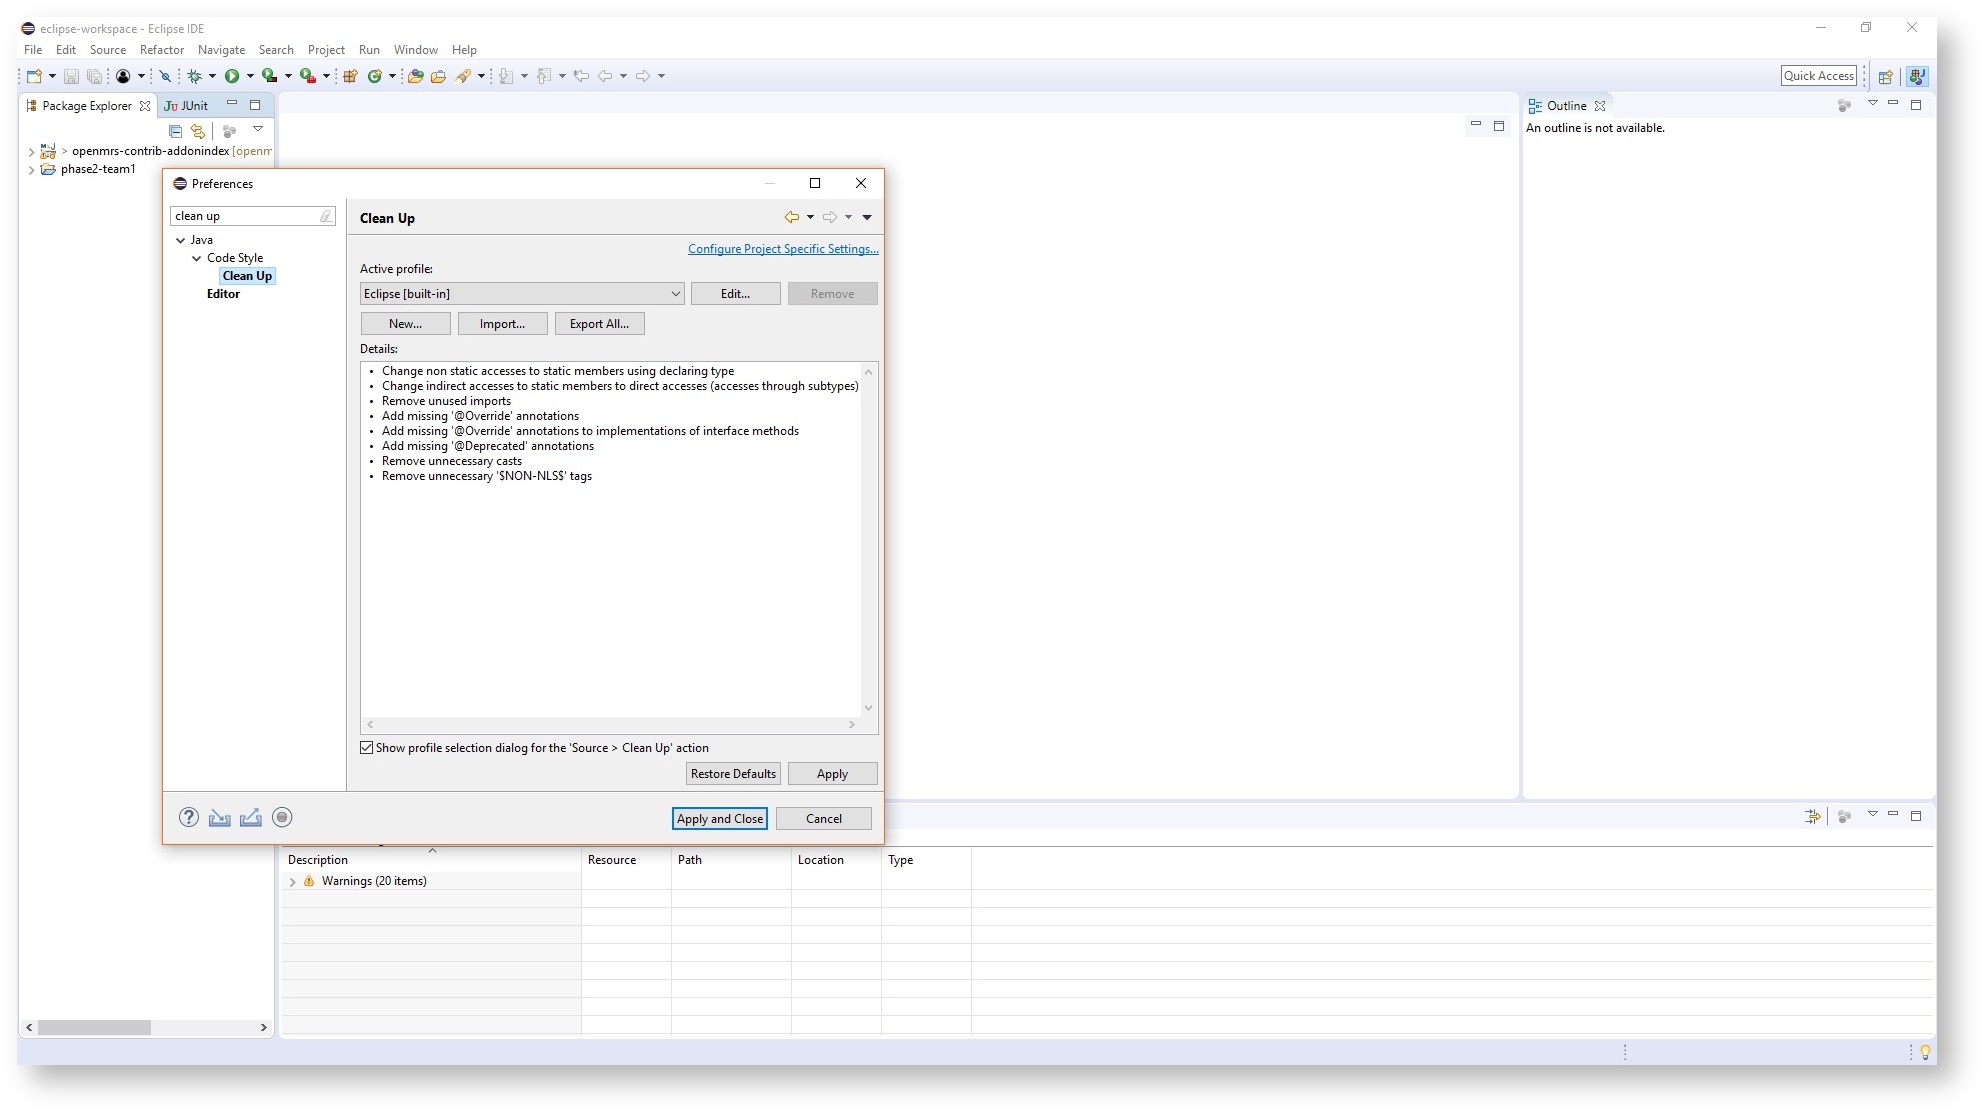
Click 'New...' to create a new profile, in our case we call it 'add override annotations' and you select just what you want to clean up. The options are just like in the save actions settings dialog.
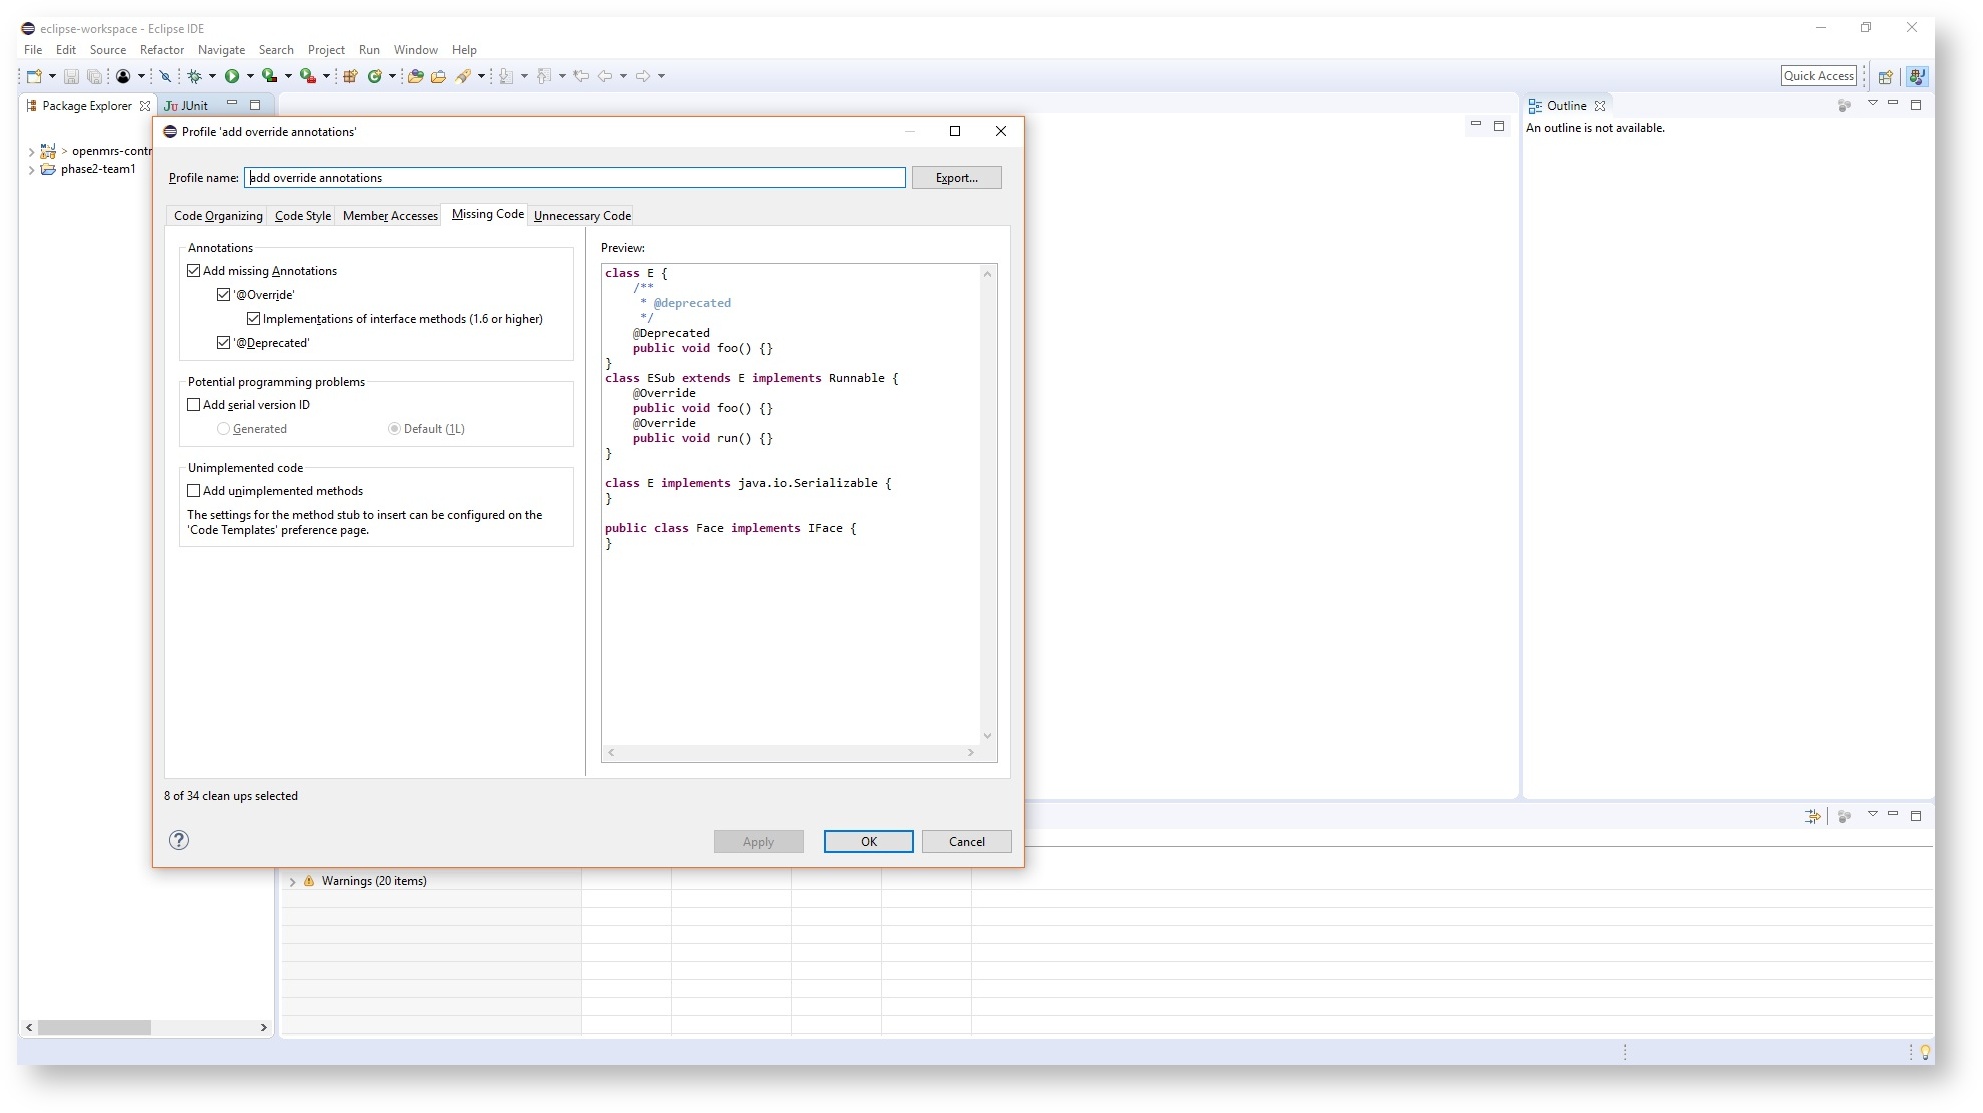
Make sure you only select what you want to change.
Now to clean up all the files in your project you open the Eclipse project explorer and go to the package view, right click and select 'Source' → 'Clean Up' as shown below