Schedule Appointment (Reference Application)
This tutorial will provide a quick guide on how to schedule patient appointments either from the patient overview screen or from the OpenMRS home screen.
Scheduling an Appointment for a Selected Patient
If a patient is already selected, a new appointment can be scheduled from the patient overview screen. To schedule a new patient appointment complete the following steps:
- On the right side of the screen under General Actions, click Schedule Appointment.

- At the bottom of the screen under the heading Schedule a New Appointment, begin typing in the Select Service Type box to search for the type of appointment, or click View all types to select the service type from a list.
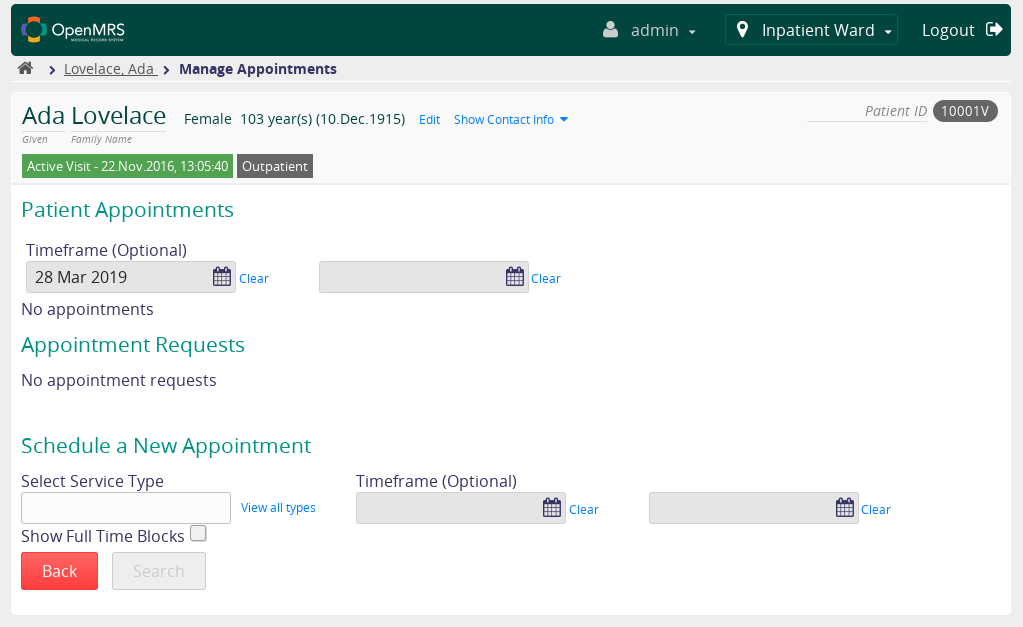
- Select an appointment date by clicking the calendar icon in the date selection box on the left and picking a date from the calendar popup.
- Optionally, create a time frame to search for available appointment times by clicking the calendar icon in the date selection box on the right and picking an end date from the calendar popup.
- Select the desired time block from the list of results by clicking on the corresponding entry in the table of time blocks.
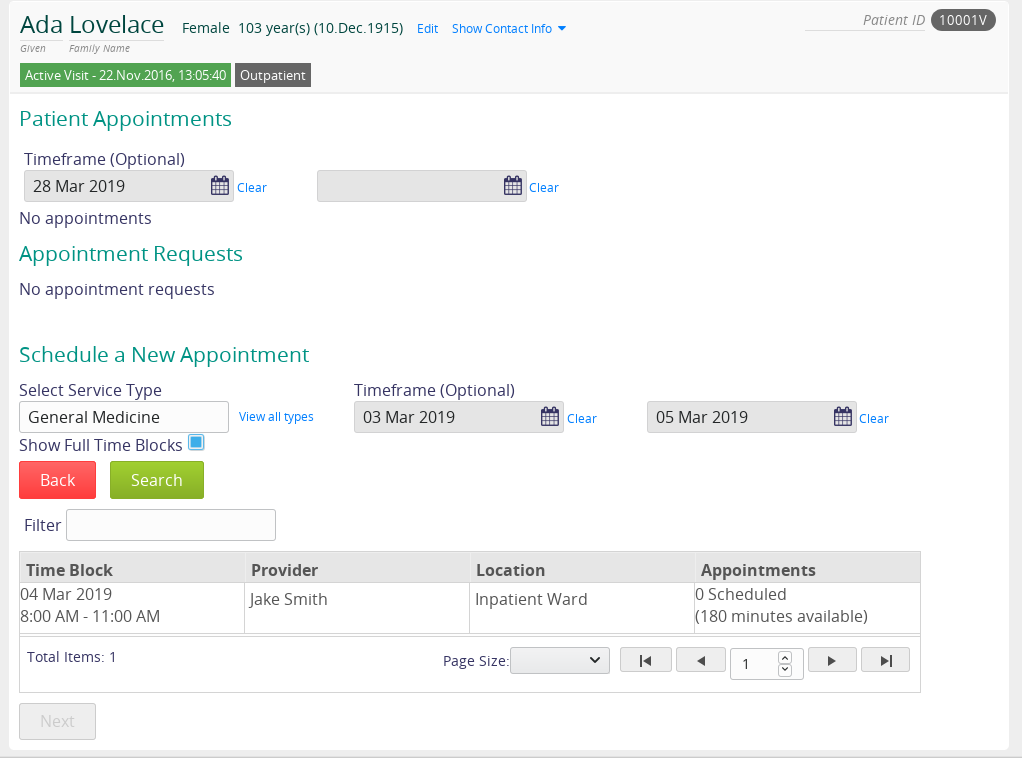
- Click Next at the bottom of the screen.
- Optionally, enter any desired additional notes for the health care provider.
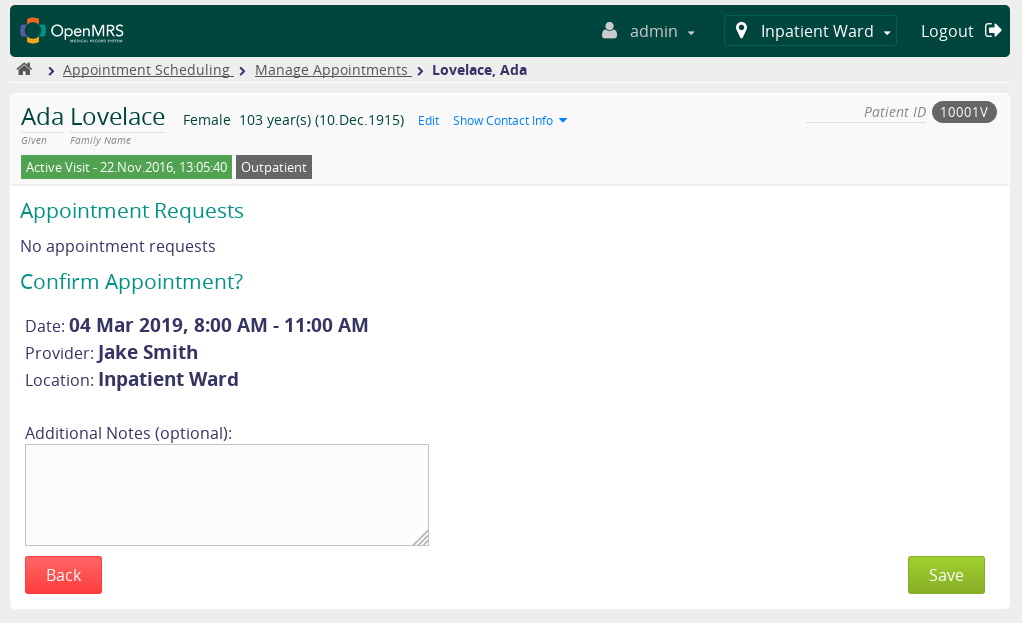
- Click Save at the bottom of the screen to schedule the appointment.
Scheduling an Appointment from the Home Screen
If a patient has not been selected, a new appointment can be created from the OpenMRS home screen by completing the following steps:
- On the OpenMRS home screen, click Appointment Scheduling.
- Click Manage Appointments.
- Search for the patient to schedule an appointment for by typing a name or patient ID into the search bar.
- Select the desired patient by clicking that patient's entry in the results table.
- Follow the instructions for Scheduling an Appointment for a Selected Patient starting from step 2.