Using Keycloak for SMART-on-FHIR Support
This page provides a step-by-step tutorial to setup OpenMRS paired with a Keycloak server to provide SMART-on-FHIR support. SMART-on-FHIR is a set of techologies that allows third-party applications to securely connect to an EHR as a data source. The intention is to allow the creation of applications that leverage EHR data in an EHR-agnostic manner. To implement the SMART-on-FHIR App Launch Framework, we use Keycloak, an open source identity and access management solution. The key feature that Keycloak provides is authentication using the OAuth2 protocol, which is at the heart of the SMART-on-FHIR App Launch Framework.
The complete solution to integrate Keycloak and OpenMRS to allow third-party apps to securely access OpenMRS's data via FHIR needs both a recent verison of the OpenMRS Reference Application, a version of Keycloak, and the following new repositories.
- openmrs-module-smartonfhir - This is an OpenMRS module that implements the necessary web components to support the SMART-on-FHIR App Launch Framework
- openmrs-contrib-keycloak-smart-auth - This is a simple Keycloak plugin that provides an implementation of the extensions to the OAuth2 protocol used by the SMART-on-FHIR App Launch Framework
- openmrs-contrib-keycloak-auth - This is a even simpler Keycloak plugin that allows using the OpenMRS user table as a Keycloak user database.
Step-by-step tutorial
1. Clone the SMART-on-FHIR module from GitHub
Go to your working directory and open the terminal, type:
git clone git@github.com:openmrs/openmrs-module-smartonfhir.git
2. Build the project:
cd openmrs-module-smartonfhir
mvn clean install
3. Install the module
After successfully building the smartonfhir module, you will find it at openmrs-module-smartonfhir/omod/target/smartonfhir-{version}-SNAPSHOT.omod
Copy this file into the module directory of your OpenMRS app data folder (e.g. ${HOME}/.OpenMRS/modules) or (Windows + R > %APPDATA%>OpenMRS>Modules).
4. Restart OpenMRS
If you are running Jetty in a typical dev environment setup, then kill the already running instance of jetty (CTRL + C) and then run "mvn jetty:run" again.
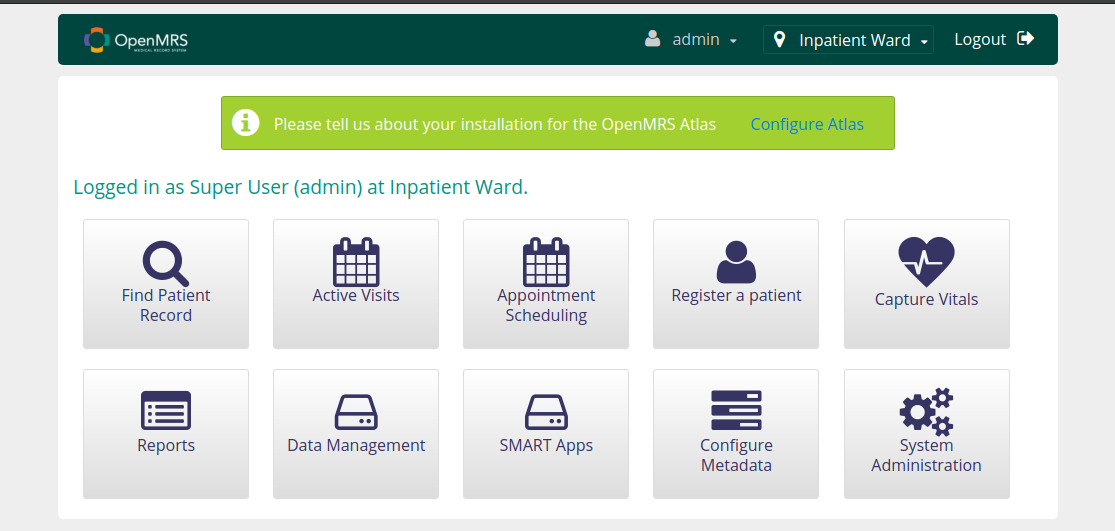
5. After restarting, you should see the Smart Apps icon on the home page.
6. Back to working directory and download the Keycloak
Keycloak 14.0.0 was used for this guide.
7. Start the keycloak server
Unzip the downloaded file, then open the terminal and type:
cd keycloak-14.0.0
sudo ./bin/standalone.sh -Djboss.socket.binding.port-offset=100
8. After the successful run, Visit http://localhost:8180. You should see this page:
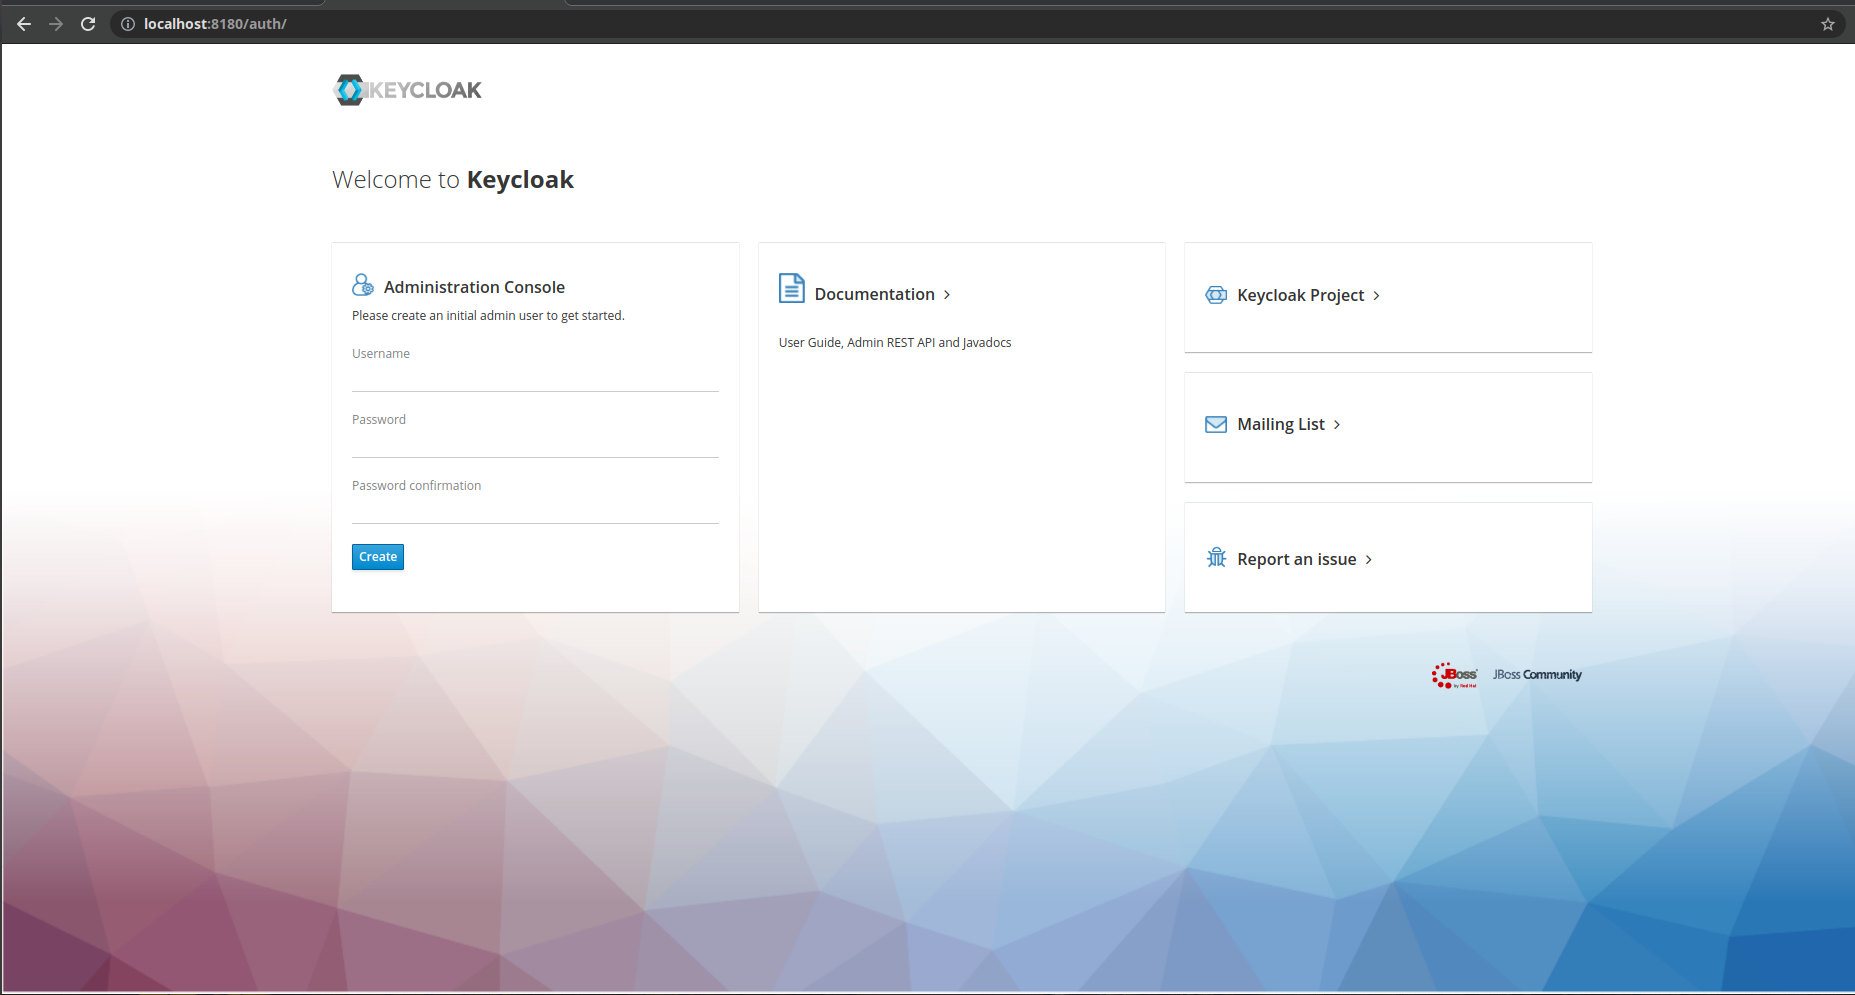
Create an admin account and then login with those credentials.
9. After the login, you will see this page:
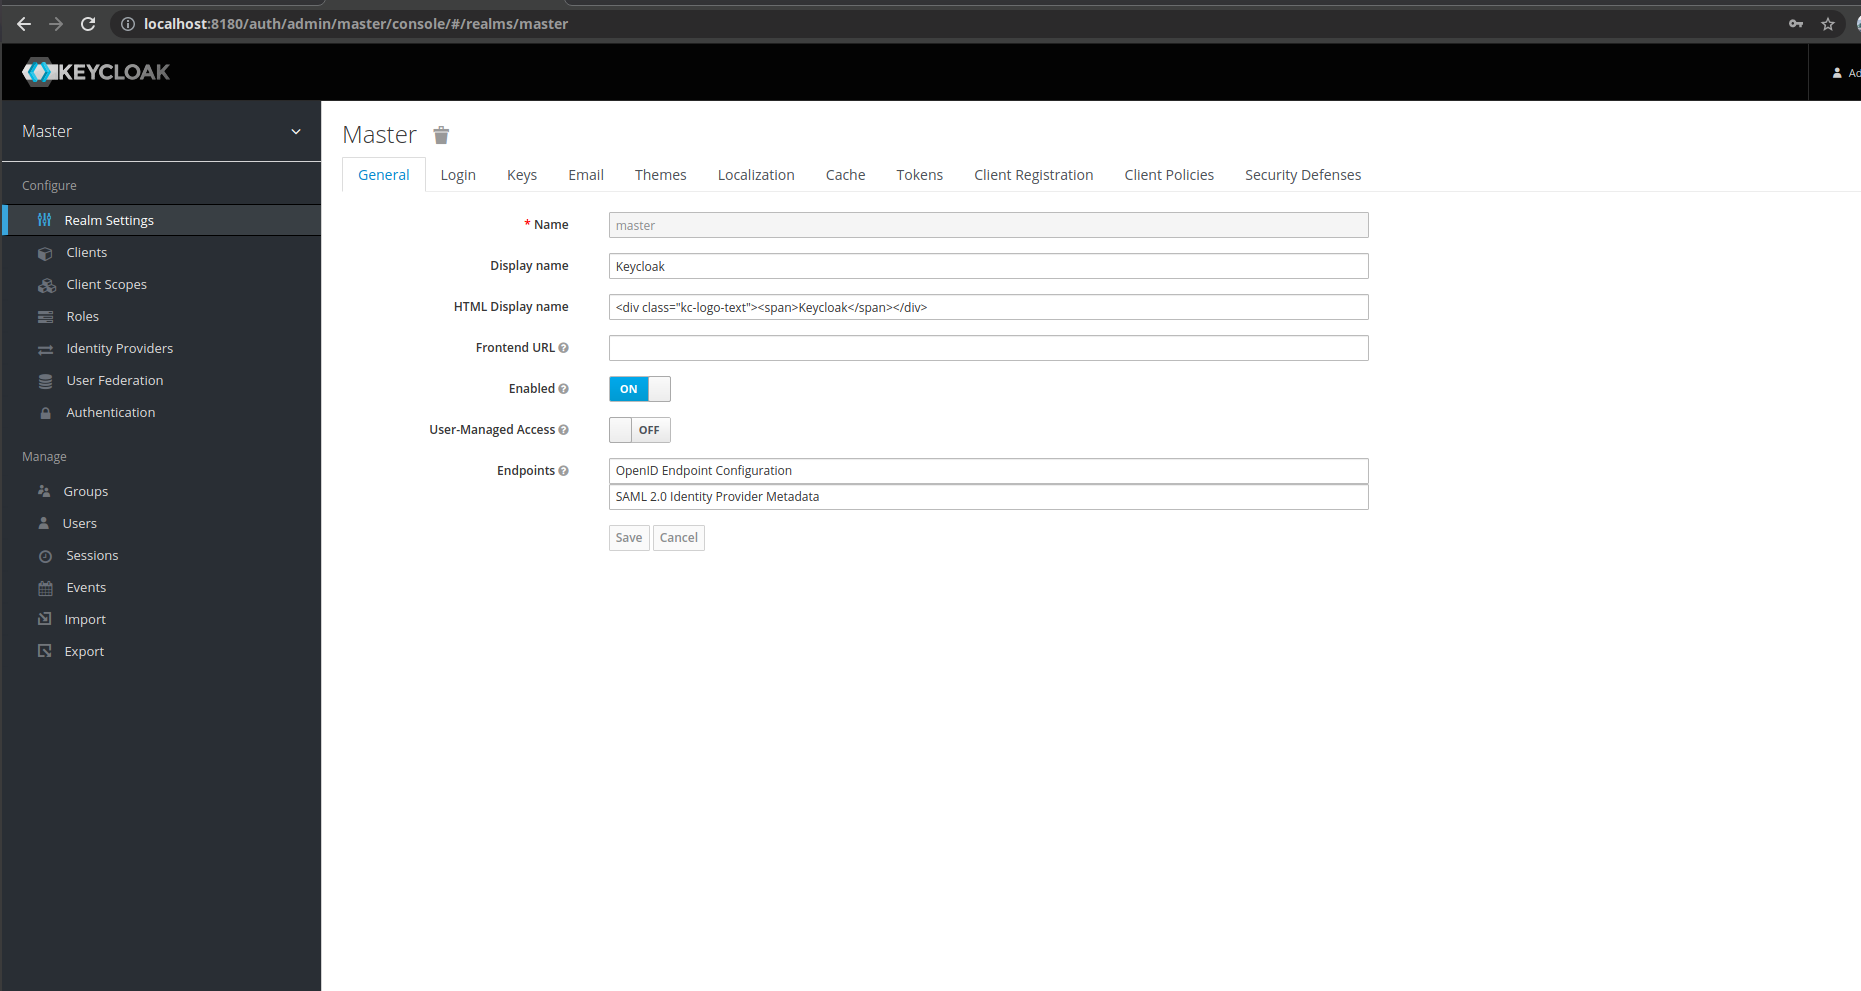
At this point, you have successfully started the Keycloak server.
10. Clone and install Keycloak plugins
For openmrs-contrib-keycloak-smart-auth
Go to your working directory and then terminal, type
git clone https://github.com/openmrs/openmrs-contrib-keycloak-smart-auth.git
Build and install
cd openmrs-contrib-keycloak-smart-auth
mvn clean install
After the successful build, you will find openmes-keycloak-ear/target/openmrs-keycloak-smart-authentication-1.0.0-SNAPSHOT.ear
Copy this file and paste it to your {working_directory}/keycloak-14.0.0/standalone/deployment.
For openmrs-contrib-keycloak-auth
Go back to your working directory, again open your terminal, type:
git clone https://github.com/openmrs/openmrs-contrib-keycloak-auth.git
Build and install
cd openmrs-contrib-keycloak-auth
mvn clean install
After the successful build, you will find openmes-keycloak-ear/target/openmrs-keycloak-1.0.0-SNAPSHOT.ear
Copy this file and paste it to your {working_directory}/keycloak-14.0.0/standalone/deployment.
IMPORTANT NOTE: The names of both the plugins look similar, but they are different.
11. Setup Keycloak
Follow the video, this video is for Demo SMART APP.
After this configuration, you are ready to launch Demo SMART APP.
Test Demo SMART App
Here is the Github repo of a small demo SMART app.
If everything works, the flow will look like this.
Register a new SMART APP in OpenMRS
1. Launch your OpenMRS instance.
2. Go to Home > System Administration > Manage Apps and then click on Add App Definition button.
3. Here you will need to provide all the necessary information regarding the SMART launch. Here is an example template. Here you can see the Demo SMART App definition.
  {
    "id": "smartapps.{ID}",                                               // e.g. "smartapps.myfirstsmartapp" (Add the same ID as in App ID section)
    "description": "{Description}",
    "order": 1,
    "config" : {
      "launchUrl" : "{Endpoint}",                                         // e.g. "http://127.0.0.1:9090/launch-standalone.html"
      "launchType" : "standalone",
      "launchContext" : "{launchcontext}",                                // e.g. "patient" or "encounter"
      "fhirVersion" : "{version}"                                         // e.g. "R4" or "R3"
    },
    "extensions": [
      {
        "id": "smartapps.demoappHomepageLink",
        "extensionPointId": "smartAppManagement.apps",
        "type": "link",
        "label": "Demo App Example",
        "url": "smartonfhir/smartAppsRedirect.page?app=smartapps.{ID}",   // same as above e.g. "smartonfhir/smartAppsRedirect.page?app=smartapps.myfirstsmartapp"
        "icon": "icon-hdd",
        "requiredPrivilege": "App: smartonfhir.demoappHomepageLink"
      }
    ]
  }
ID: Unique ID of your new App.
Description: (optional) A description of the App
Endpoint: standalone endpoint for the SMART APP.
launchcontext: Describe what should be included in the token.
- If "patient" is mentioned, the token will only contain the patient's ID.
- If "encounter" is mentioned, the token contains both patient and encounter ID.
version: FHIR Version.