Order Entry End User Guide for Lab Orders
Overview
The order entry UI is an OpenMRS feature that allows medical personnel to add orders through the user interface(UI). This document would guide you on how to use the application to lab Orders. Order Entry UI also supports creating Drug Orders for patients, this is a link to the guide on how to create Drug Order.
Administrator Guide
To be able to work with Order entry lab orders, lab orderable needs to be configured first.
To configure lab orderables, use this guide link.
Layout
The lab order entry UI form should look like this when the page loads:

The page has the following sections:
- An Add Order button.
- When hovered on, Drug Order and Lab Order would be displayed as a drop down.
- Sort drug and lab orders.
- A table presenting all the orders created through the application, each row on the table represents an order. The row is actually an accordion that is collapsed by default, when you click on a row it would expand showing you the full details of the order.
- The table has the following column:
- Date: This column displays the date/time that an order was created.
- Details: This column displays the details of an order
- Status: This column displays the status of an order.
- Actions: This column shows the buttons representing the possible actions that can be performed on an order.
Usage
Accessing the order entry user interface
The lab order entry user interface can only be accessed when the user is logged so the user will always be redirected to the login page. When logged in, the following guideline will help you access the lab order entry user interface.
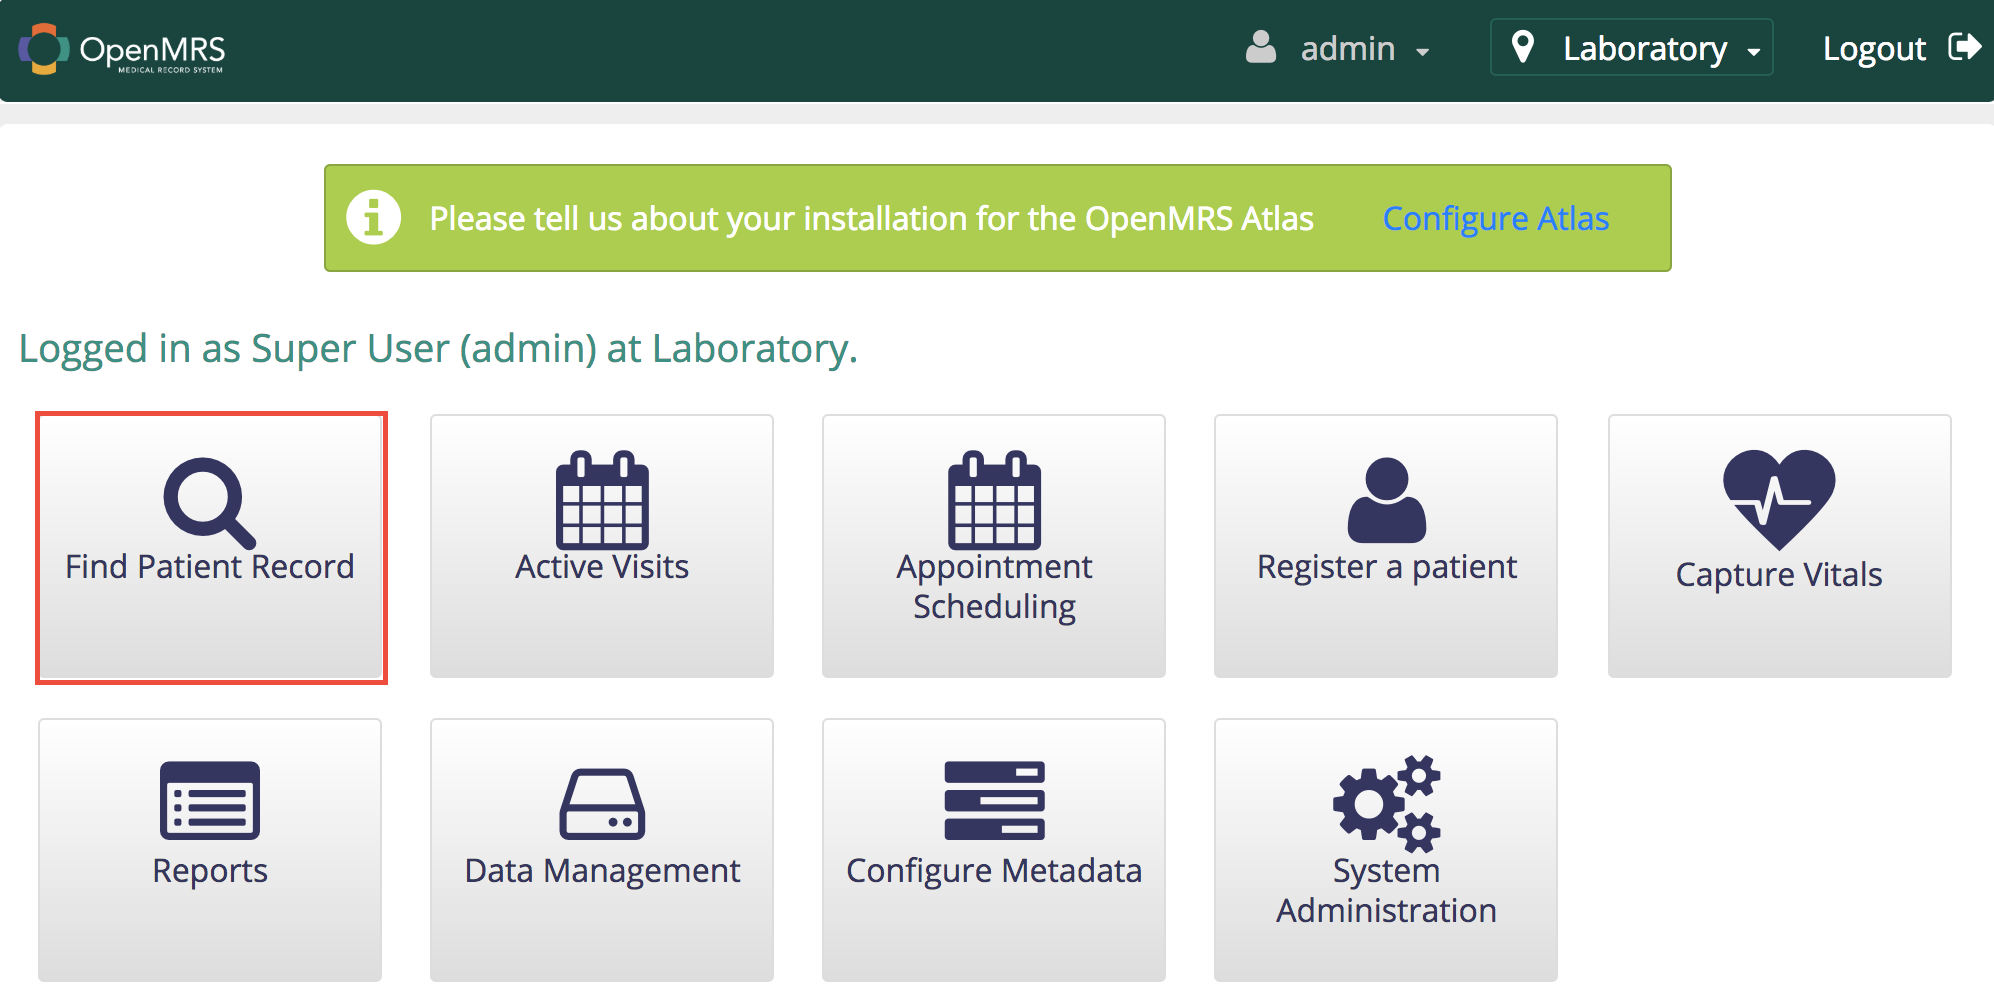
- From the openMRS application home page, click on "Find patient record" as shown below:
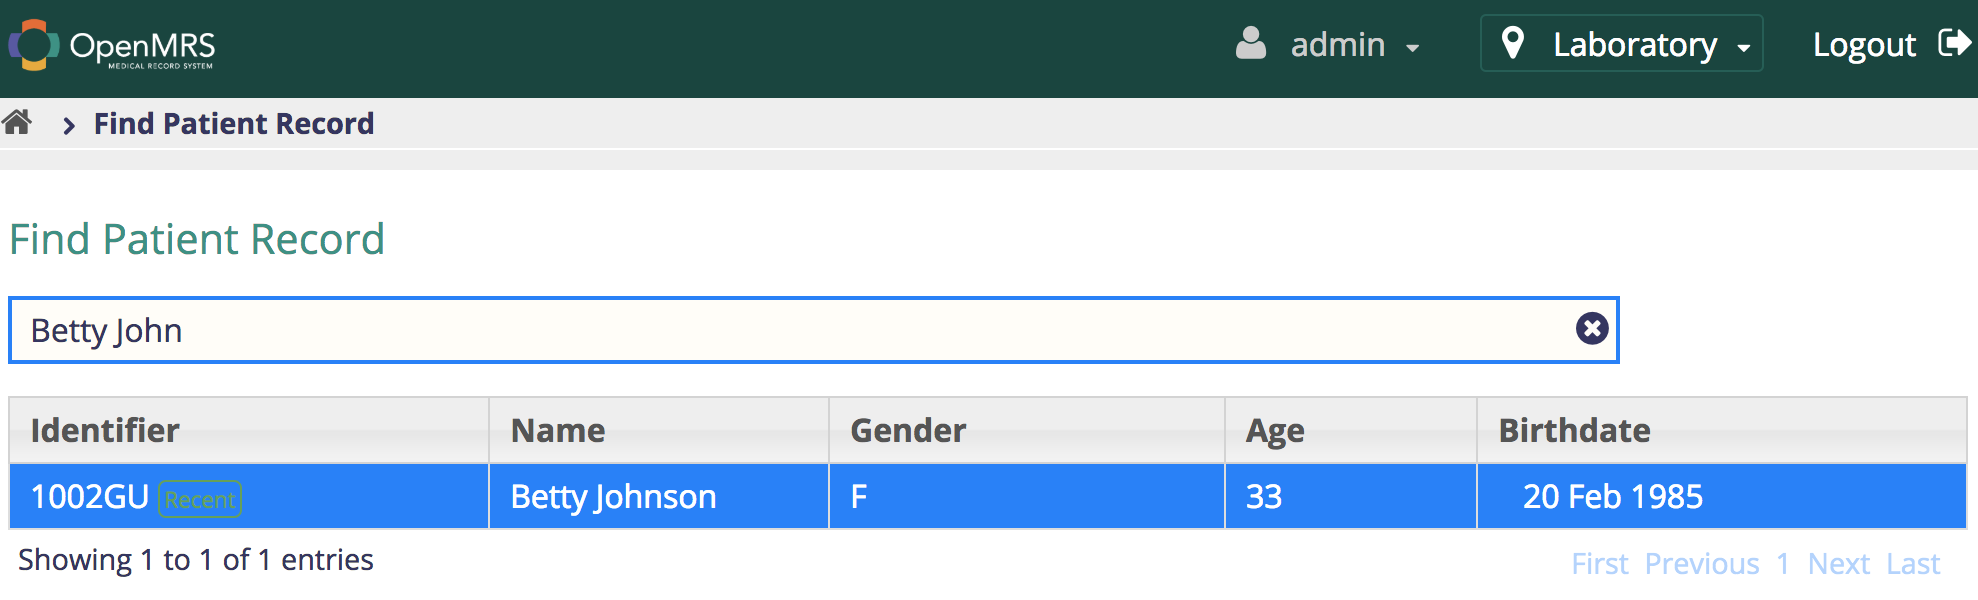
- Search for the appropriate patient by ID or by Name and the select the appropriate patient as shown below:
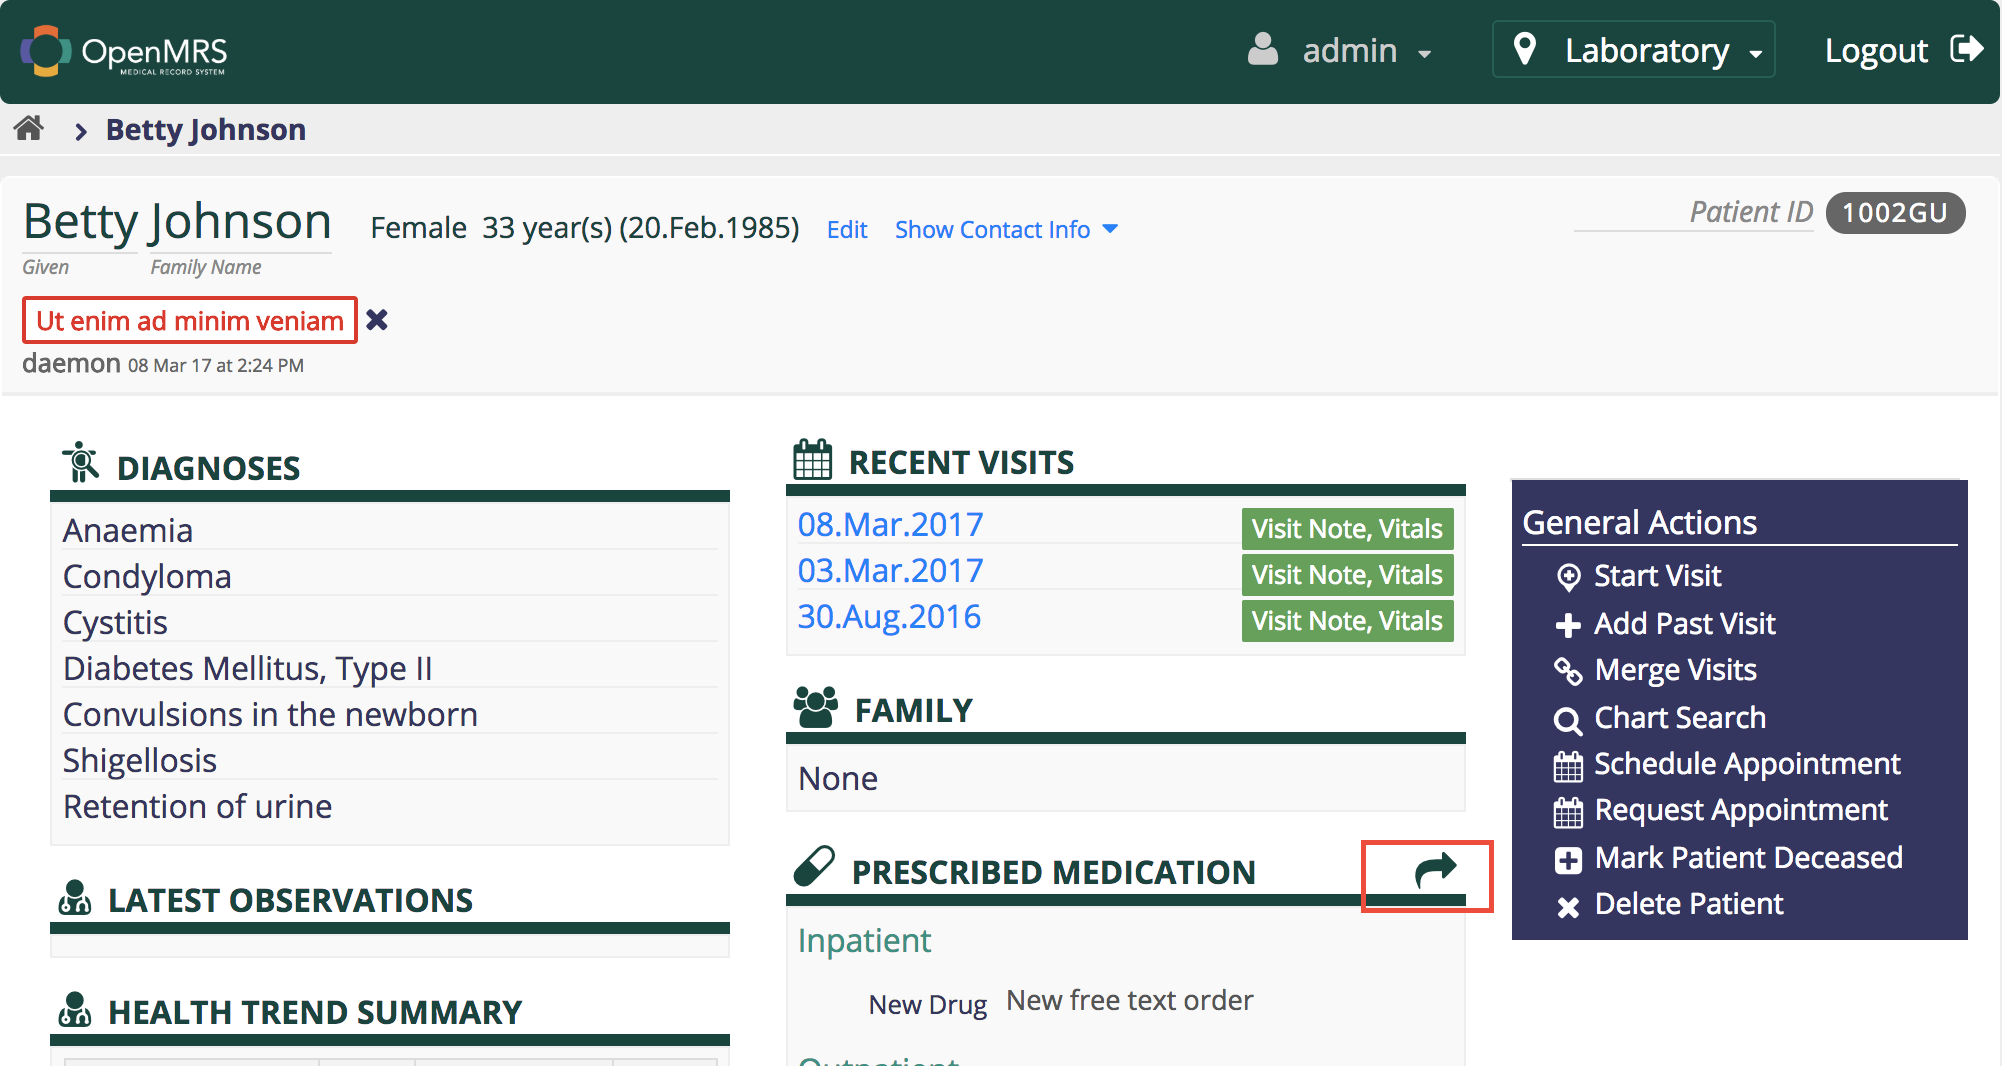
- On the patient details page, click on the highlighted link on "Prescribed Medication" provides access to the order entry UI application
Placing a lab order
A lab order is placed through the following steps:
- Select the Lab Orders option from the list of possible orders to add

“Lab Orderables” convenience set contains the top-level categories as members, ie:
- “Hemotology” convenience set
- “Biochemistry” convenience set,
- etc…
Each category convenience set has the following concepts:
- 0 to N concepts of type “LabSet”
- 0 to N concepts of type “Test”
The Tests box contains the union of 1) all the concepts in that set of type "Test" and 2) all the set members of all the LabSet tests.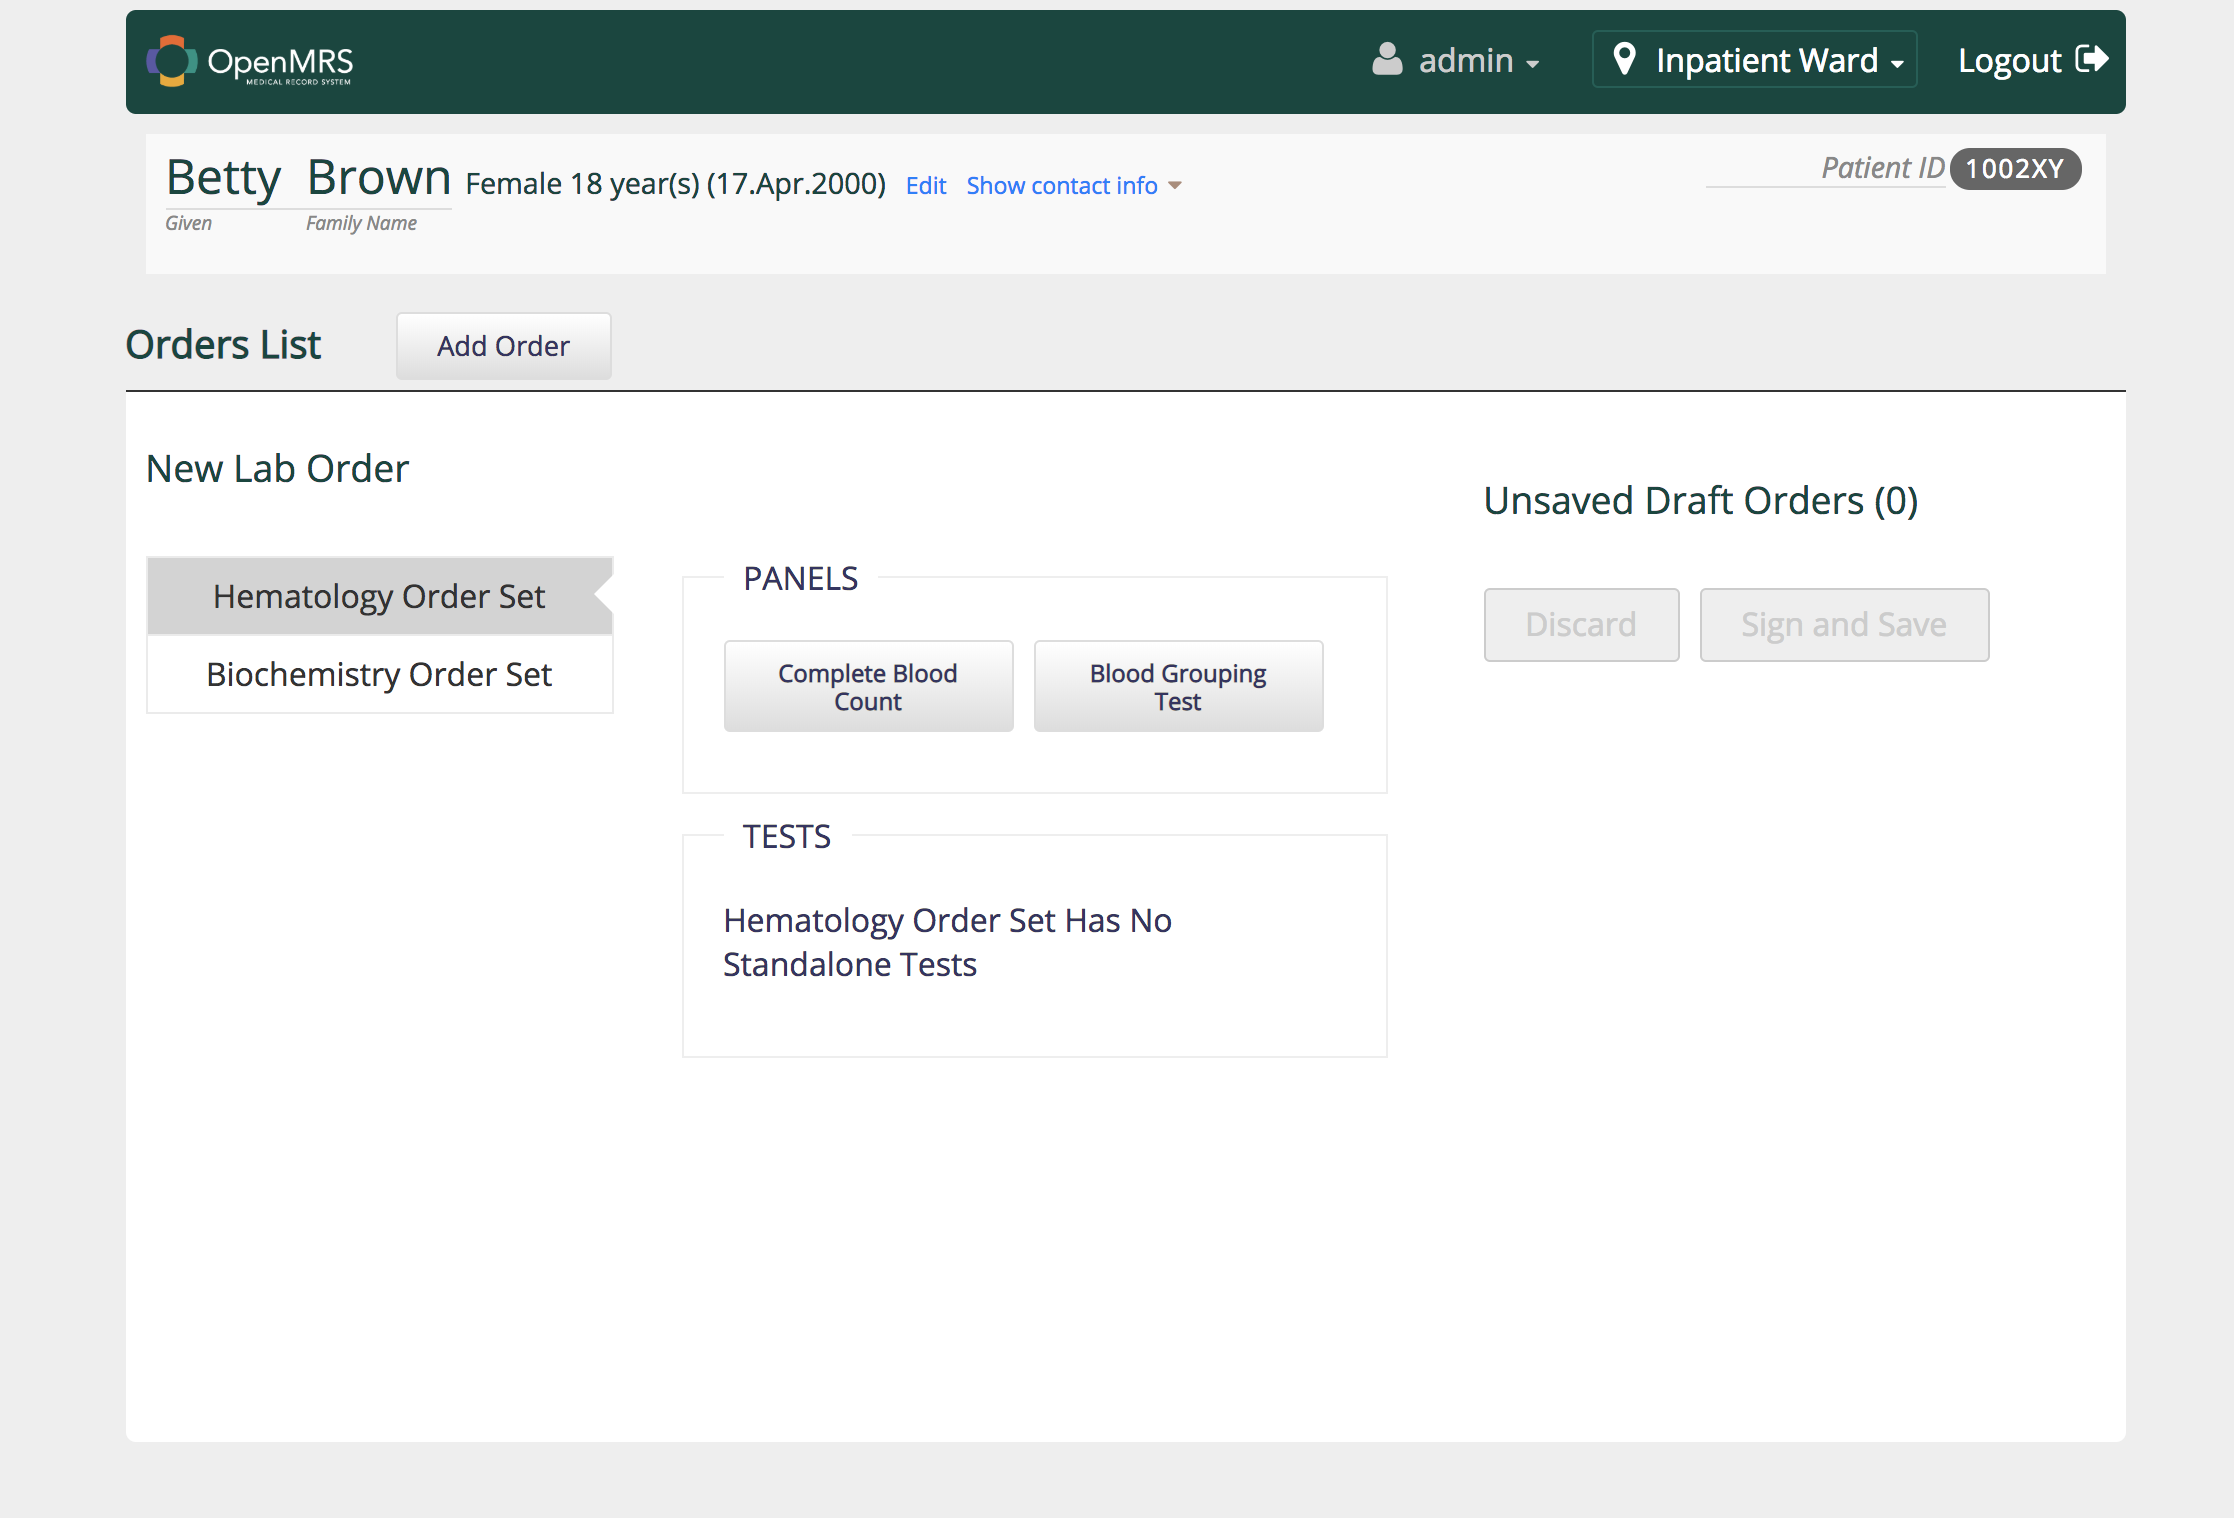
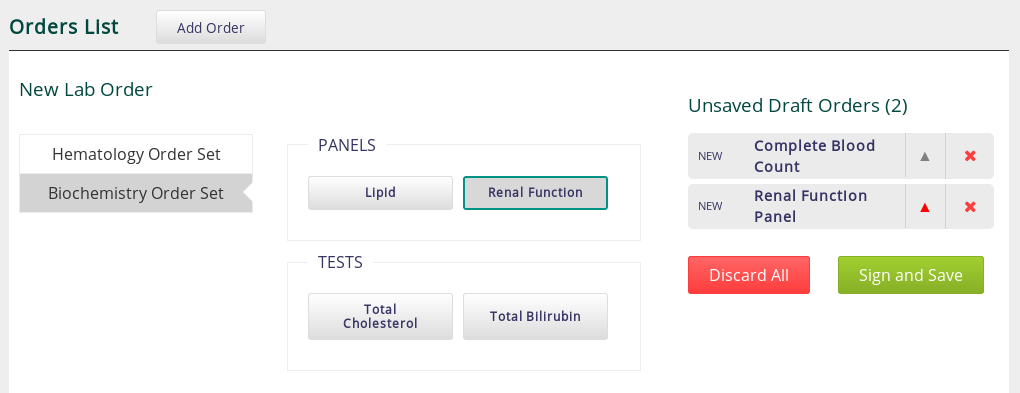
- Adjust the urgency of the order (if needed). The urgency of a lab order can be adjusted by clicking the button highlighted below. Lab orders can have a “ROUTINE” or “STAT” urgency. If the icon is highlighted in red, then the order’s urgency is “STAT”.
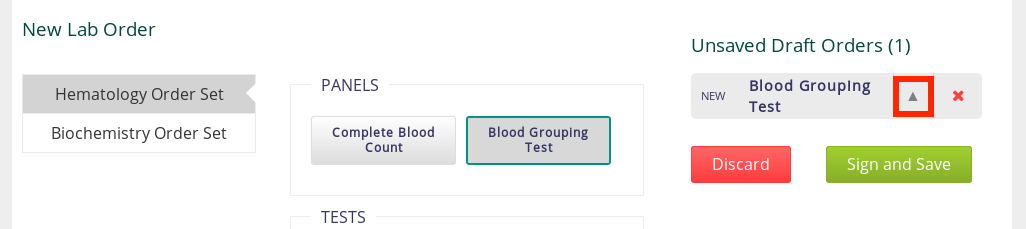
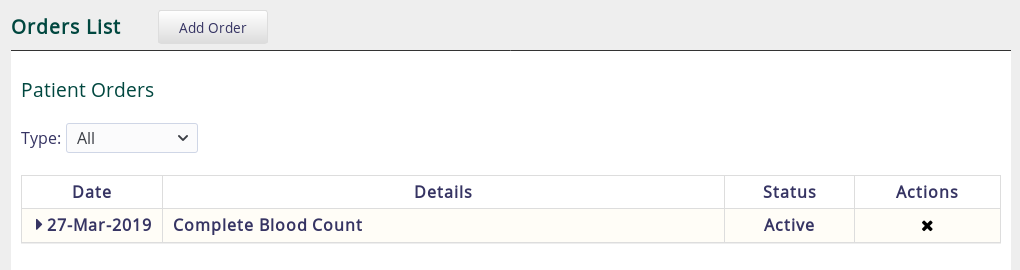
- Click “Sign and Save” to submit the lab order, and the order will be appear in the order table as shown below.
Discontinuing an active lab order
A lab order can be discontinued through the following steps:
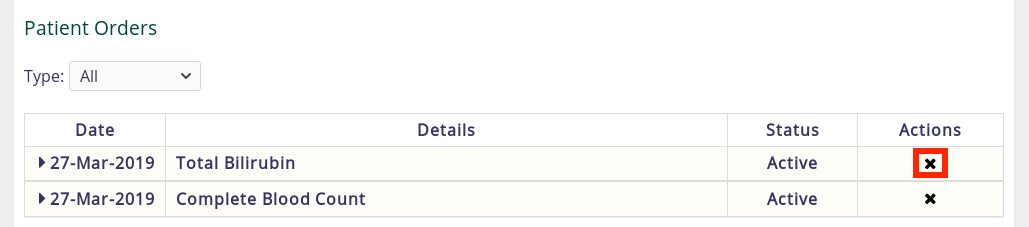
- Click on the discontinue icon that appears in the “Actions” column of the Patient Orders table as highlighted below.
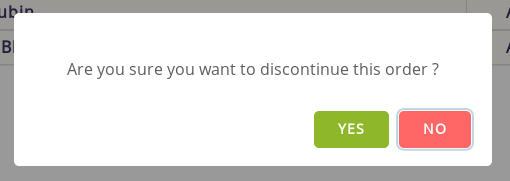
- A confirmation box will appear. Click “YES” to continue.
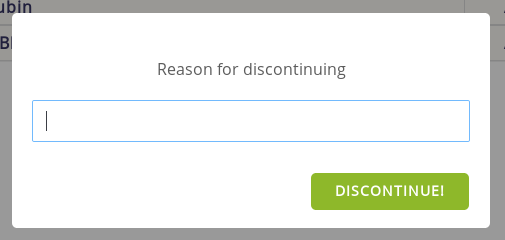
3. Provide an appropriate reason for discontinuing the order and click “DISCONTINUE!” to finish.
Placing multiple lab orders
The user can add multiple lab orders to the Unsaved Draft Orders table and click “Sign and Save” to place all lab orders at once as shown below.
Resources
- Order Entry UI
- Order Entry UI Administrator Guide
- GitHub project (source code)
- Order Entry UI Release Notes
- Sprint 1
- Sprint 2
- Sprint 3
- Sprint 4
- Sprint 5
- Sprint 6
- Sprint 7
- Sprint 8
- Sprint 9
- Sprint 10