XReports Module User Guide
Installation
- Download the latest version from the OpenMRS module repository and add it to your OpenMRS application using the Administration->Manage Modules page.
XReports Dashboard

Creating Report Groups
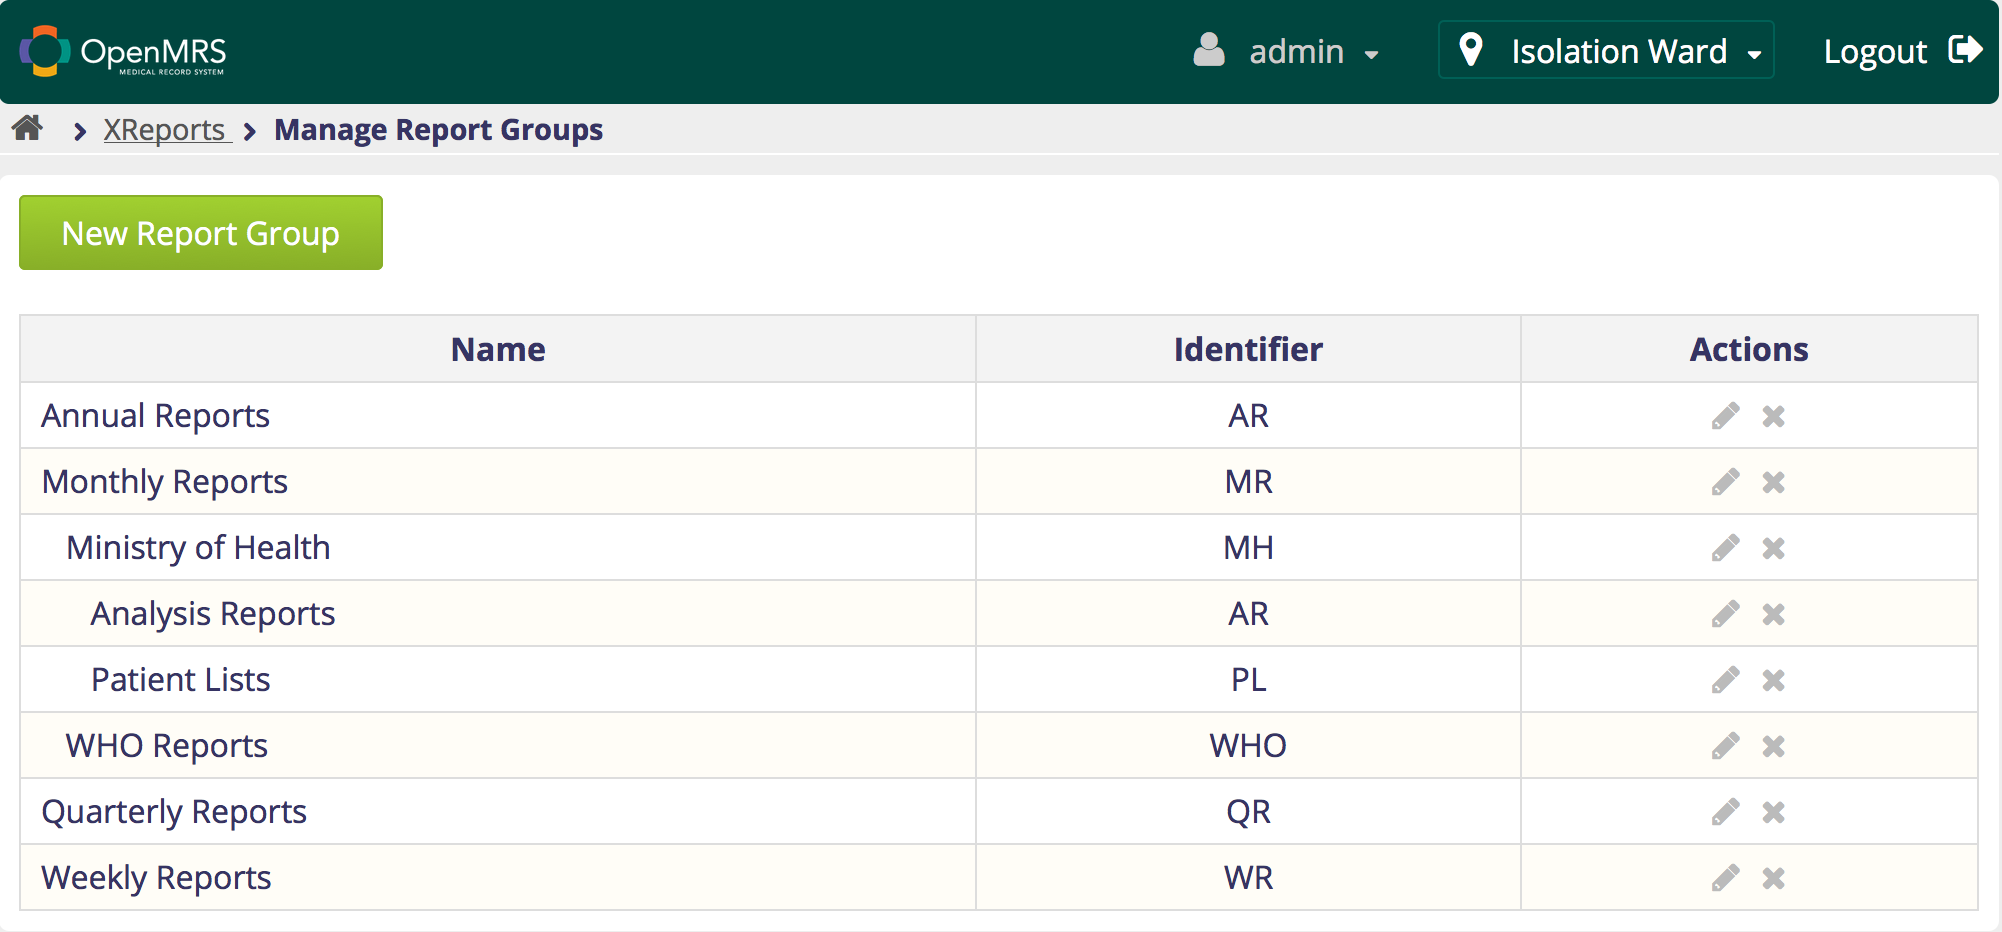
- On the XReports Dashboard, click Manage Report Groups to display the list of existing report groups, if any.
- On the screen that comes up, click the New Report Group button to add a new report group. You can take a look at report group properties for the meaning of each field.
- If you want to edit an existing report group, click the pencil icon next to it on the right hand side.
- If you want to delete an existing report group, click the x icon next to it on the right hand side.
Creating Reports
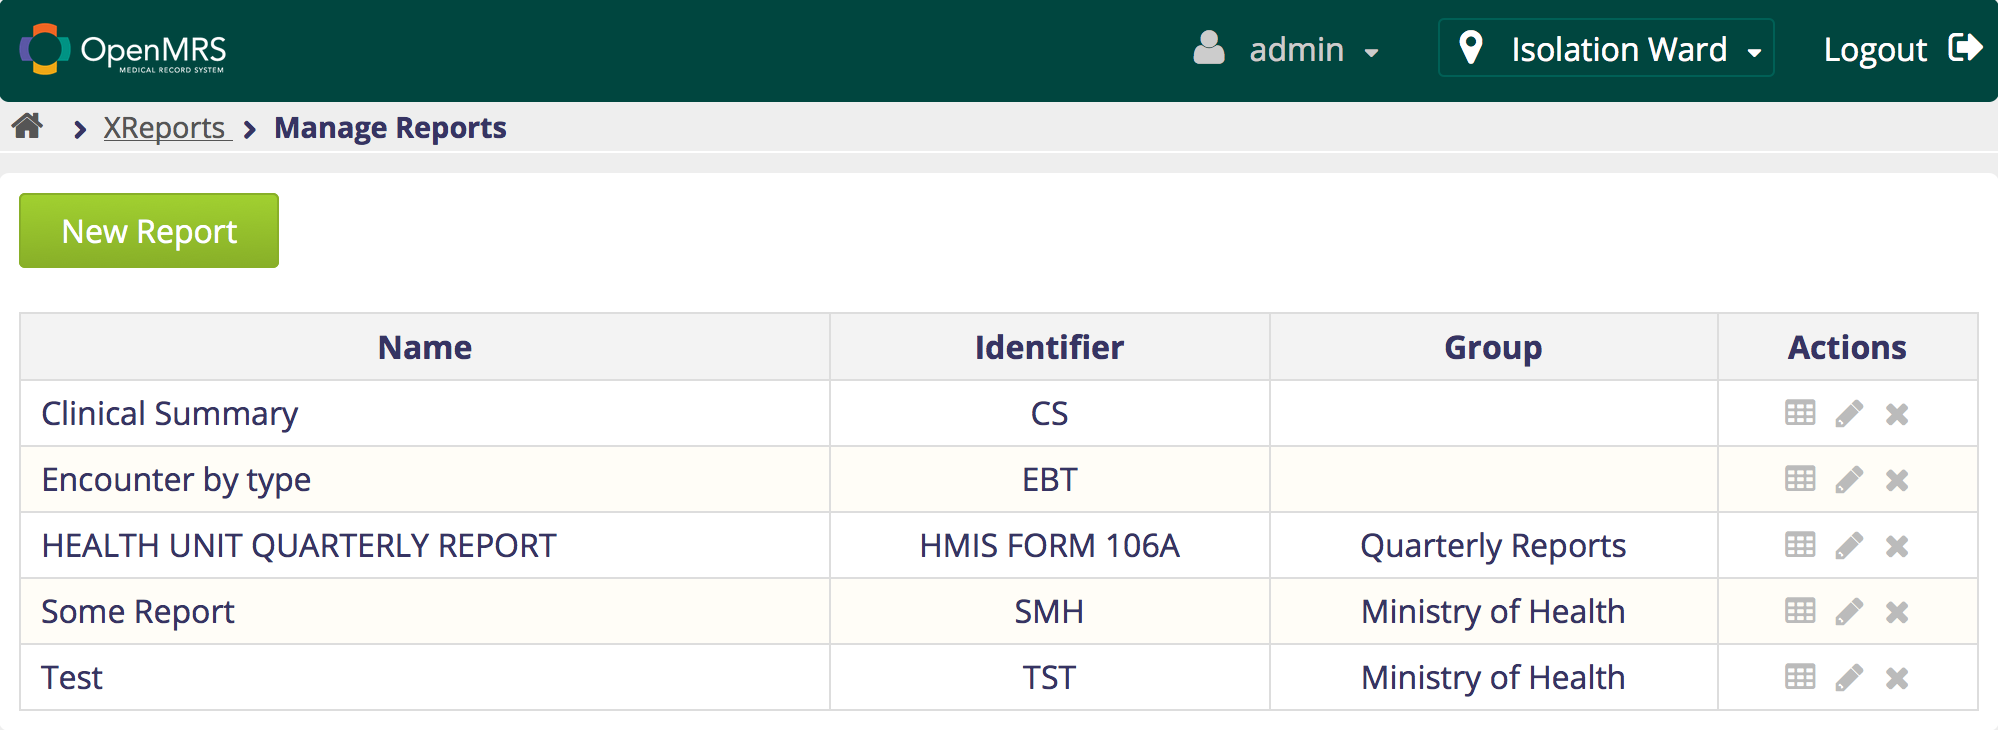
- On the XReports Dashboard, click Manage Reports to display the list of existing reports.
- On the screen that comes up, click the New Report button to add a new report. You can take a look at report properties for the meaning of each field.
- If you want to edit report metadata, click the pencil icon next to it on the right hand side.
- If you want to design the report layout, click the table icon next to it on the right hand side.
- If you want to delete an existing report, click the x icon next to it on the right hand side.
Running Reports
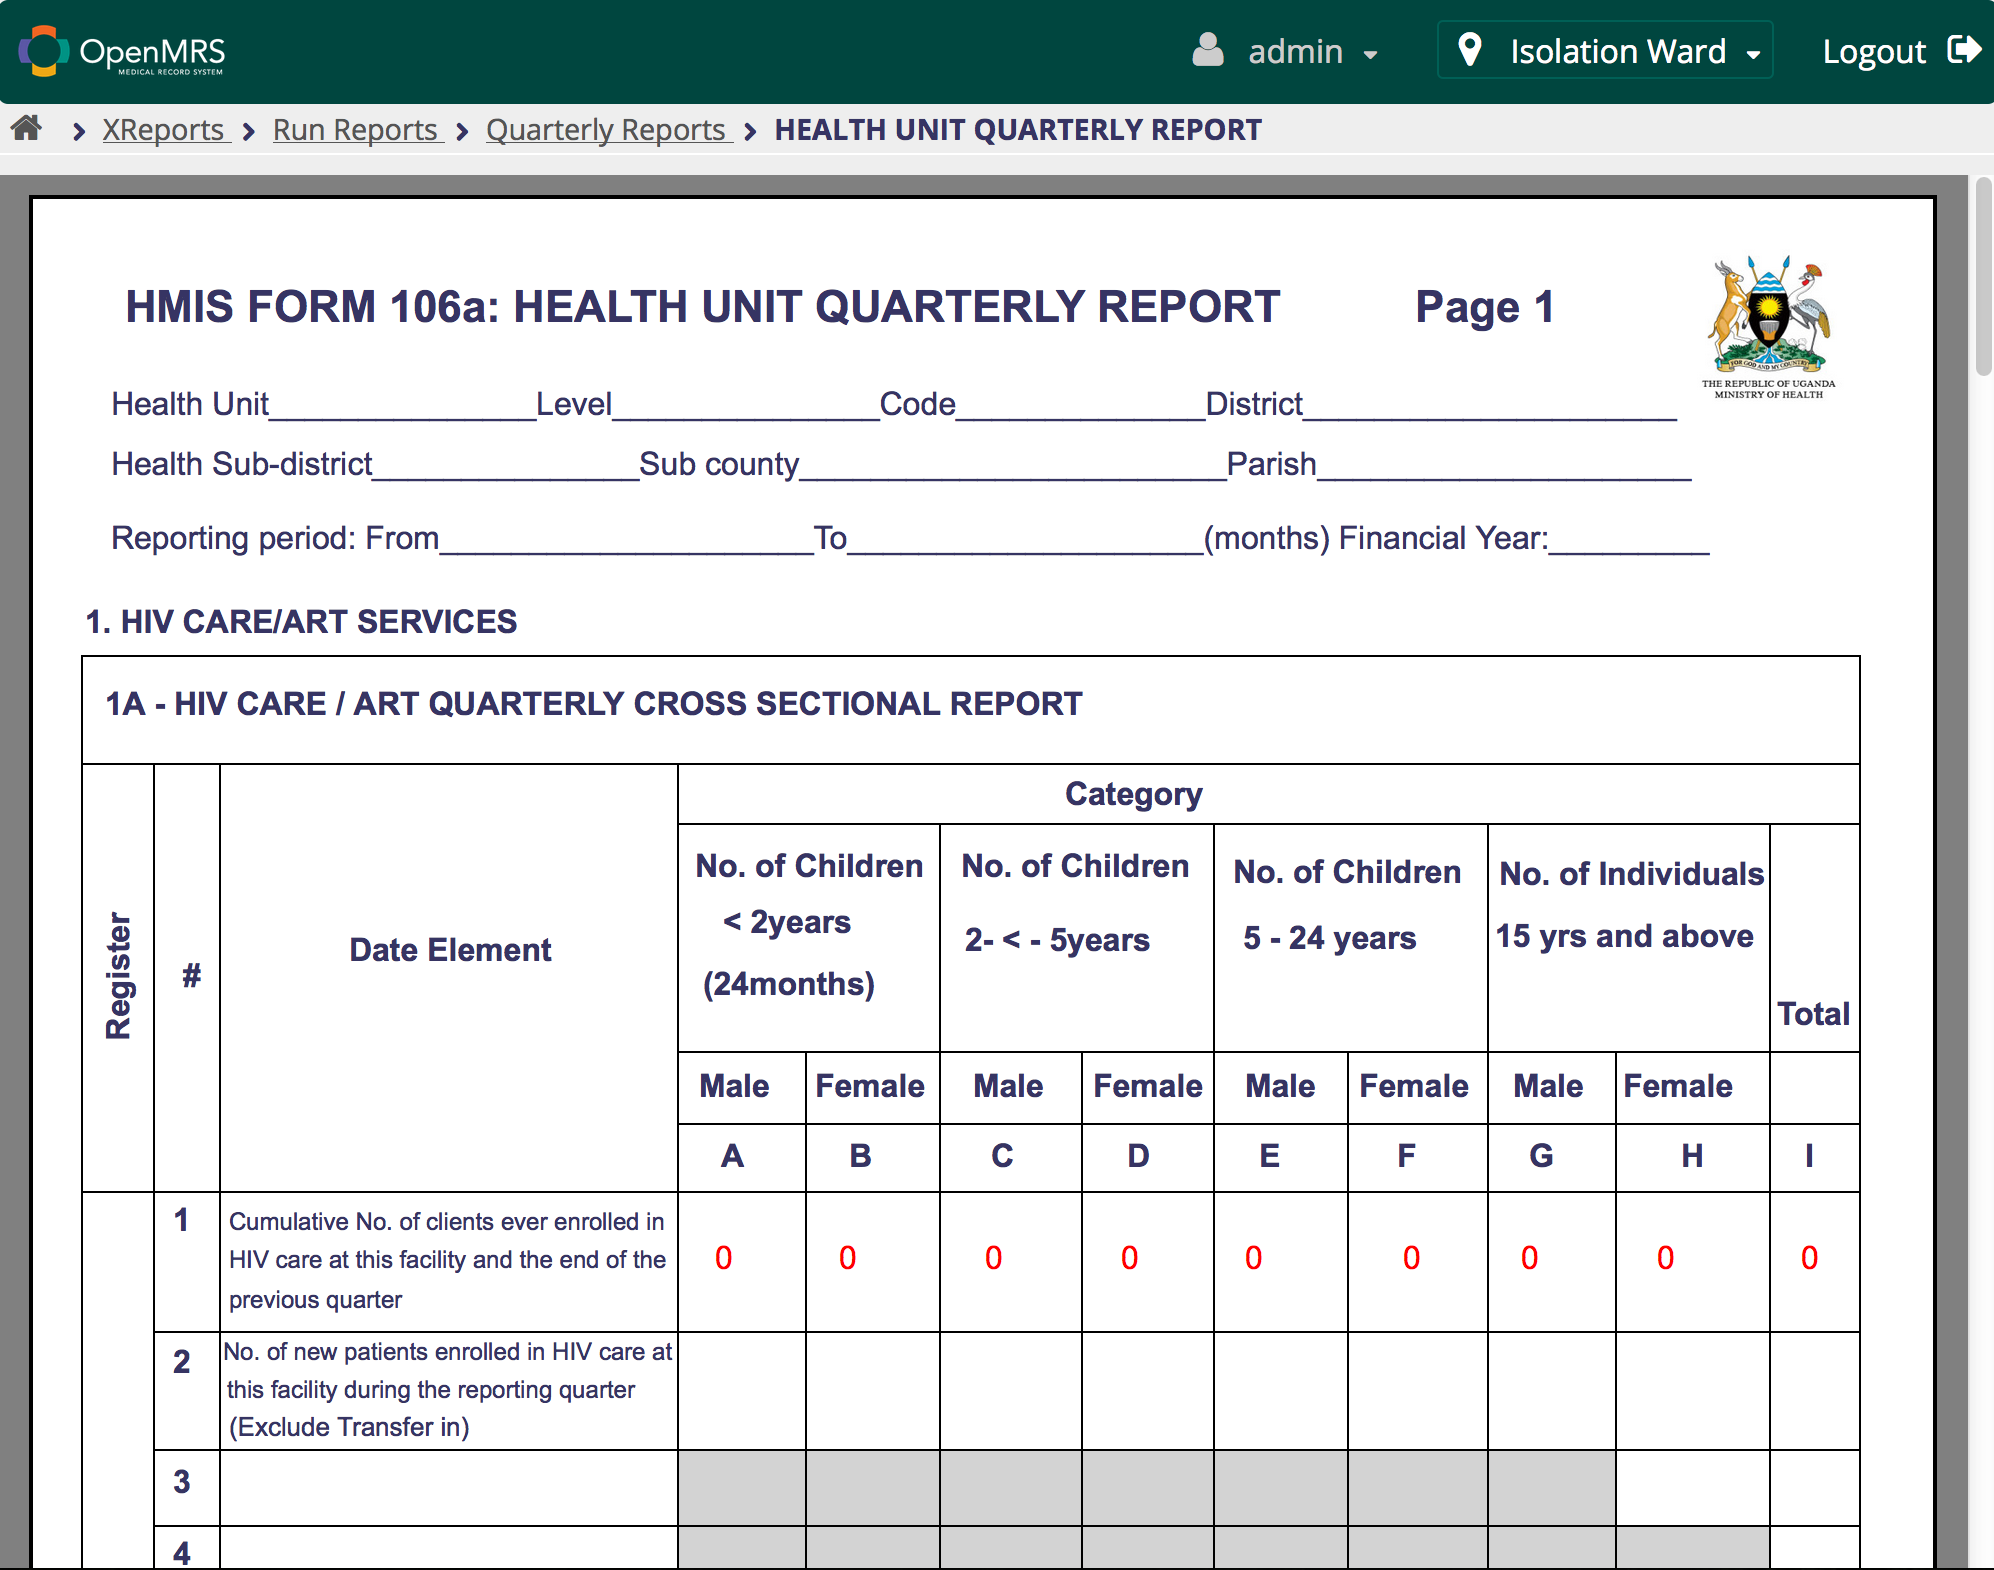
- On the XReports Dashboard, click Run Reports to display the list of reports within their groups.
- For each report, drill down through its parent groups. Ungrouped reports will be shown at the top level without going through any groups.
- Reports that require parameters will display a screen to let you specify them, while those that require none will display immediately.
- Right click on the report to click the PDF icon if you want to display a PDF version of the report.
- On the report parameters screen, if you want to directly display the report as PDF, then in the Output to list, select XReport (PDF).
Copying Reports between servers
- While in the report designer, select "Save As" from the "File" menu. This will download an xml file in your browser's downloads folder. Take this to the other server.
- In the report designer of the report you want to paste into, choose "Open" from the "File" menu and then browse to locate the xml file you brought over.
- Save the report.
Dashboard Patient Summary
- Under "General Actions" of the reference application's patient dashboard, there is a "Patient Summary" link which you can use to display the summary of the currently selected patient. To configure this, set the value of the setting named "Patient Summary Report Id" to the id of the report that you would like to use. You can copy this reportId from the url under the manage reports page.
More Patient Dashboard Reports
To display more reports on the patient dashboard, for each report you would like to display, go under manage reports and give it an extension like below:
{
	"id": "patientDashboard.overallActions.xreport.2",
	"extensionPointId": "patientDashboard.overallActions",
	"type": "link",
	"label": "ID Card",
	"url": "xreports/runReports.page?patientId={{patient.patientId}}&reportId=2",
	"icon": "icon-bar-chart",
	"order": 100,
	"requiredPrivilege": "App: xreports.run"
}
Wherever you see the value "2", replace it with the value of the reportId for the report you would like to display. You can copy the reportId value from the browser url when editing a report.
- If you want the link to be under "Current Visit Actions" instead of "General Actions", replace "patientDashboard.overallActions" with "patientDashboard.visitActions" in the above "extensionPointId". The label can be changed from "ID Card" to anything else that you want. Feel free to also change the order and icon as you want. The pool of icons to choose from can be found here: http://qa-refapp.openmrs.org/openmrs/uicommons/icons.page