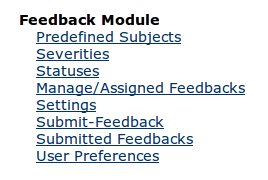
Overview
This module provide's a mechanism for users to communicate with system supporters/admins with system-related (not patient-specific) messages. For example:
- "The system is running much slower than usual today."
- "We need a diagnosis term for Sarcoidosis."
- "This system would be better if I could more easily find my patient's lab results."
and eventually: - "I tried to select BOB SMITH and got this error" (with screenshot and a snapshot of recent log exceptions attached)
There is a ubiquitously available link in the upper right near the Help link. A "Feedback" link pops up a simple form. When feedback is submitted, the user receives confirmation and the feedback is forwarded to the system administrator. The administrator can respond and act on feedback from the administration screen.
Prerequisite
- OpenMRS version 1.6+ .
- No special dependency module required.
Browser Compatibility
- Google Chrome 18 + (Recommended)
- Firefox 3.5 +
- Internet Explorer 9 +
- Opera
- Safari
Quick Start Guide
- There are two types of privilege : '''Add Feedback''' and '''Admin Feedback'''.
- Those with Add privilege can submit feedback by clicking on the Submit Feedback link on the top right, then can search through their own submitted feedback from the submitted feedback page , comment on the existing feedback and set user preferences about the notification of feedback module from user preference page.
- It is suggested that you add the Add Feedback privilege to the Authenticated role to allow all users to add feedback. See the Manage Roles admin page for this setup
- Those with Admin privilege inherit all the Add feedback privilege, along with privilege like manage feedback module setting from Settings page, reply feedback/ forward feedback/ delete feedback/add, delete, edit status /add, delete, edit subject/add, delete, edit status .
Installing the module
- Download the omod file from here.
- Now go to the Administrator Page and then Click on Manage Module.
- Then Click on the Add or Upgrade Module button , after that a popup will appear , click the browse button then select the omod file that you downloaded and then click on upload button.
- After this wait for some until the message "Module loaded and started successfully" comes.
- After this you will see following section added to the admin page which means General Feedback Module is installed :
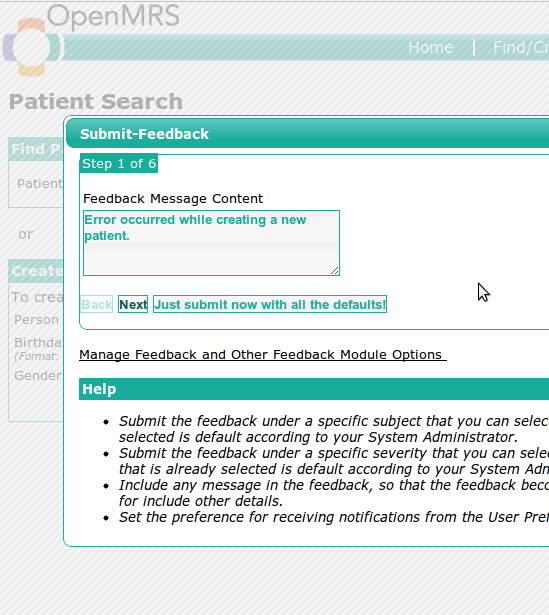
Submit a Feedback
- Click on the Submit feedback link on the top right bar.

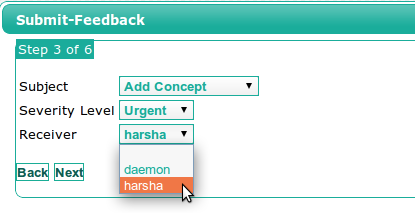
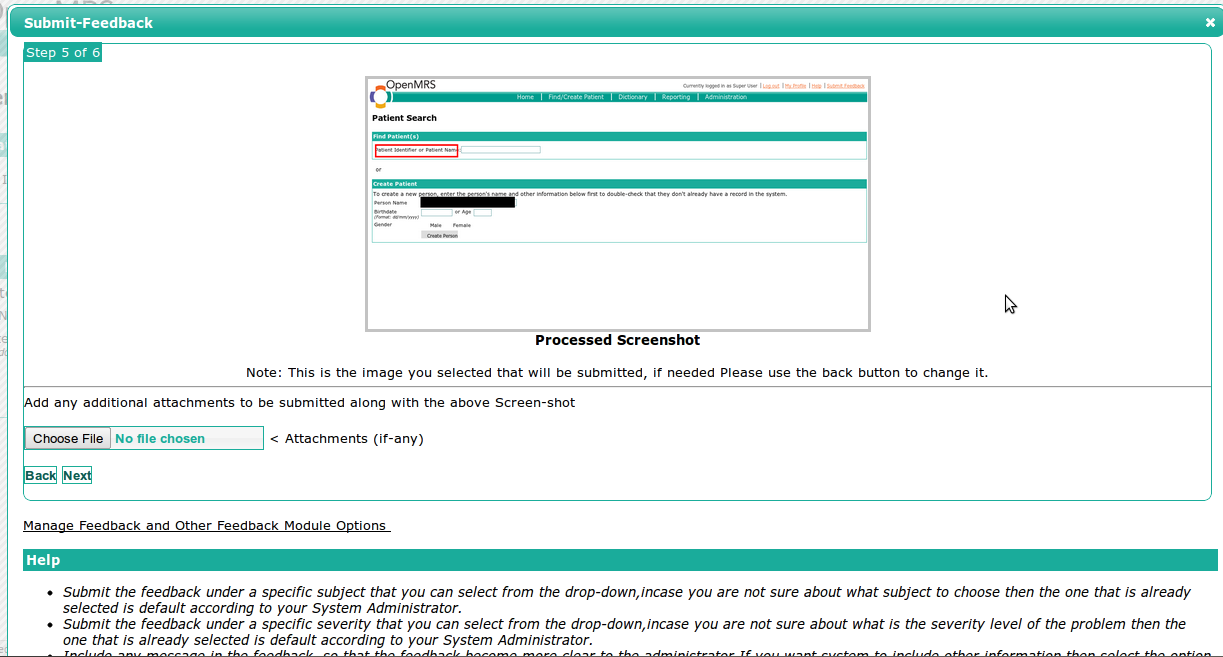
- Feedback Wizard
- Direct the Feedback to most Responsible user.
- Automated Screenshot Capture and edit process within Web Browser
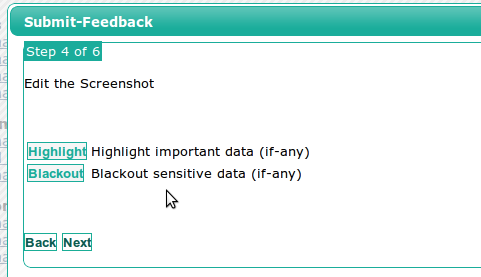
- Highlight as needed. (Drag on a particular area to highlight, To remove just click on them.)
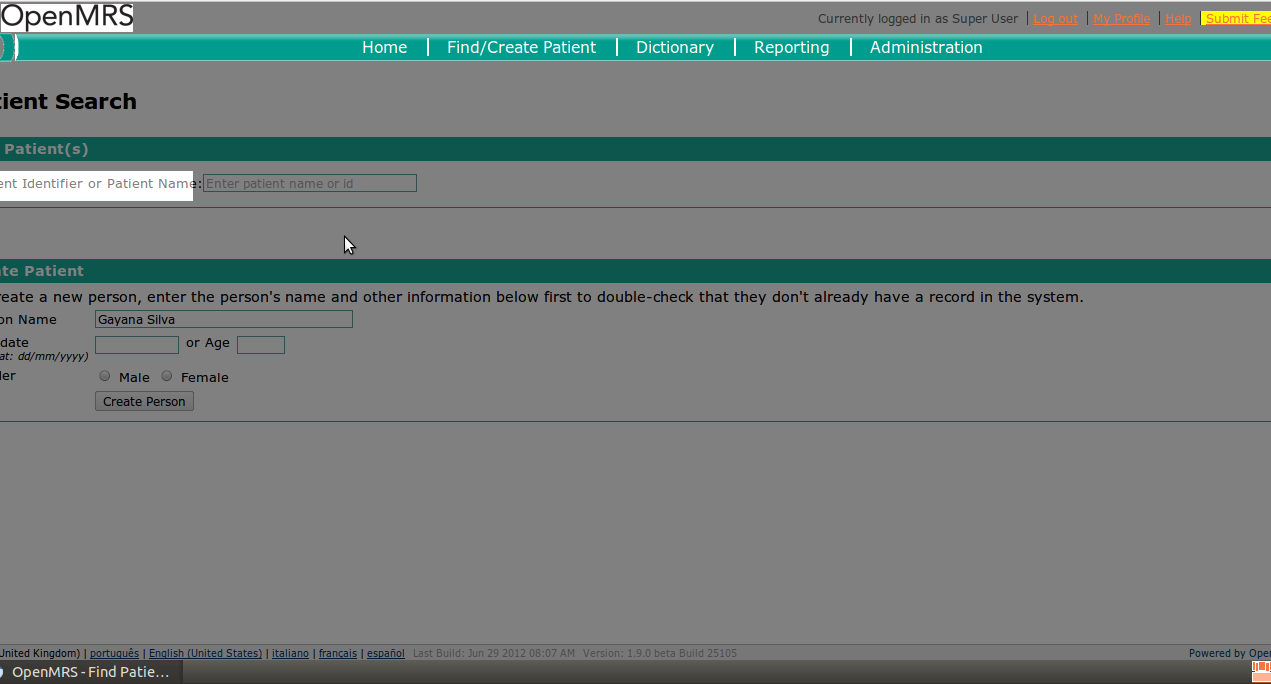
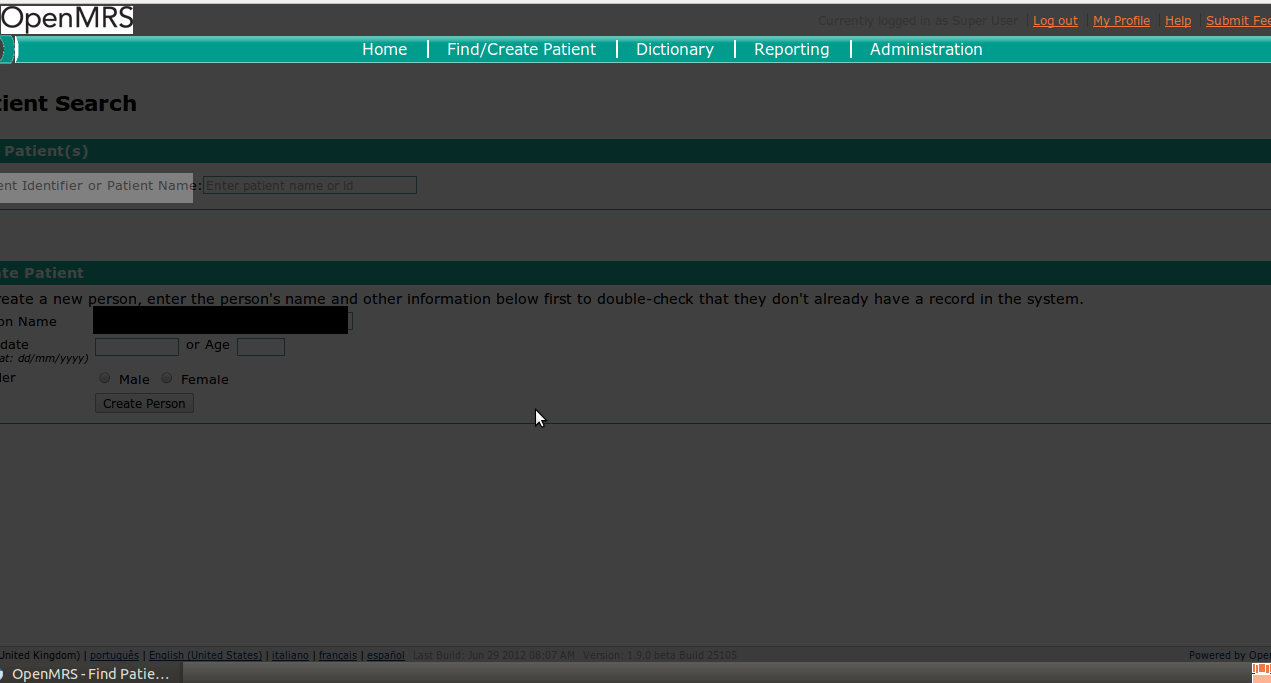
- Blackout sensitive data as needed (Drag on a particular area to highlight, To remove just click on them.)
- Captured Screenshot (Rendering can take a moment, Recommended Chrome for this yet)
Predefined Subjects
These subjects are in the dropdown menu when a user is creating a new feedback item
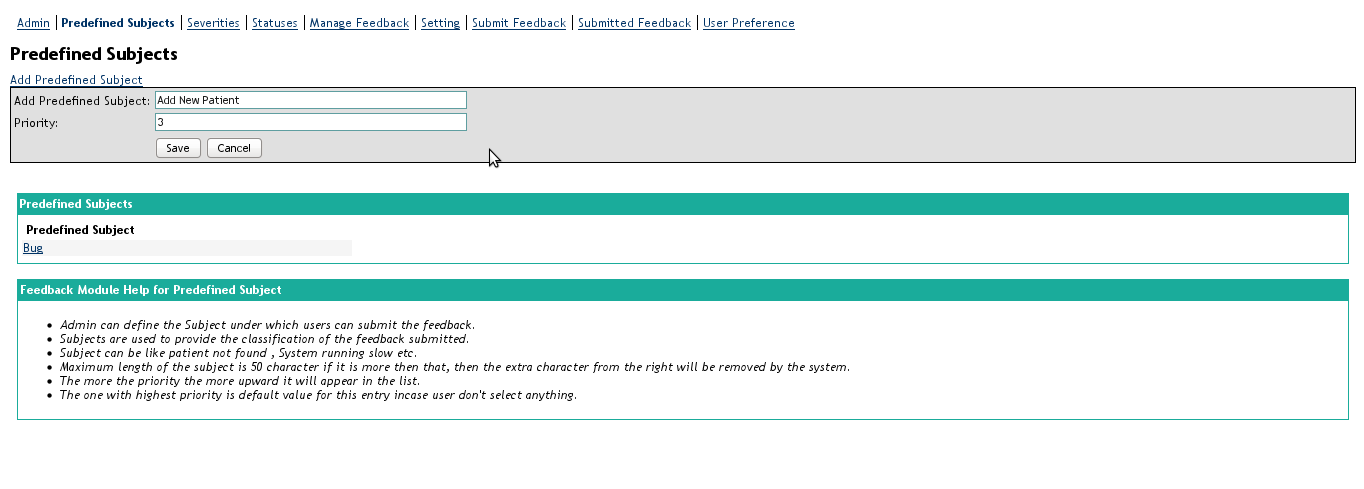
Add Predefined Subject
- Click on the Add Predefined Subject link on the Feedback Module section of the Administration page of OpenMRS.
- A new page named Add Predefined Subject opens.
- Enter the predefined subject that you want to add in the text box opposite to the Add Predefined Subject: label and then press enter.If the subject is added then the "Predefined Subject Added Successfully" message appears.
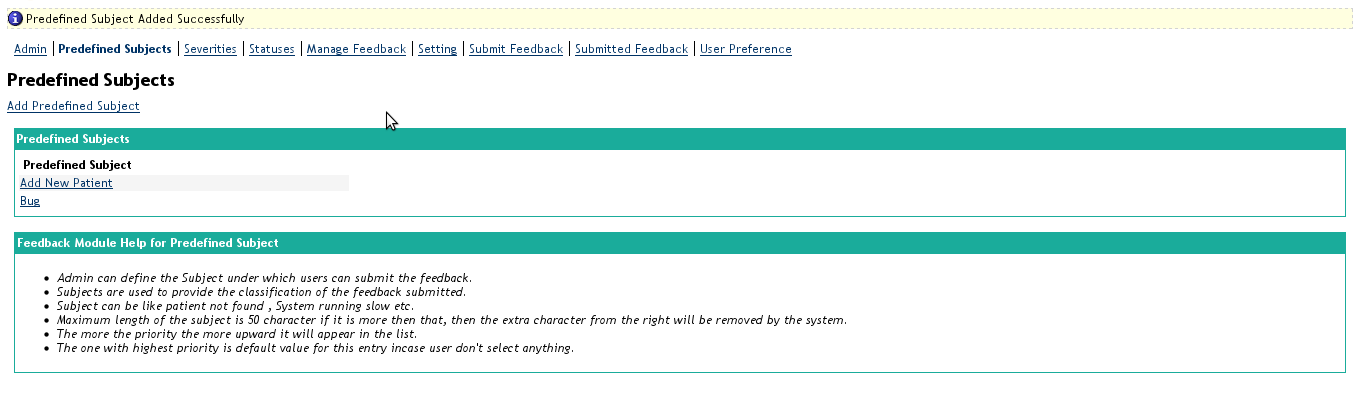
- Now users can submit the feedback under the subject you added.
Rename Predefined Subject
1. Click on the Add Predefined Subject link on the Feedback Module section of the Administration page of OpenMRS.
2. A new page named Add Predefined Subject opens.
3. Now click on the subject which you want to rename.
4. A new page named Edit Predefined Subject opens.
5. Now rename the subject and click on the Save button.
6. The subject is now successfully renamed although the older feedback are still with the old subject.
Delete Predefined Subject
1. Click on the Add Predefined Subject link on the Feedback Module section of the Administration page of OpenMRS.
2. A new page named Add Predefined Subject opens.
3. Now click on the subject which you want to delete.
4. A new page named Edit Predefined Subject opens.
5. Now click on the delete button.If the subject is successfully deleted then the "Predefined Subject Deleted Successfully" message will appear.

Severity
This tells how severe the problem/feedback submitted by the user is.The Administrator can have custom level of the severity.
Add Severity
1. Click on the Add Severity link on the Feedback Module section of the Administration page of OpenMRS.
2. A new page named Add Severity opens.
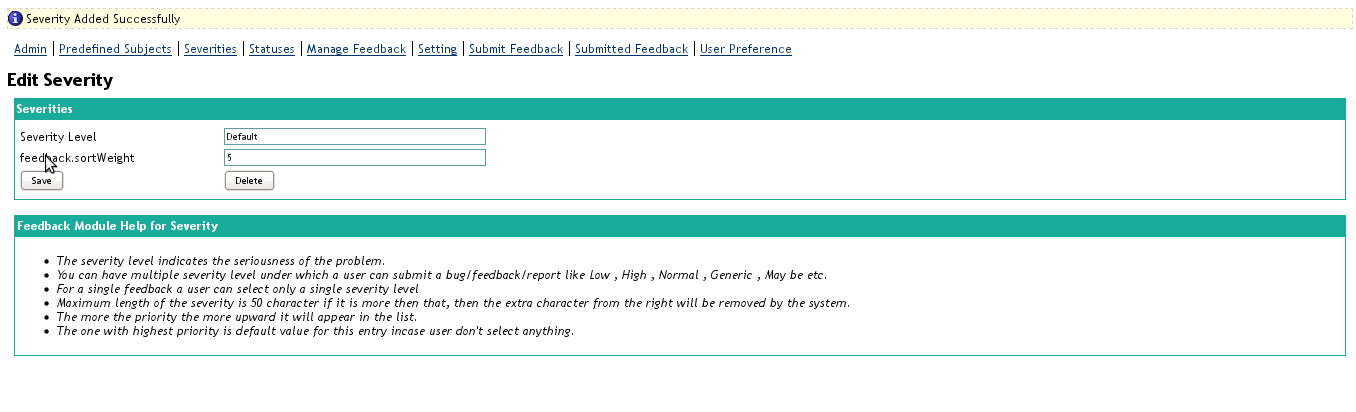
3. Enter the severity level that you want to add in the text box opposite to the Add Severity: label and then press enter.If the severity is added then the "Severity Added Successfully" message appears.
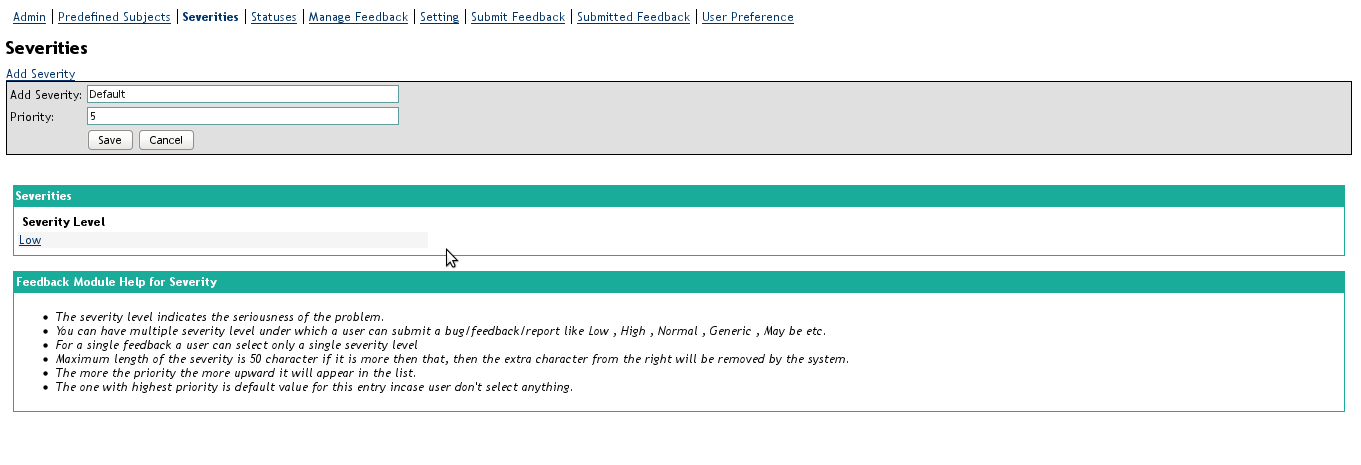

4. Now users can submit the feedback under the severity level you added.
Rename Severity
1. Click on the Add Severity link on the Feedback Module section of the Administration page of OpenMRS.
2. A new page named Add Severity opens.
3. Now click on the severity which you want to rename.
4. A new page named Edit Severity opens.
5. Now rename the severity and click on the Save button.
6. The severity is now successfully renamed although the older feedback are still with the old severity.
Delete Severity
1. Click on the Add Severity link on the Feedback Module section of the Administration page of OpenMRS.
2. A new page named Add Severity opens.
3. Now click on the severity which you want to rename.
4. A new page named Edit Severity opens.
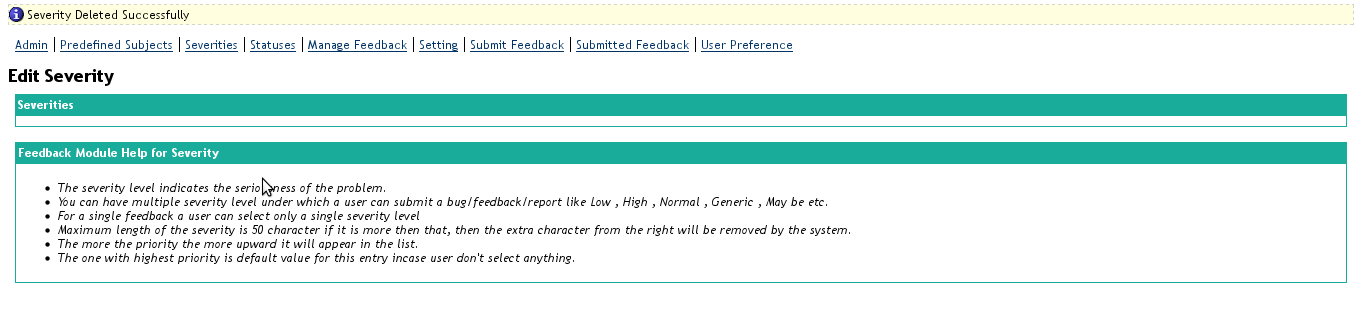
5. Now click on the delete button.If the severity is successfully deleted then the "Severity Deleted Successfully" message will appear.
Status
The Status is used to tell the current status of the Feedback that is submitted i.e. solved , pending etc etc .
Add Status
1. Click on the Add Status link on the Feedback Module section of the Administration page of OpenMRS.
2. A new page named Add Status opens.
3. Enter the status that you want to add in the text box opposite to the Add Status: label and then press enter.If the status is added then the "Status Added Successfully" message appears. 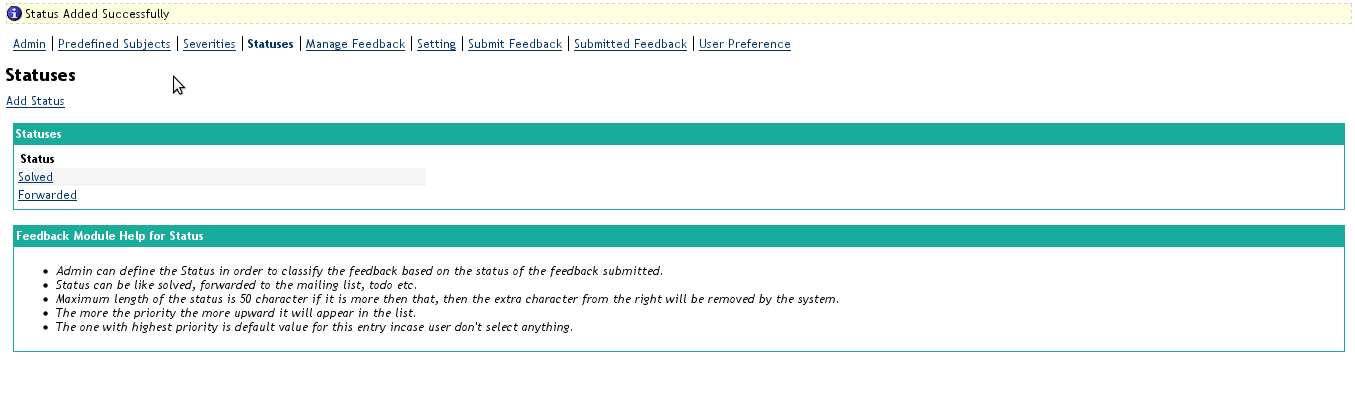
4. Now users can see the new feedback status option you added.
Rename Status
1. Click on the Add Status link on the Feedback Module section of the Administration page of OpenMRS.
2. A new page named Add Status opens.
3. Now click on the status which you want to rename.
4. A new page named Edit Status opens.
5. Now rename the status and click on the Save button.
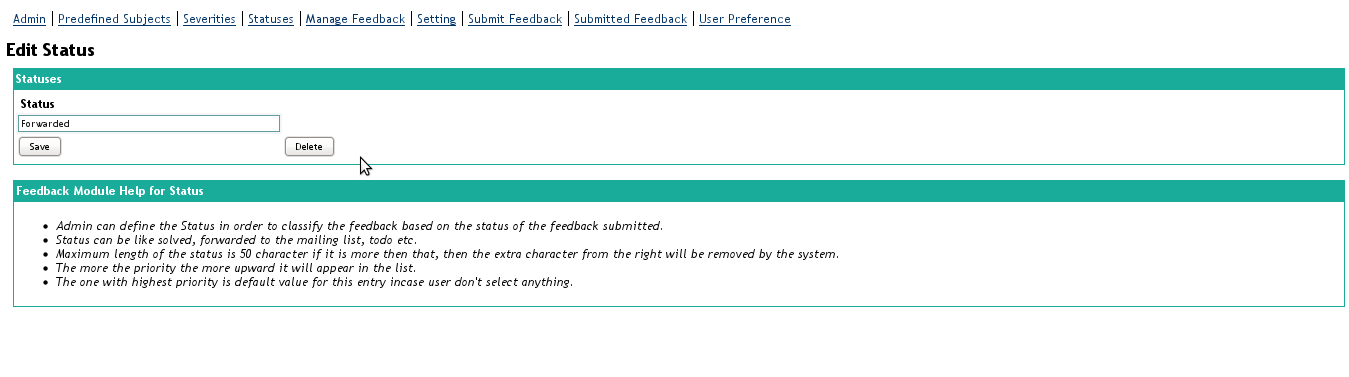
6. The status is now successfully renamed although the older feedback are still with the old status.
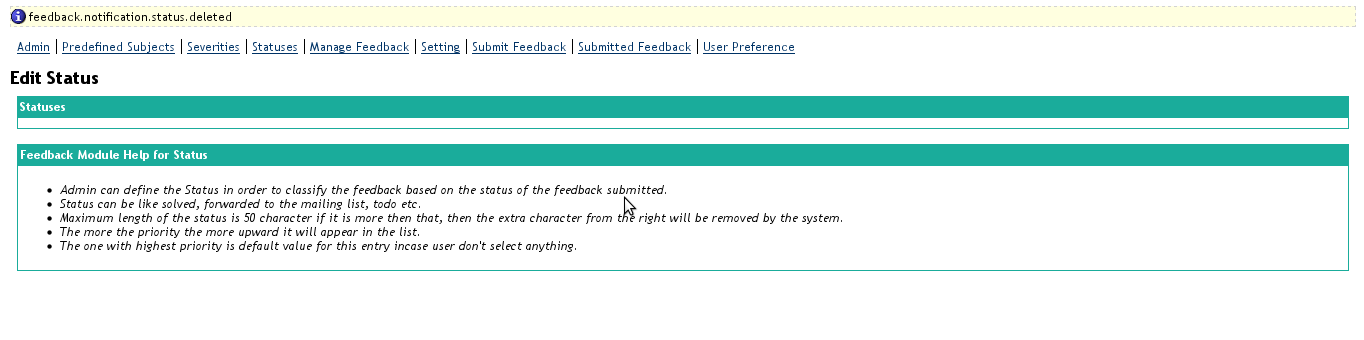
Delete Status
1. Click on the Add Status link on the Feedback Module section of the Administration page of OpenMRS.
2. A new page named Add Status opens.
3. Now click on the status which you want to rename.
4. A new page named Edit Status opens.
5. Now click on the delete button.If the status is successfully deleted then the "Status Deleted Successfully" message will appear.
Feedback Management
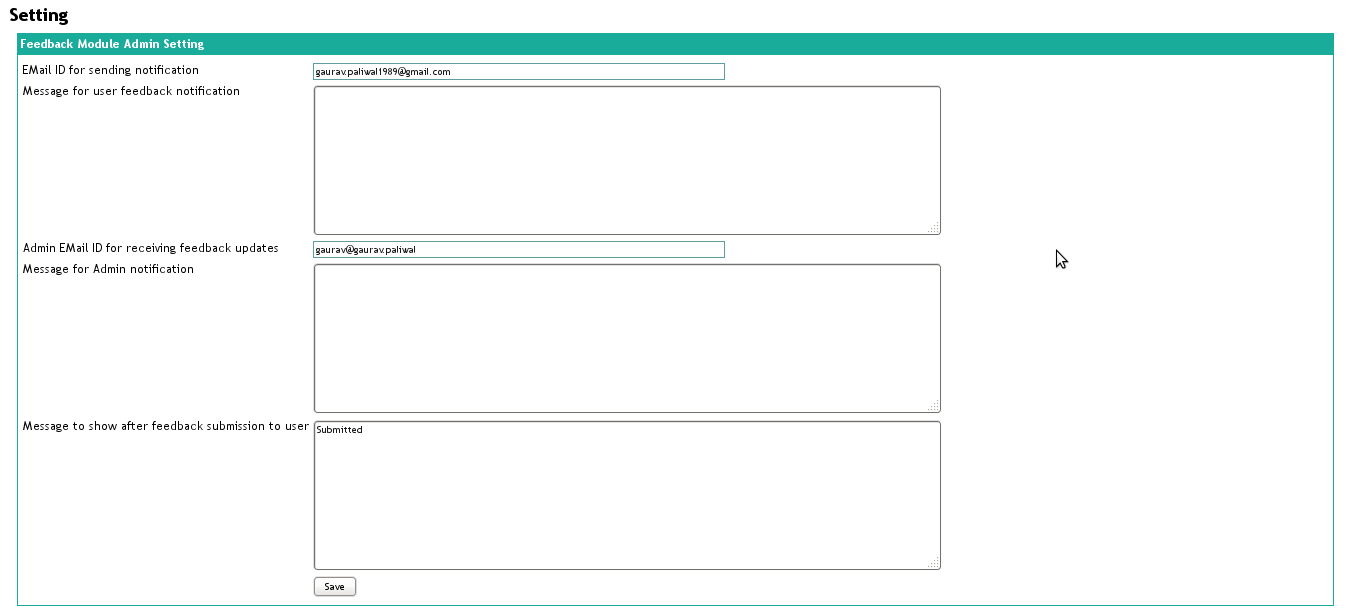
Feedback Module Setting
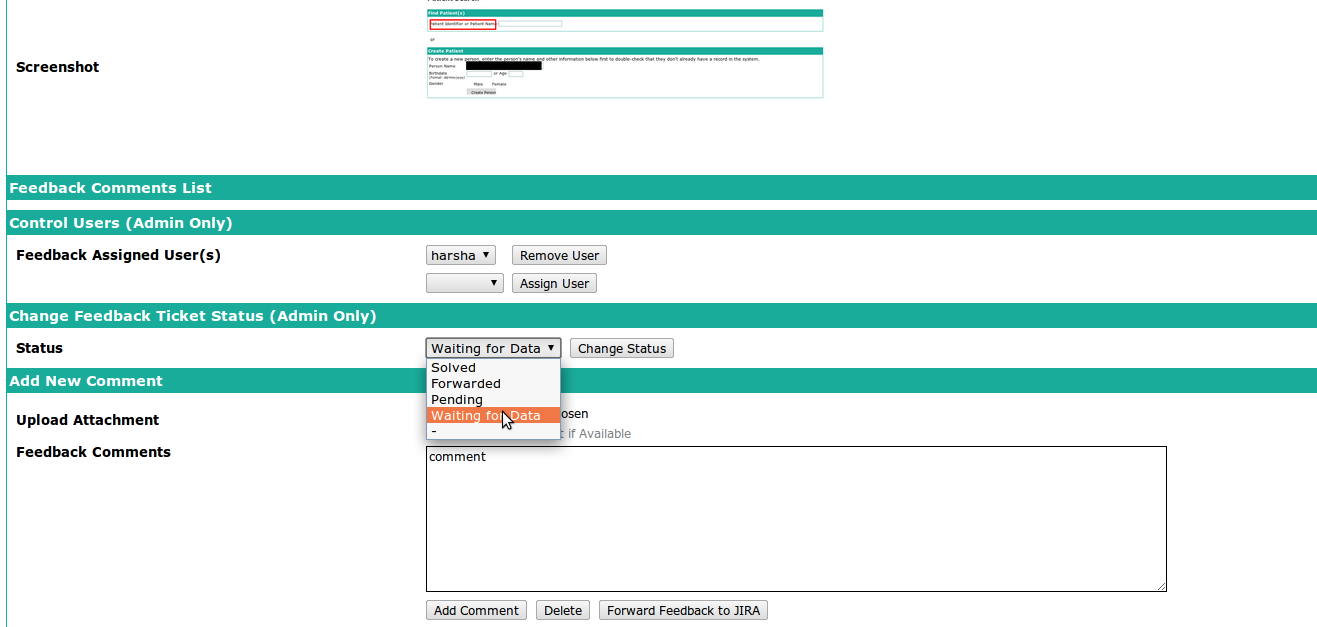
Manage Feedback - User/Admin Control Panel
This UI can be accessed by Feedback Assigned Users of course Admin has full access to it.
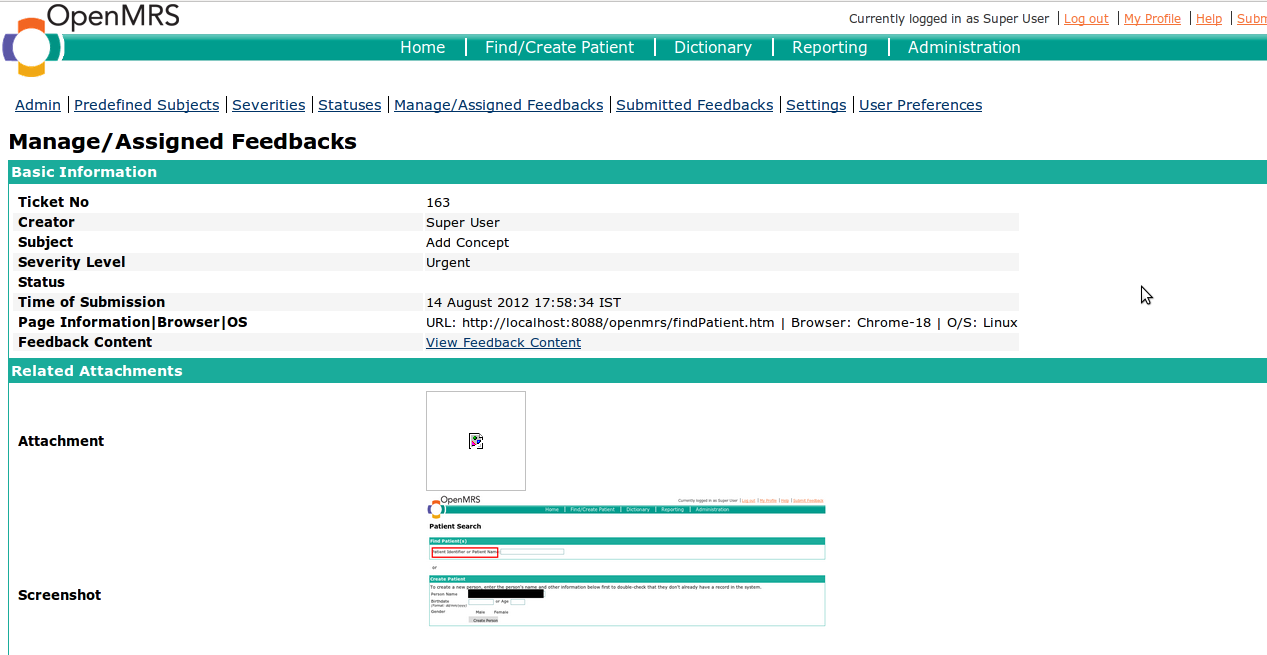
- Admin Feedback Control Panel
This UI can be only seen by an Admin authenticated User, From this UI admin can assign new users to a particular Feedback Ticket or else remove existing one, Change Ticket Status.
- Comments Section can be seen by any Feedback Assigned user.
Feedback User Preference
