Create and Deploy Your First OpenMRS Module
OpenMRS SDK allows you to create a module quickly, with all the necessary module directories and files automatically generated for you. You only need to specify the type of module, and module ID at prompt.
Prerequisite
Before you you can create your first OpenMRS module, you need to:
- Have installed OpenMRS SDK.
- Have created an OpenMRS server.
If you have not already created an OpenMRS server, see Set Up OpenMRS Server with OpenMRS SDK and Docker for instructions.
Create your first module
To create your first OpenMRS module, follow these steps:
Open your command line window or terminal window, type:
mvn openmrs-sdk:create-project
- At the prompt, select the type of module you want to create.
For example, select 2 for the Reference Application module. - Specify module ID.
For example, enter myfirstmodule. - Press enter to use the default settings for the rest of the steps.
A build success message displays at the end of the process. - Add a "Hello World!" message to your module.
- Go to your first module folder, and browse to:
C:\Users\{your_name}\myfirstmodule\omod\src\main\webapp\pages - Open myfirstmodule.gsp in a text editor.
Add the following to the end of myfirstmodule.gsp:
<div>Hello world! This is my first <b>OpenMRS</b> module!</div>
- Save and close the file.
Build your first module
After you’ve successfully created your first module, you need to build it.
- Change directory to: users/{your name}/myfirstmodule
To compile your first module, type:
mvn clean install
At the end of the build, a success message displays.
Deploy your first module
Now that you have successfully built your first OpenMRS module, you can deploy it to the server.
- Start OpenMRS server.
- Log in to your server as administrator.
- On the administration interface, select System Administration > Manage Modules > Add/upgrade modules.
The Upload Module dialogue displays. - Select the Upload Module button.
A file browser window displays. - Browse to myfirstmodule / omod/target / myfirstmodule-1.0.0SNAPSHOT.omod, and select the Upload Module button.
A message window displays: ‘Please wait while we complete the actions!’ This will take some time.
When the upload process is complete you will see a window displaying module details: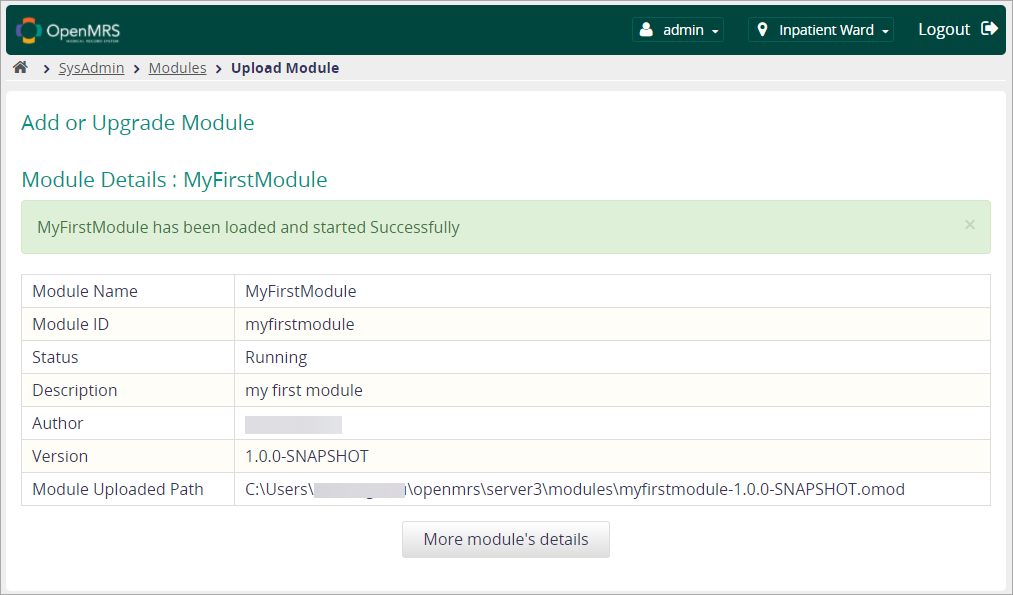
You’ve successfully deployed your first module to the server.
See your Hello World message
Now you are ready to see the first module you built!
In your browser, type in the URL:
localhost:8080/openmrs/myfirstmodule/myfirstmodule.page
Your hello world message is displayed at the bottom of the page: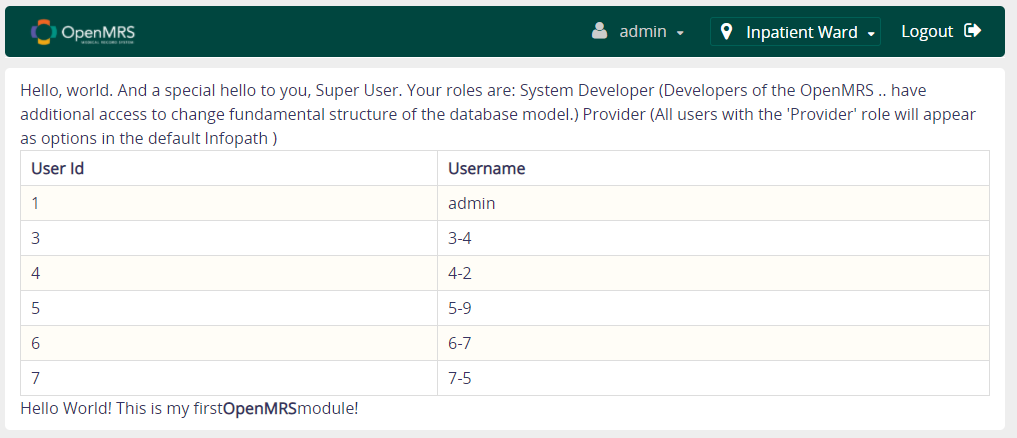
Take a look at this comprehensive example to learn how to customize your first module