Atlas Module 1.x User Guide
Layout
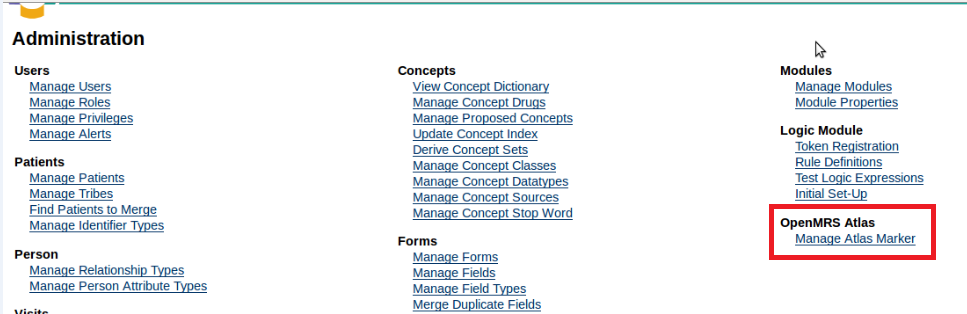
On the Administration Page, the OpenMRS Atlas section provides the option to Manage the Atlas Marker:
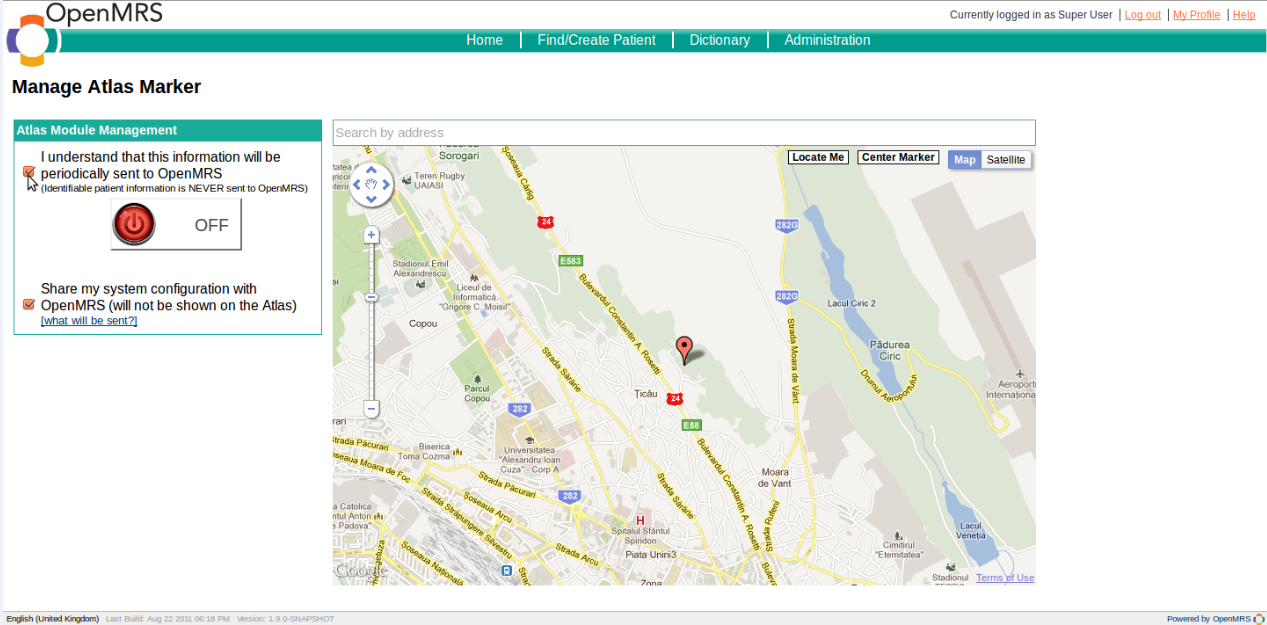
When you first open the Manage Atlas Marker page, it should look like this:
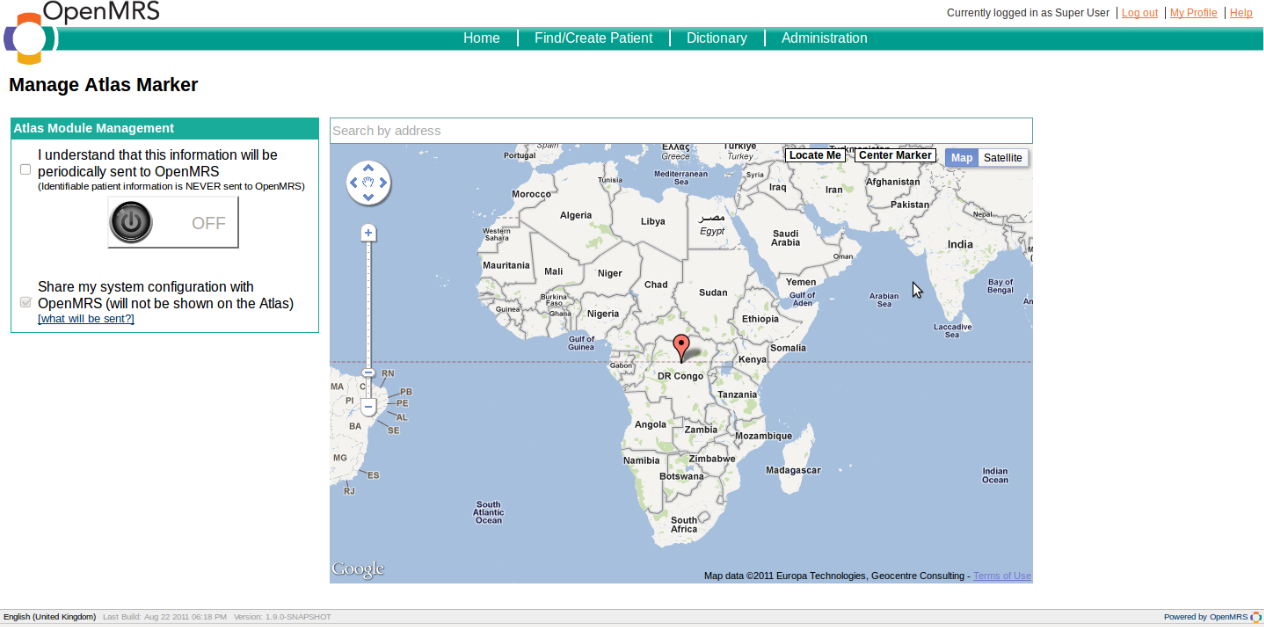
The page consists of two panels:
- Management Panel
- Map Panel
Mangement Panel
This panel contains:
- Usage disclaimer check box - the first check box on the top left corner of the page. If this check box is not checked, you can not activate the Atlas Module (as you can see, the button and the second check box are disabled), so no information will be sent to the OpenMRS Server.
- On/Off button - for enabling/disabling the Atlas Module
- Share system configuration check box - the second check box. If this check box is not checked, no system information (current OpenMRS version, installed modules, etc.) will be sent to the OpenMRS server. The only information that will be sent is the information in the Atlas Bubble. If it is checked, then information about your system will be included in the data sent to OpenMRS.
Map Panel
This panel contains:
- The Search by Address text box
- The map - a Google Map which contains the regular Google Maps controls and two custom Controls:
- Locate Me - when pushed, it will try to locate you using the HTML5 Geolocation API[tutorial]. If the browser is not HTML5 compatible, it will fall back on the YQL Geo Library, developed by Christian Heilmann.
- Center Marker - when pushed, the Atlas marker will be moved in the center of the map
Usage
Setting the Atlas bubble info
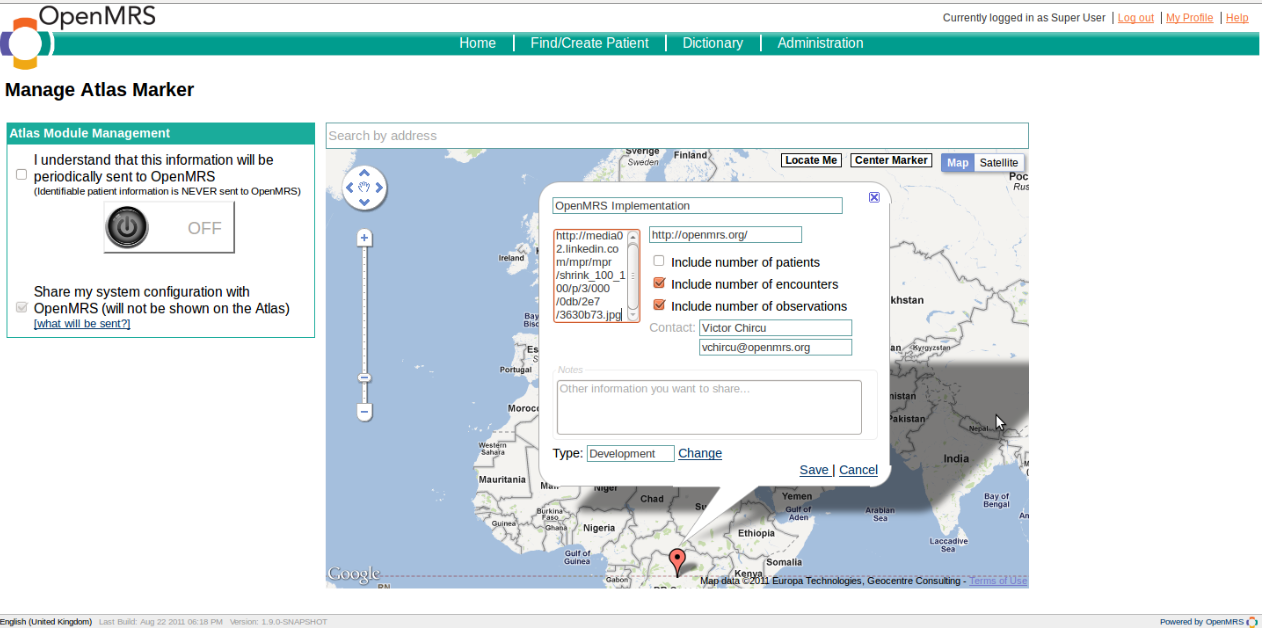
When you first click the Atlas marker, the bubble (Googe Maps Info Window) will open in editable state:
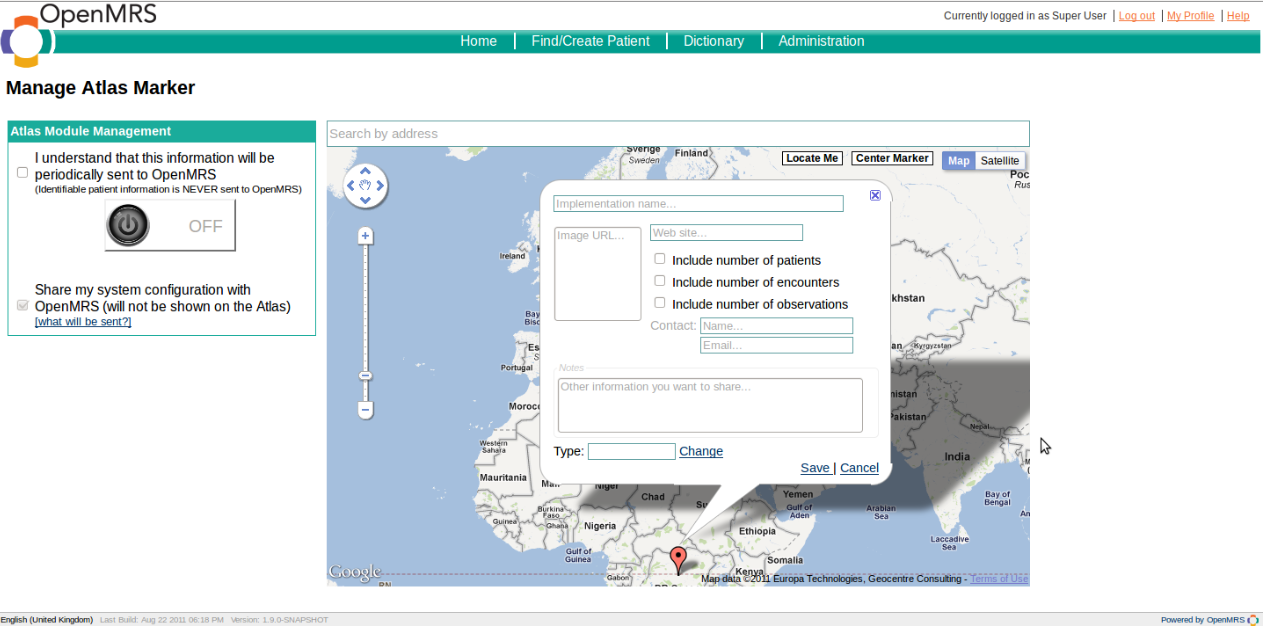
As you can see, all of the text boxes have placeholders that let you know what you should write in them.
The only mandatory information is the Implementation Name.
All of the fields are self explanatory, except maybe Type: you can change the implementation type by clicking on the Change link or by clicking on the type text box:
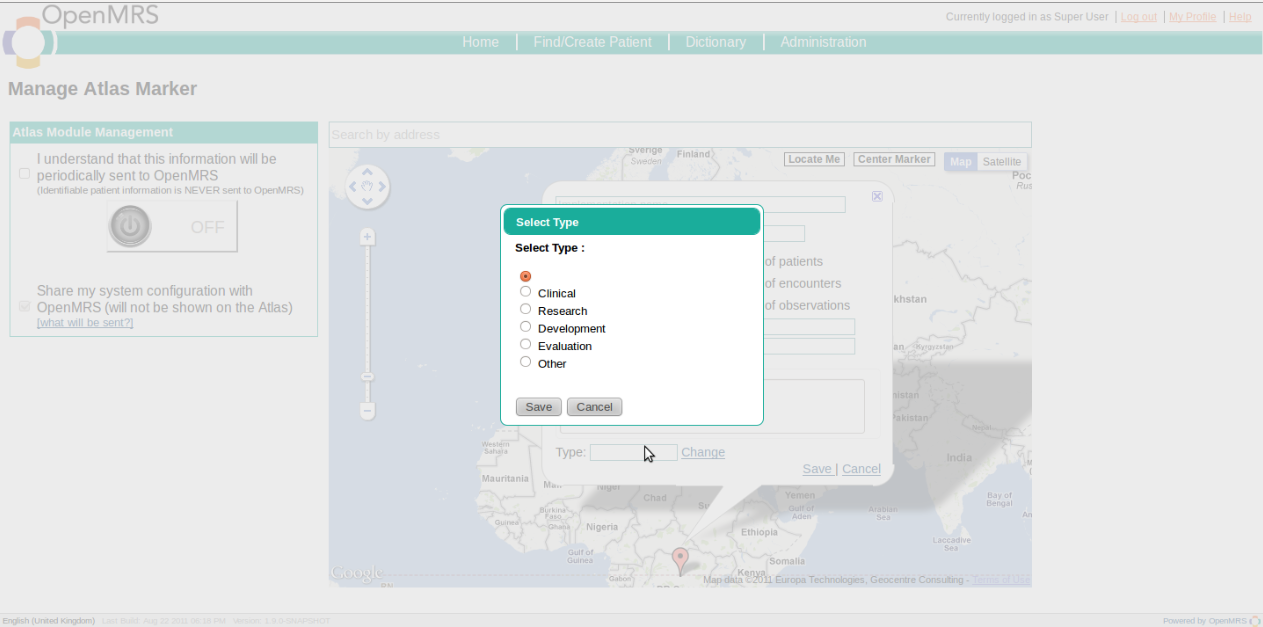
The current supported types are : <Blank> (in which case the type label won't be shown on the Atlas bubble), Clinical, Research, Development, Evaluation, Other.
After you fill in the text boxes, the bubble could look like this:
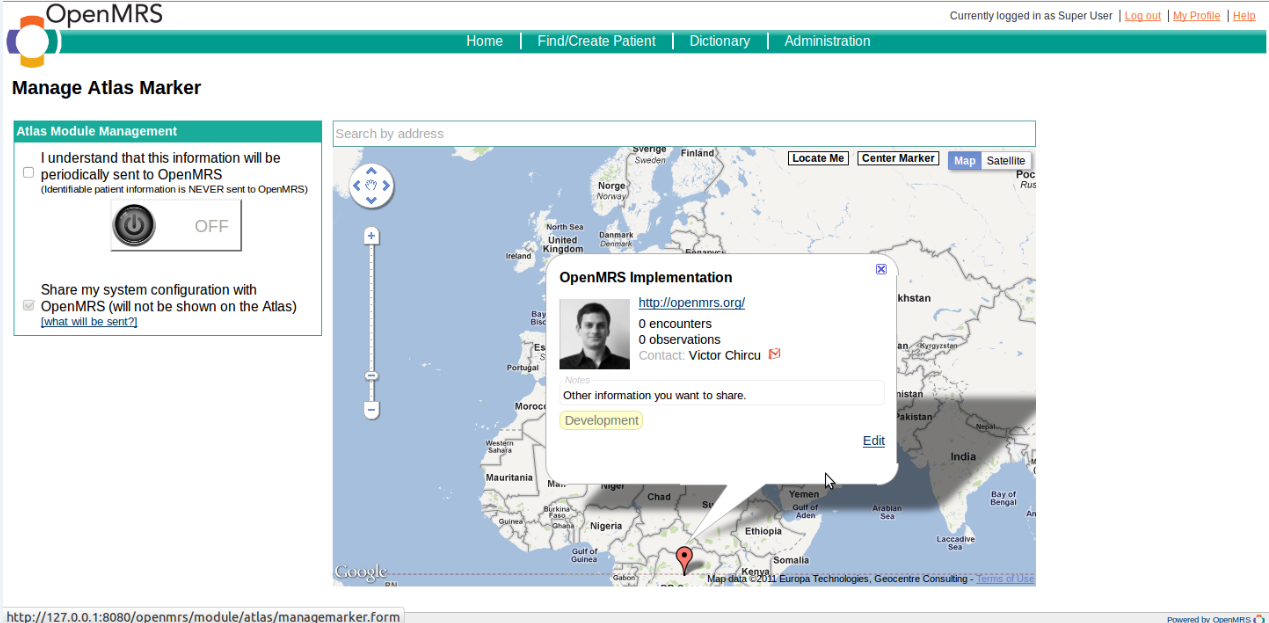
After you click save, the bubble will go in view state, and it shows you how the bubble is seen on the OpenMRS Atlas:
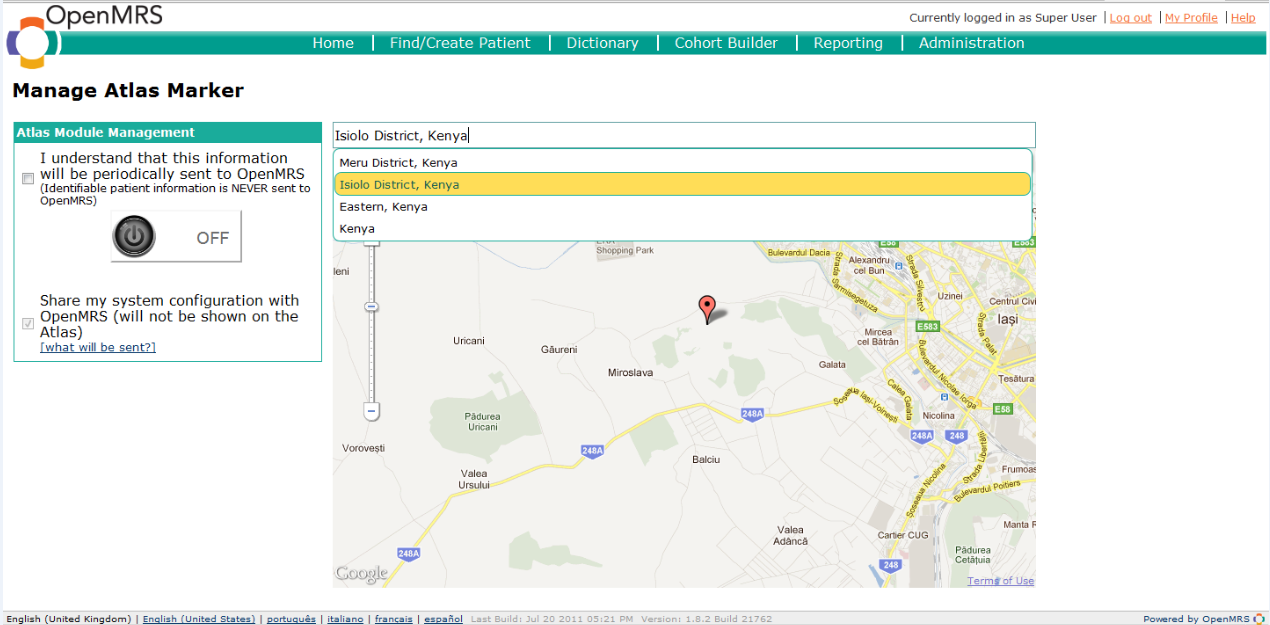
Setting your position
For setting your position you have three options:
- Clicking the Locate Me button on the map which automatically tries to find your position on the map
- Panning, zooming and dragging the marker to your position
- Searching your position by address, as shown in the following image:
Managing the Module
You can manage the module by using the controls in the Management Panel on the left of the page.
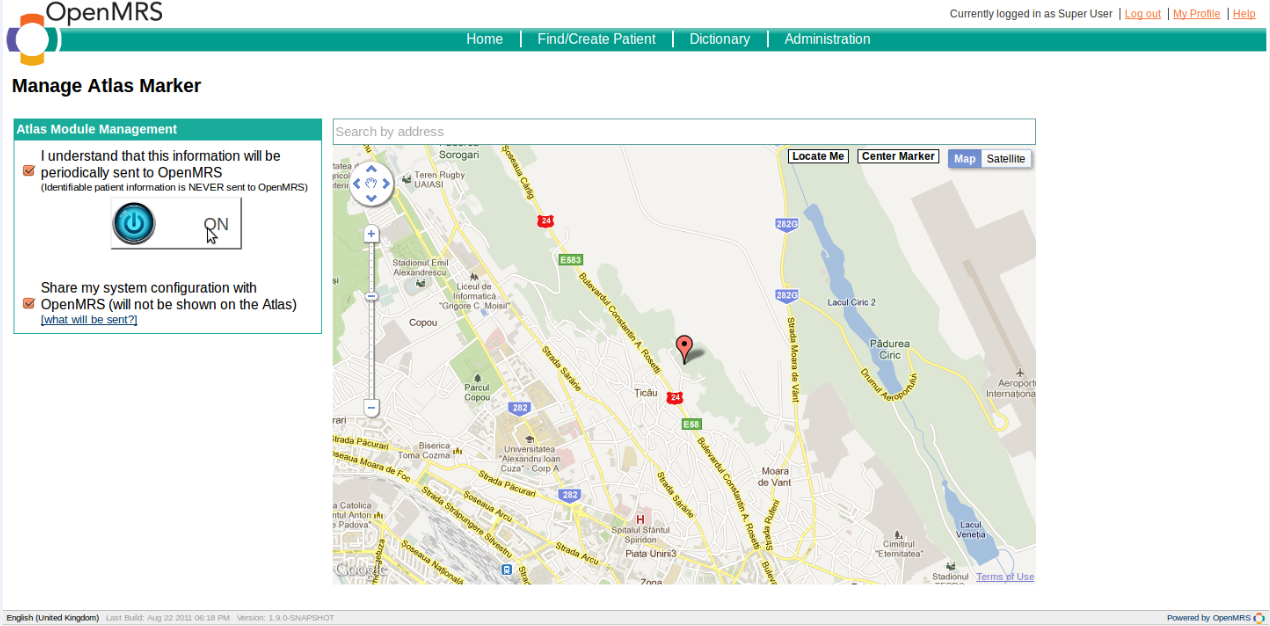
When you first open the page, the Usage disclaimer check box is unchecked, which means you can not enable the module. After you check it, the other controls in the panel become enabled:
You can now press the On/Off button to enable/disable the module:
You can check/uncheck the Share system configuration to include or to not include information about your system in the data sent to OpenMRS. Also, by clicking the what will be sent link, you can see exactly what information will be sent to OpenMRS, in JSON format:
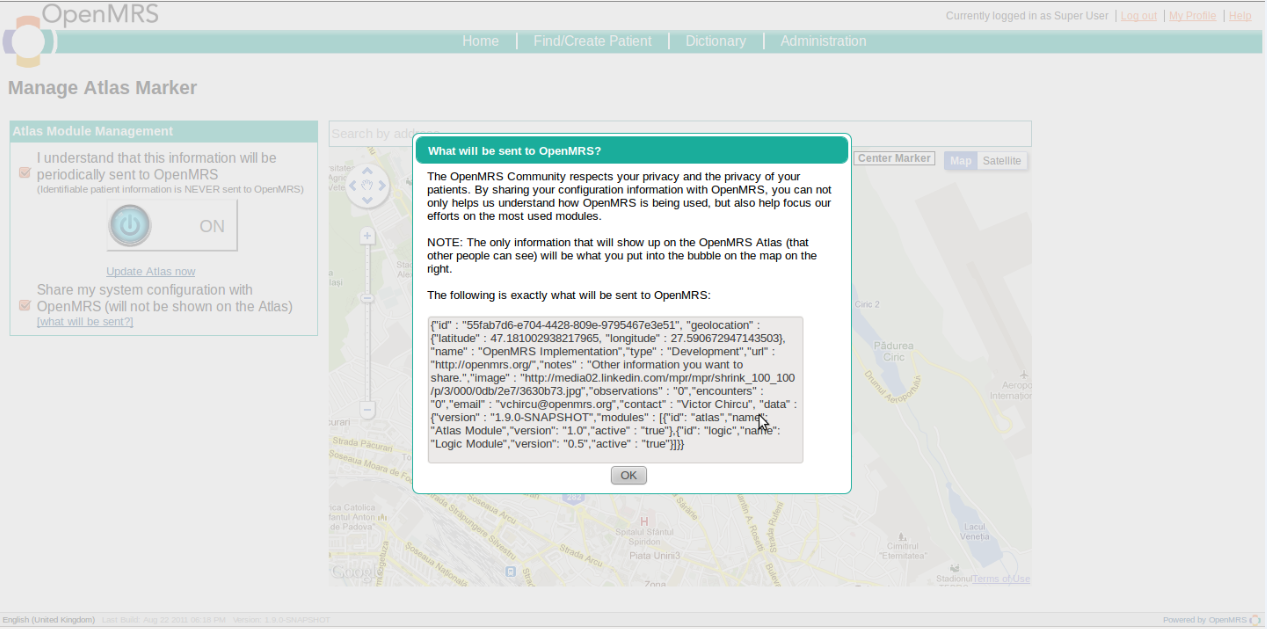
If the Atlas module is enabled, and you have changed some information since the last run of the Post Atlas Data task, an Update Atlas now link will be shown under the On/Off button. Clicking on this link will immediately send the Atlas data to OpenMRS, so you can see your bubble on the OpenMRS Atlas:

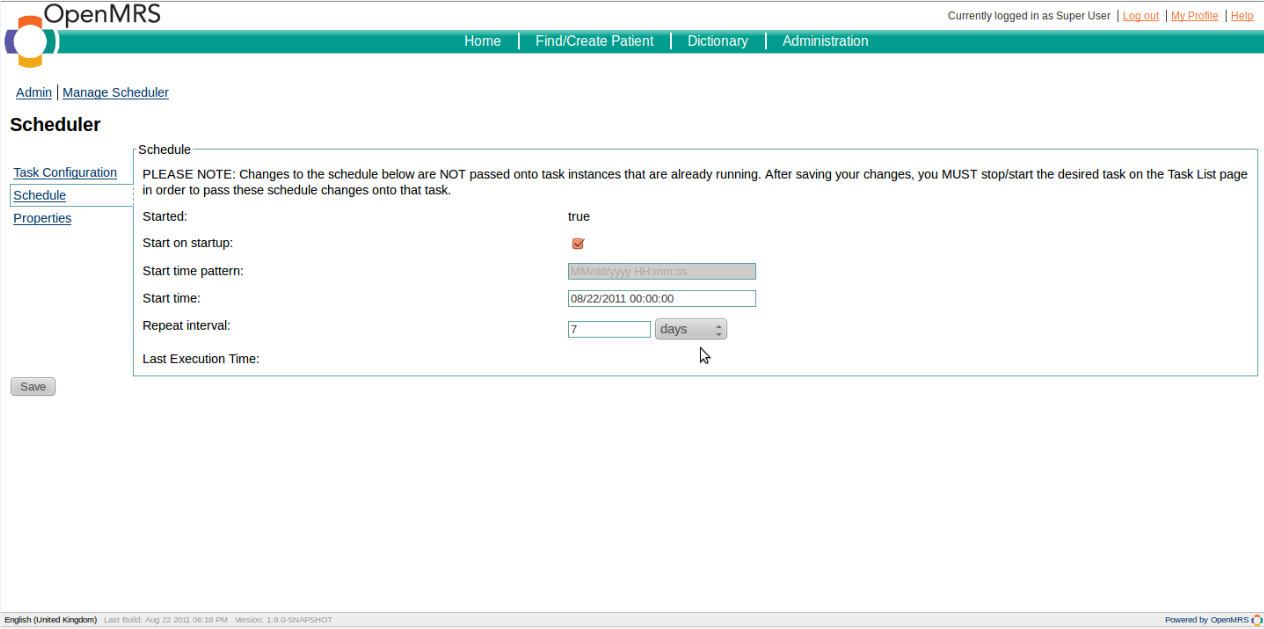
Managing the Scheduled Task
If the Atlas module is enabled, a new scheduled task will be registerd. An administrator can control the frequency of updates by going to the Scheduler section on the administration page, and clicking the Manage Scheduler link. You should see the Post Atlas Data Task:
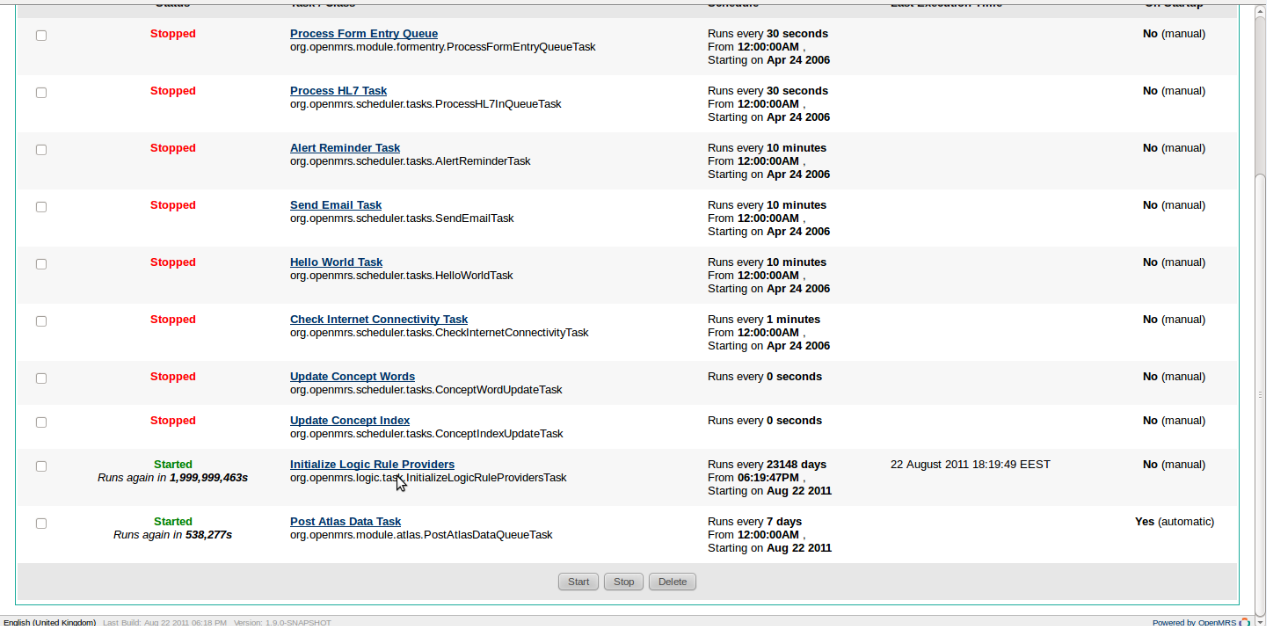
If you click on it, then on the Schedule tab, you can set the frequency of updates: